

C
Cheryl PinedaSep 8, 2025
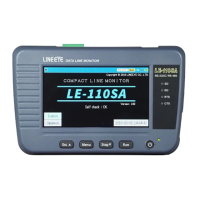
Why does LineEye Measuring Instruments communication setting change and the date clock get strange?
- NNathan BarajasSep 8, 2025
When you remove the batteries from the line monitor for a while, or when the batteries run out, the settings in the memory IC and clock IC are initialized. To prevent this, ensure charged batteries are in the line monitor.