L-DALI User Manual 95 LOYTEC
Version 5.2 LOYTEC electronics GmbH
dates by clicking the calendar icons. To entirely disable a scheduler de-select the Enable
Schedule check box.
Schedules are defined per day. On the left-hand side, the weekdays Monday through
Sunday can be selected, or exception days from the calendar, e.g., Holidays. Once a day is
selected, the times and values can be defined in the daily planner on the right-hand side. In
the example shown in Figure 91, on Monday the value OC_OCCUPIED is scheduled at
7:00am and the value OC_UNOCCUPIED is scheduled at 6:00pm. The same principle
applies to exception days. Exception days override the settings of the normal weekday. Put
a check mark on those exception days from the calendar, which shall be used in the
schedule. To edit the date ranges of exception days click on the links to the used calendars,
e.g., ‘Calendar’ or ‘Schedule_nviOccSensor’. The ‘Schedule_nviOccSensor’ is a calendar,
which is embedded into the schedule and not accessible by other schedulers. For more
information on how to set up schedules and calendars refer to Section 7.10.
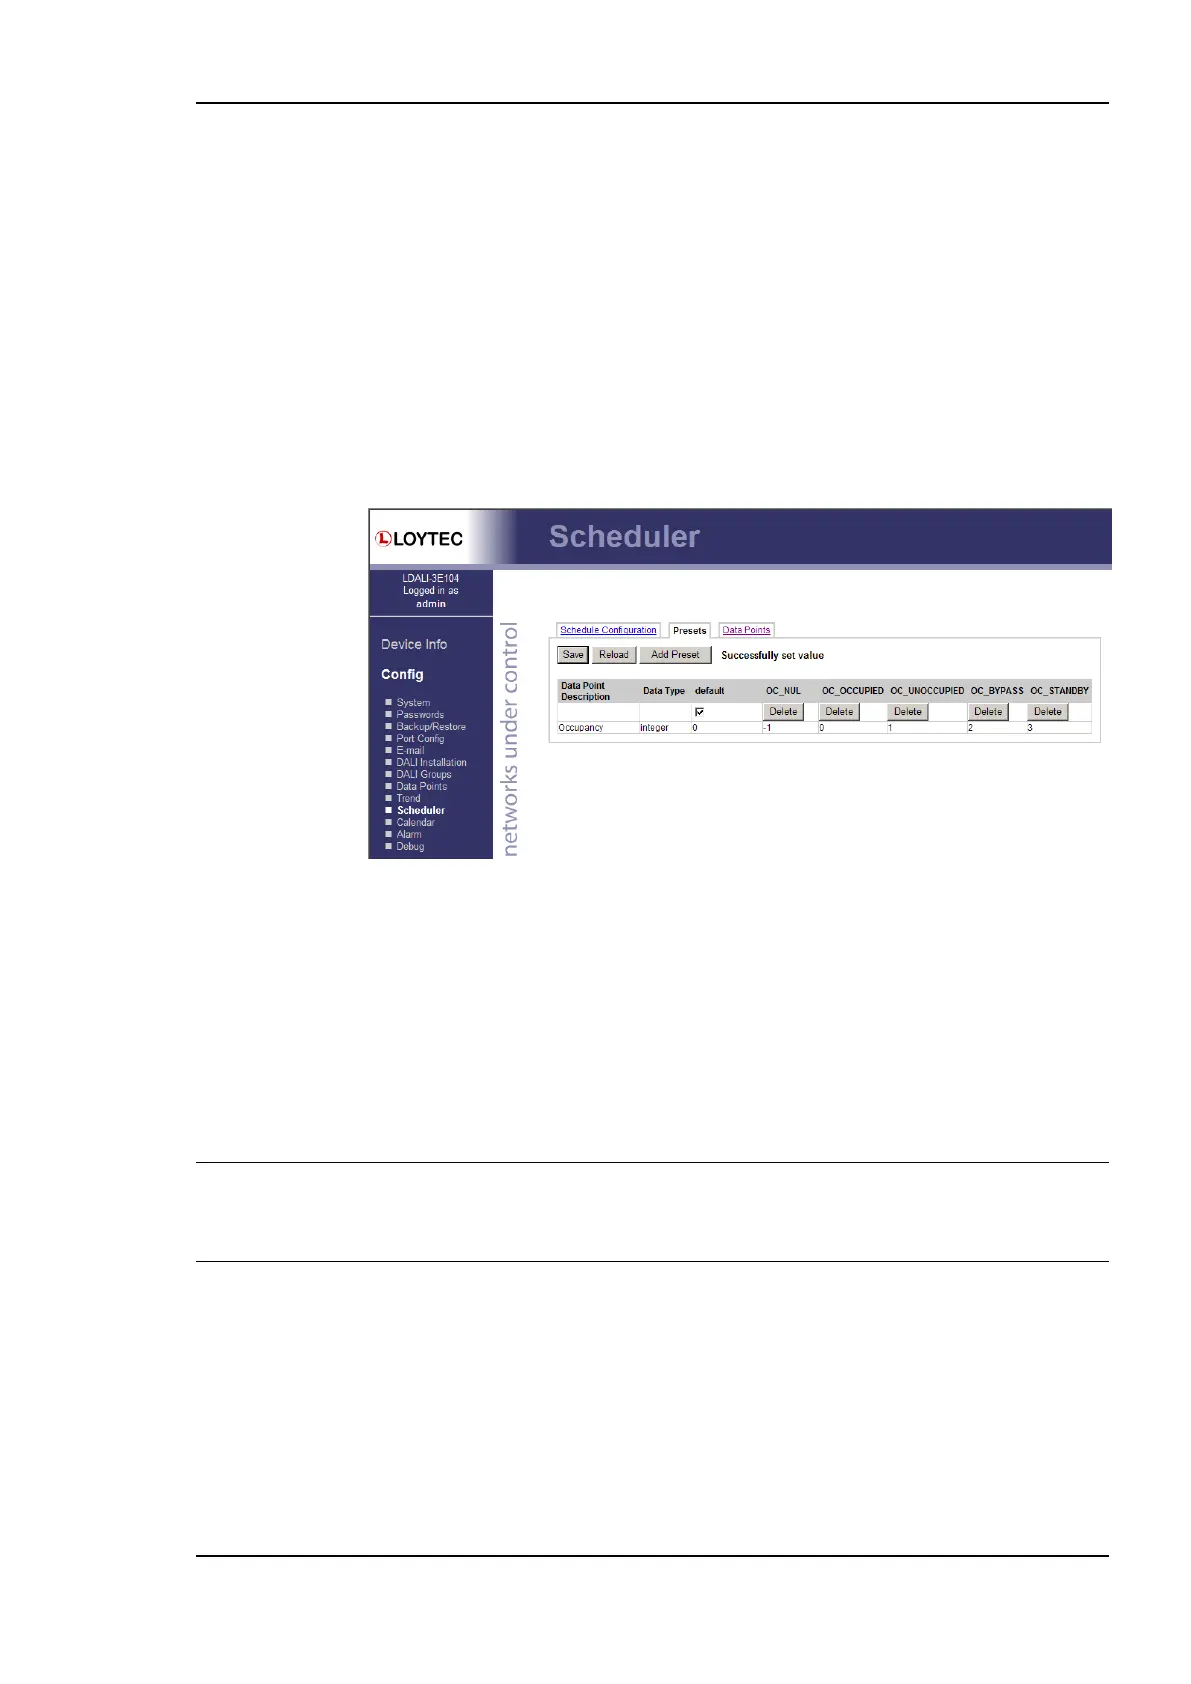
Figure 92: Scheduled Presets Configuration Page.
To define actual values for the names such as OC_OCCUPIED click on the tab Presets as
shown in Figure 92. To define a new value, click on the button Add Preset. This adds a
new column. Enter a new preset name. Then enter values for the data points in the preset
column. The Data Point Description column displays the short-hand name defined in the
configuration software. Click on this description to change it on the Web interface.
You can switch back and forth between the two tabs. Once the configuration is complete,
click on the Save button. This updates the schedule in the device. Any changes made
become effective immediately.
Note: Clicking Save may remove any presets which are currently not used in any of the daily
schedules. This happens for example in native BACnet schedules, where the underlying
network technology cannot store presets individually. Therefore always complete the daily
schedules first and then press save as the last step.
For local schedulers using the CEA-709 network technology the Web UI also allows
reconfiguring the scheduled data points. This change takes effect immediately without a
reboot of the device. To add and remove data points to the scheduler, go to the Data Points
tab. The configuration page is depicted in Figure 93. To add a new data point, click the
Add… button. To remove a data point, select the data point in the list Scheduled Data
Points by clicking on it and then press the Remove button. Finally, store the changes by
clicking the Save button. After modifying the scheduled data points, go back to the Presets
tab and enter descriptive value label names. For more information on how to configure a
scheduler please refer to the Configurator Section 7.11.3.