&$/$'-867$/,*1 9HUVD3XOVH3RZHU6XLWH6HULHV6HUYLFH0DQXDO
5(9%
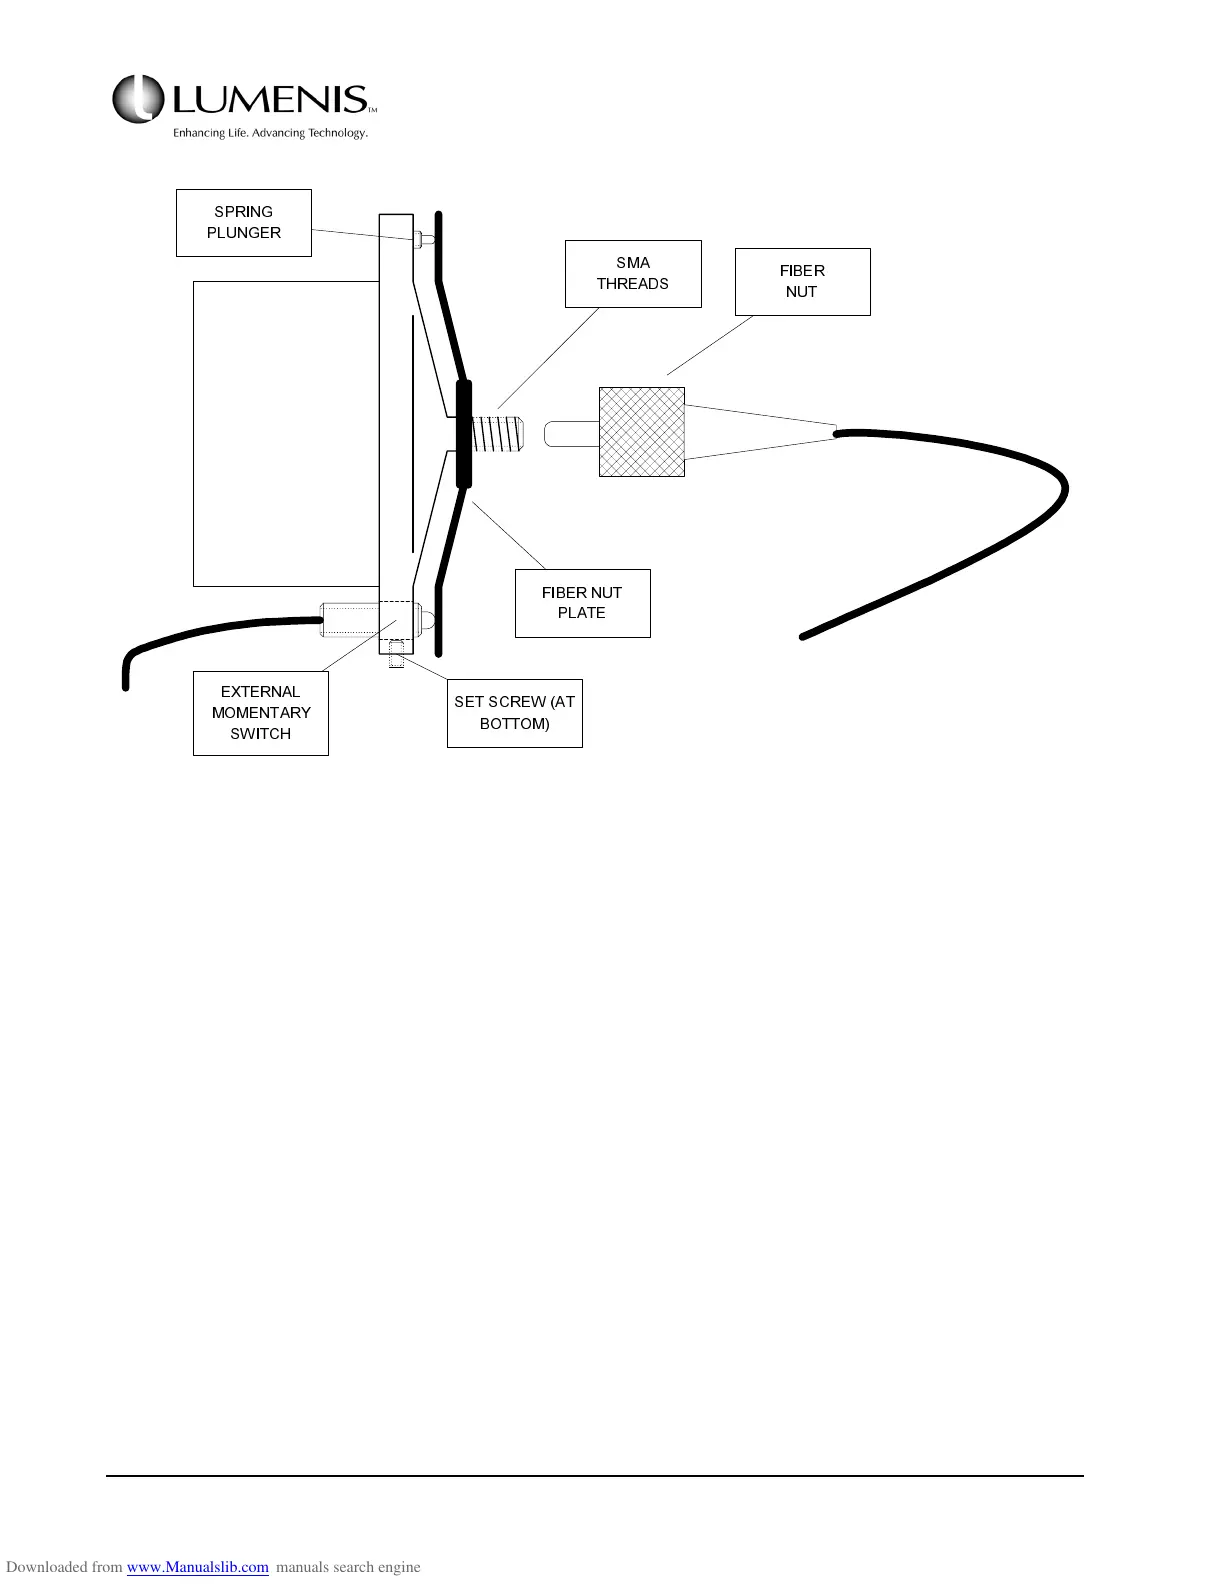
FIG. 3.10: SMA FIBER PORT ASSEMBLY
1. Open the front door and locate LED12 on the Controller PCB or connect a DVM across TP51 (FBRIN)
and TP46 (GND).
2. Connect a Coherent test fiber loosely onto the SMA port, but do not thread the nut fully on the SMA
threads. Observe the LED12 or the DVM voltage.
3. Adjust the position of the Fiber Sense switch so that LED12 comes ON or TP51 on the DVM goes HIGH
with approximately 1/4 to 1/2 turns before the nut is fully seated.
NOTE:
• If LED12 comes ON with 1/4 or less turns to go before the fiber is fully threaded, remove the
fiber, the fiber nut plate, and pull the Fiber Sense switch out of the lens cell body slightly
and recheck.
• If LED12 comes ON with more than 1/2 turns to go before the fiber nut is fully threaded, push
the external switch IN to the lens cell body slightly and recheck.
/(16
&(//
%2'<
60$
7+5($'6
635,1*
3/81*(5
(;7(51$/
020(17$5<
6:,7&+
6(76&5(:$7
%27720
),%(5187
3/$7(
),%(5
187