262335 98 Revision A
5.4 Checking and Adjusting Float – M Series Self-Propelled Windrowers
The windrower float springs are NOT used to level the header.
DANGER
To prevent injury or death from the unexpected start-up of the machine, always stop the engine and remove the key
from the ignition before leaving the operator’s seat for any reason.
DANGER
Ensure that all bystanders have cleared the area.
NOTE:
Always check the float with the header set in the working position (with the header fully lowered to the ground and the
header angle set to the desired cutting height per crop type and conditions).
To check and adjust the float, follow these steps:
1. Start the engine, and lower the header to the ground.
2. Using the header tilt switches on the in-cab controls, set the header center-link to the mid-range position (5.0 on the
cab display module). Refer to your windrower operator’s manual for detailed instructions.
3. Lower the header fully with the lift cylinders fully retracted.
4. Set left and right float fine adjustments to mid-range position (5.0 on the cab display module). For instructions, refer to
your windrower operator’s manual.
5. Shut down the engine, and remove the key from the ignition.
6. Check the float by grasping the lean bar and lifting. The lifting force should be 335–380 N (75–85 lbf) and should be
approximately the same at both ends.
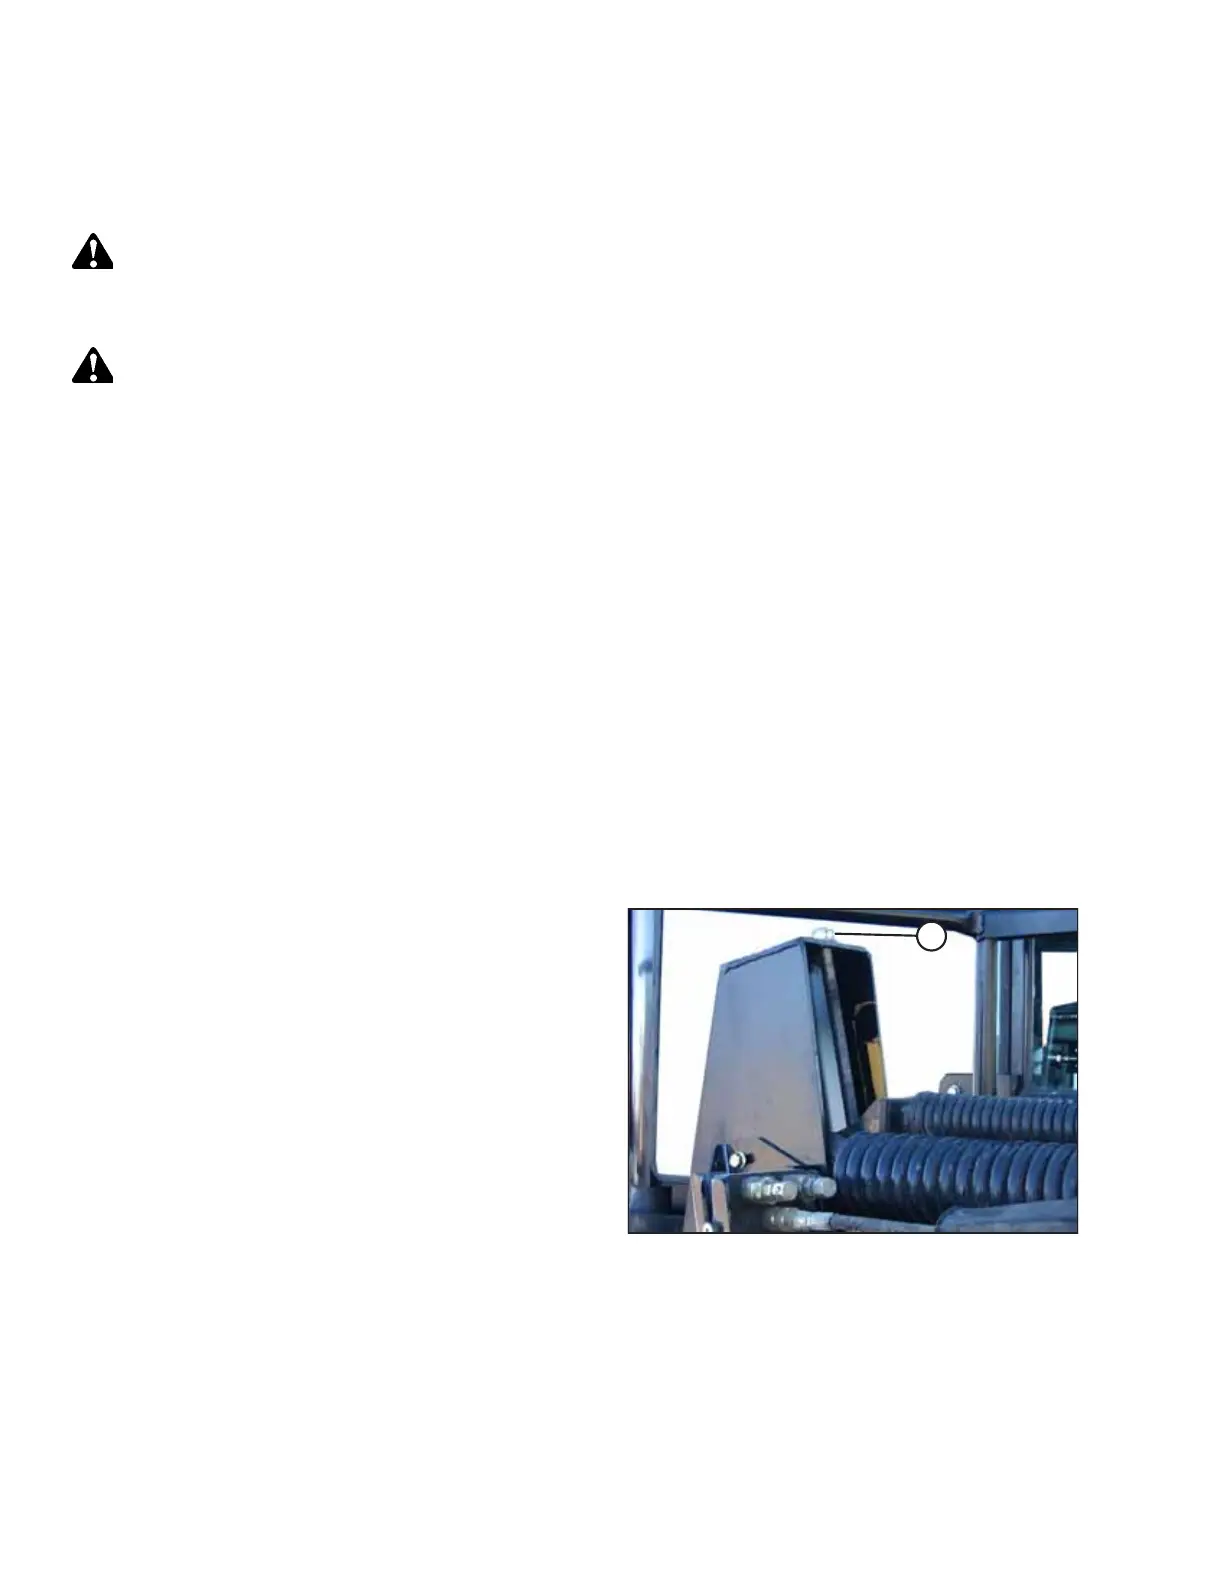
Figure 5.6: Drawbolt
7. If necessary, perform the following steps to adjust the float:
a. Raise the header fully, shut down the engine, and
remove the key from the ignition.
b. Turn drawbolt (A) clockwise to increase the float
(makes the header lighter) or counterclockwise to
decrease the float (makes the header heavier).
NOTE:
The illustration shows the top of the windrower wheel
leg member.
c. Recheck the float.
PERFORMING PREDELIVERY CHECKS