Scala | V7 | Display Configuration
4.
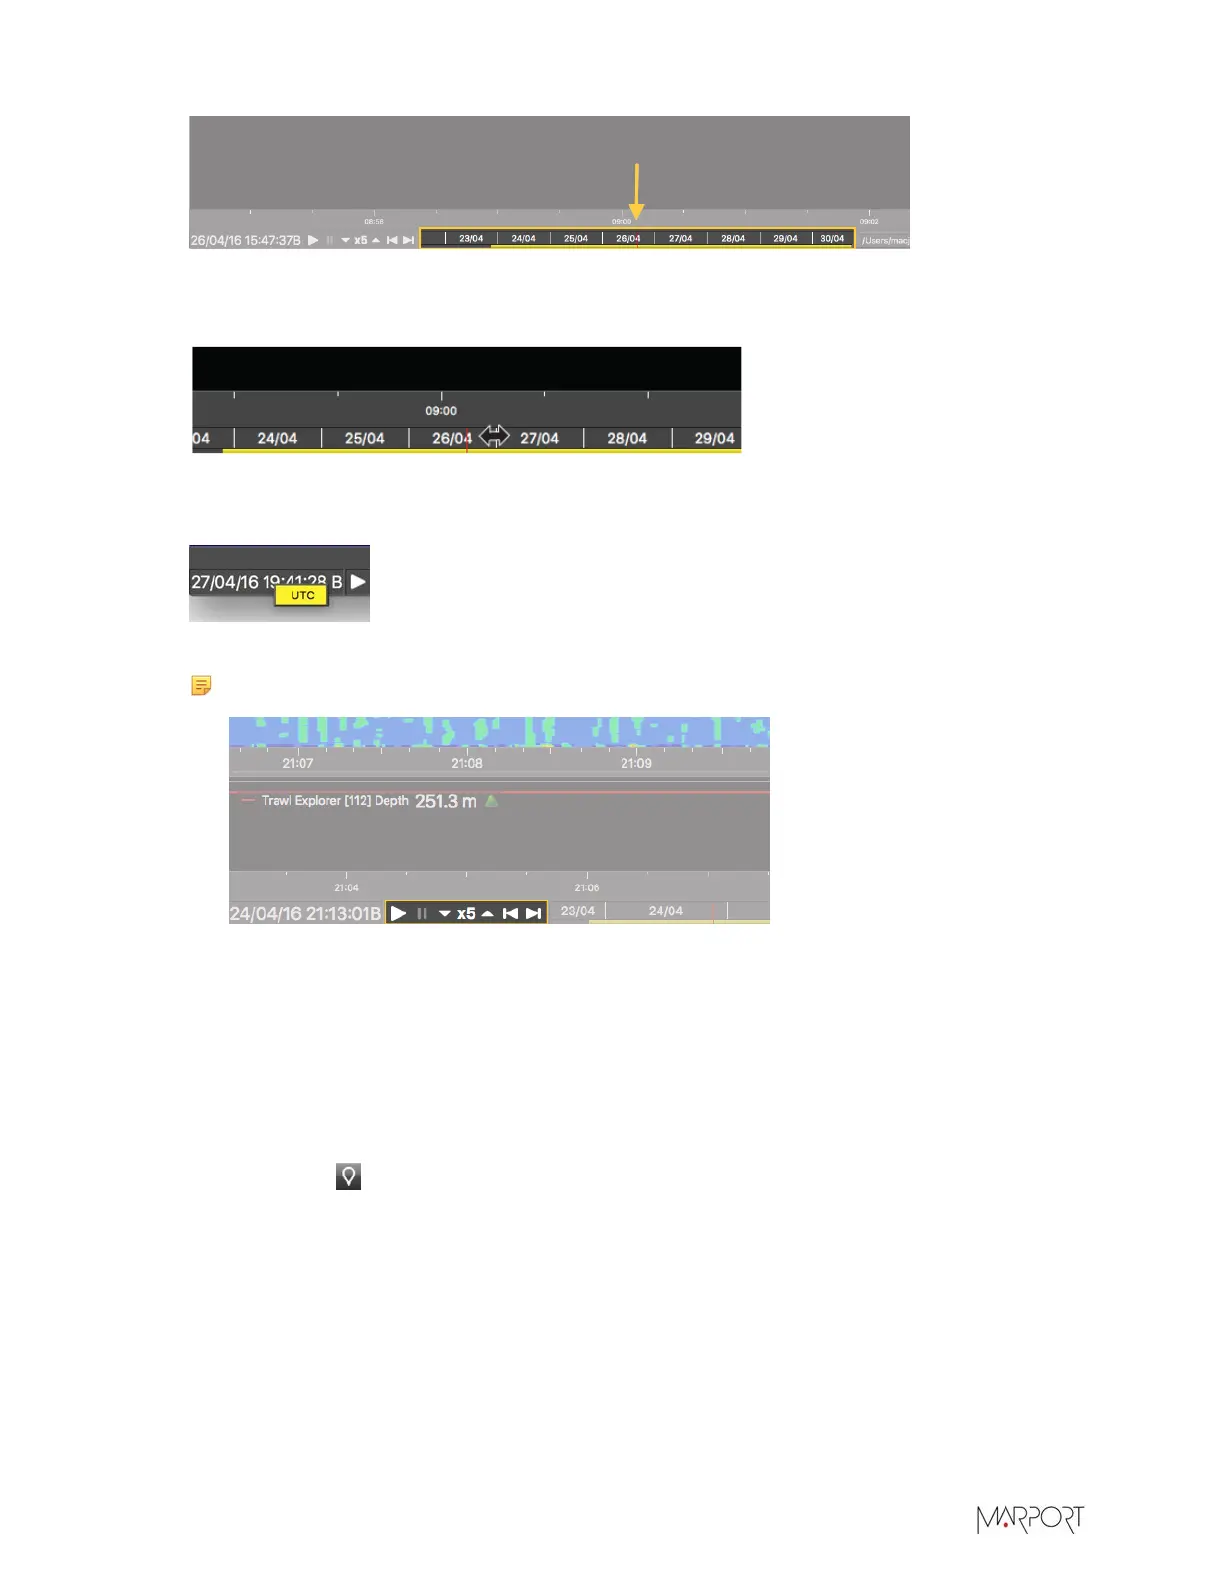
To zoom in and out on the timeline, place your mouse on the timeline and scroll.
5.
To move along the timeline, click + drag the timeline.
6.
The date and time of the recording is displayed on the left side of the timeline. Right-click the
hour to change it to UTC timezone.
7.
Control the playback using the play, pause and speed control buttons at the left of the timeline.
Note: You can change the display of page data only when the playback is paused.
Adding Events
You can mark a specific moment when receiving live data to find it back when replaying data with
Scala Replay.
Procedure
1.
Make sure the recording of data is activated.
2.
On Scala, click on the top right corner of the screen when you want to mark an event.
3.
Add a legend.
4.
Open the corresponding SDS files on Scala Replay.
You can see a marker on the timeline at the time at which you created the event.
5.
You can also manually add events to the timeline of replay files: mark a specific moment in the
replay, or jump forward or backward in the timeline:
a)
Create an XML document named Markers.xml and put it in the same folder as the SDS files
you are replaying. The document must begin by <Markers> and end by </Markers>.
| 113
 Loading...