This example shows how to configure Traffic-Flow on a router
1. Enable Traffic-Flow on the router:
[admin@MikroTik] ip traffic-flow> set enabled=yes
[admin@MikroTik] ip traffic-flow> print
enabled: yes
interfaces: all
cache-entries: 1k
active-flow-timeout: 30m
inactive-flow-timeout: 15s
[admin@MikroTik] ip traffic-flow>
2. Specify IP address and port of the host, which will receive Traffic-Flow packets:
[admin@MikroTik] ip traffic-flow target> add address=192.168.0.2:2055 \
\... version=9
[admin@MikroTik] ip traffic-flow target> print
Flags: X - disabled
# ADDRESS VERSION
0 192.168.0.2:2055 9
[admin@MikroTik] ip traffic-flow target>
Now the router starts to send packets with Traffic-Flow information.
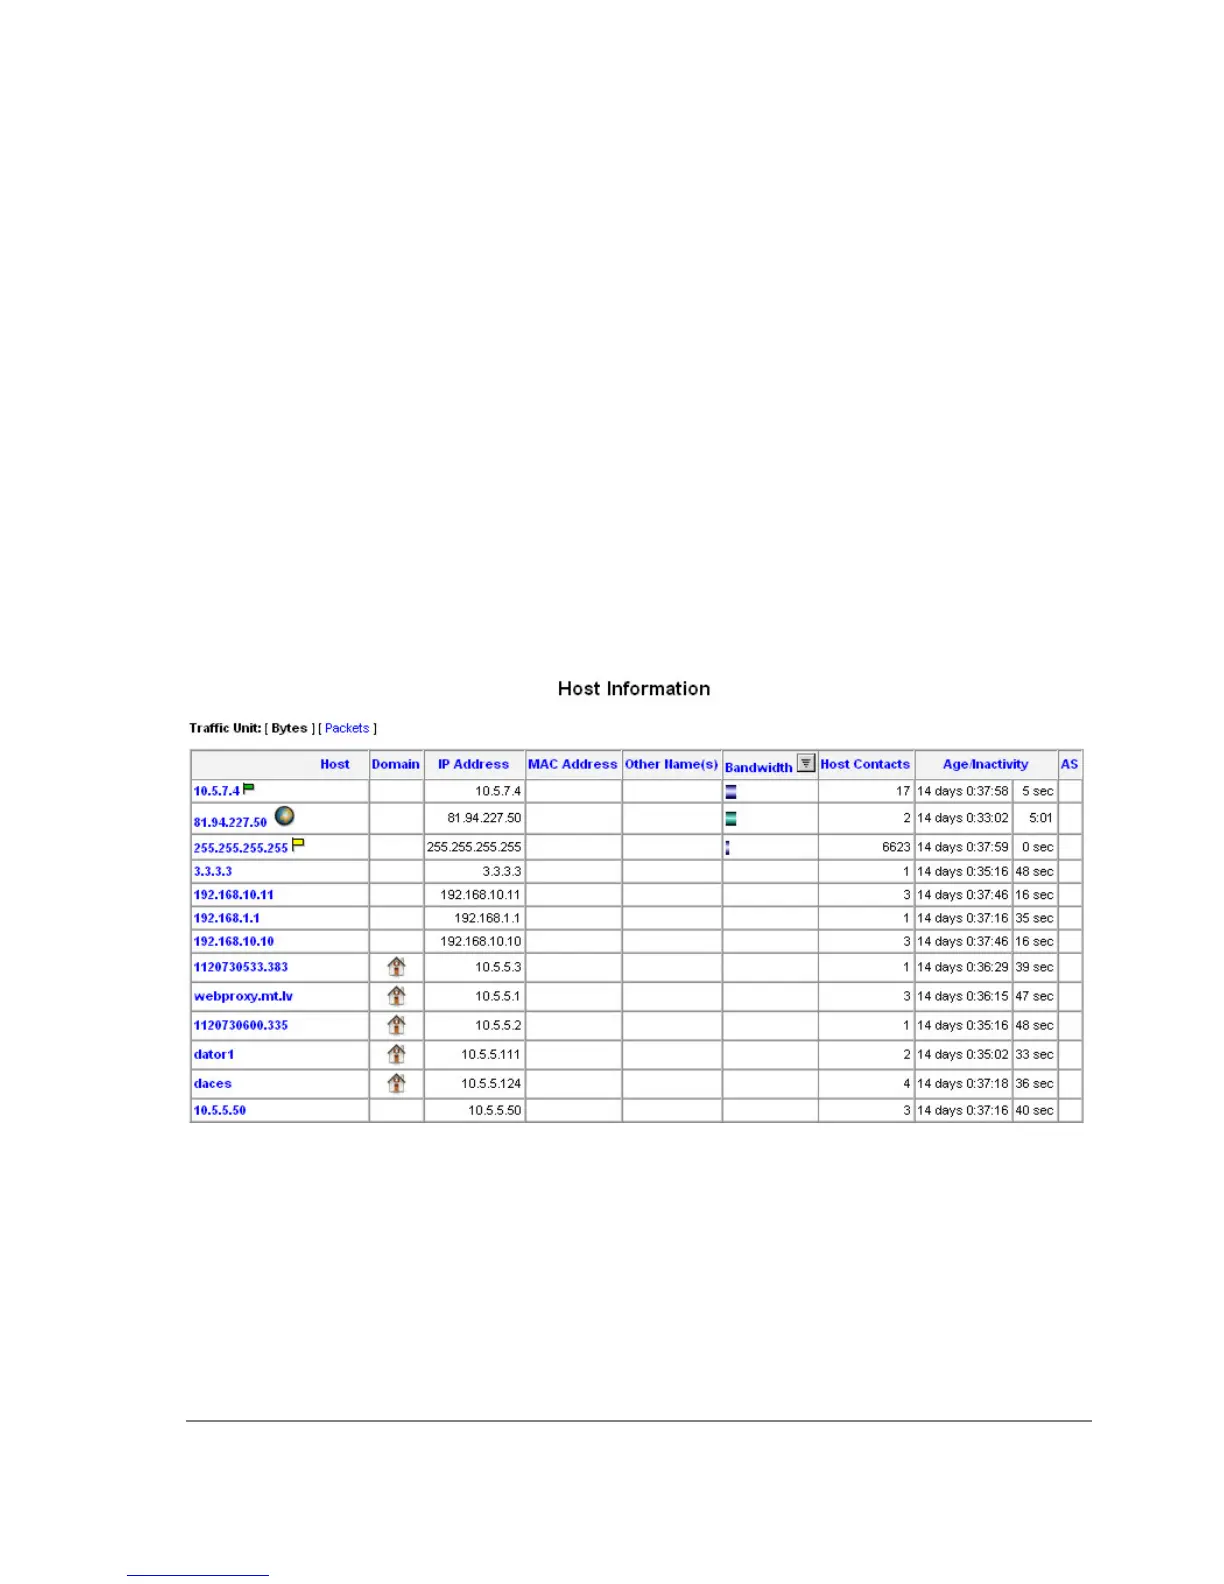
Some screenshots from NTop program, which has gathered Traffic-Flow information from our
router and displays it in nice graphs and statistics. For example, where what kind of traffic has
flown:
Top three hosts by upload and download each minute:
Page 399 of 695
Copyright 1999-2007, MikroTik. All rights reserved. Mikrotik, RouterOS and RouterBOARD are trademarks of Mikrotikls SIA.
Other trademarks and registred trademarks mentioned herein are properties of their respective owners.
 Loading...