OM-278680 Page 14
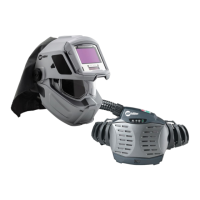
1 AR Welding Helmet
The AR welding helmet has two high
resolution micro-cameras and a 4.8 in.
(122 mm) display screen that en-
hances the augmented reality experi-
ence. The AugmentedArc acces-
sories (workpieces, guns, torches,
electrode, filler rod) and the real envi-
ronment are displayed on the helmet
screen and these elements interact to
create a real-time augmented reality
for a realistic welding experience.
The AR welding helmet also includes
LED lights (controlled at the simulator)
to maintain the stable light environ-
ment necessary for the artificial vision
technology to work properly.
The AR welding helmet is also
equipped with speakers to recreate the
sounds emitted during the welding
process to make the training more au-
thentic.
See Section 10 for information on
installing the optional magnifying
lens.
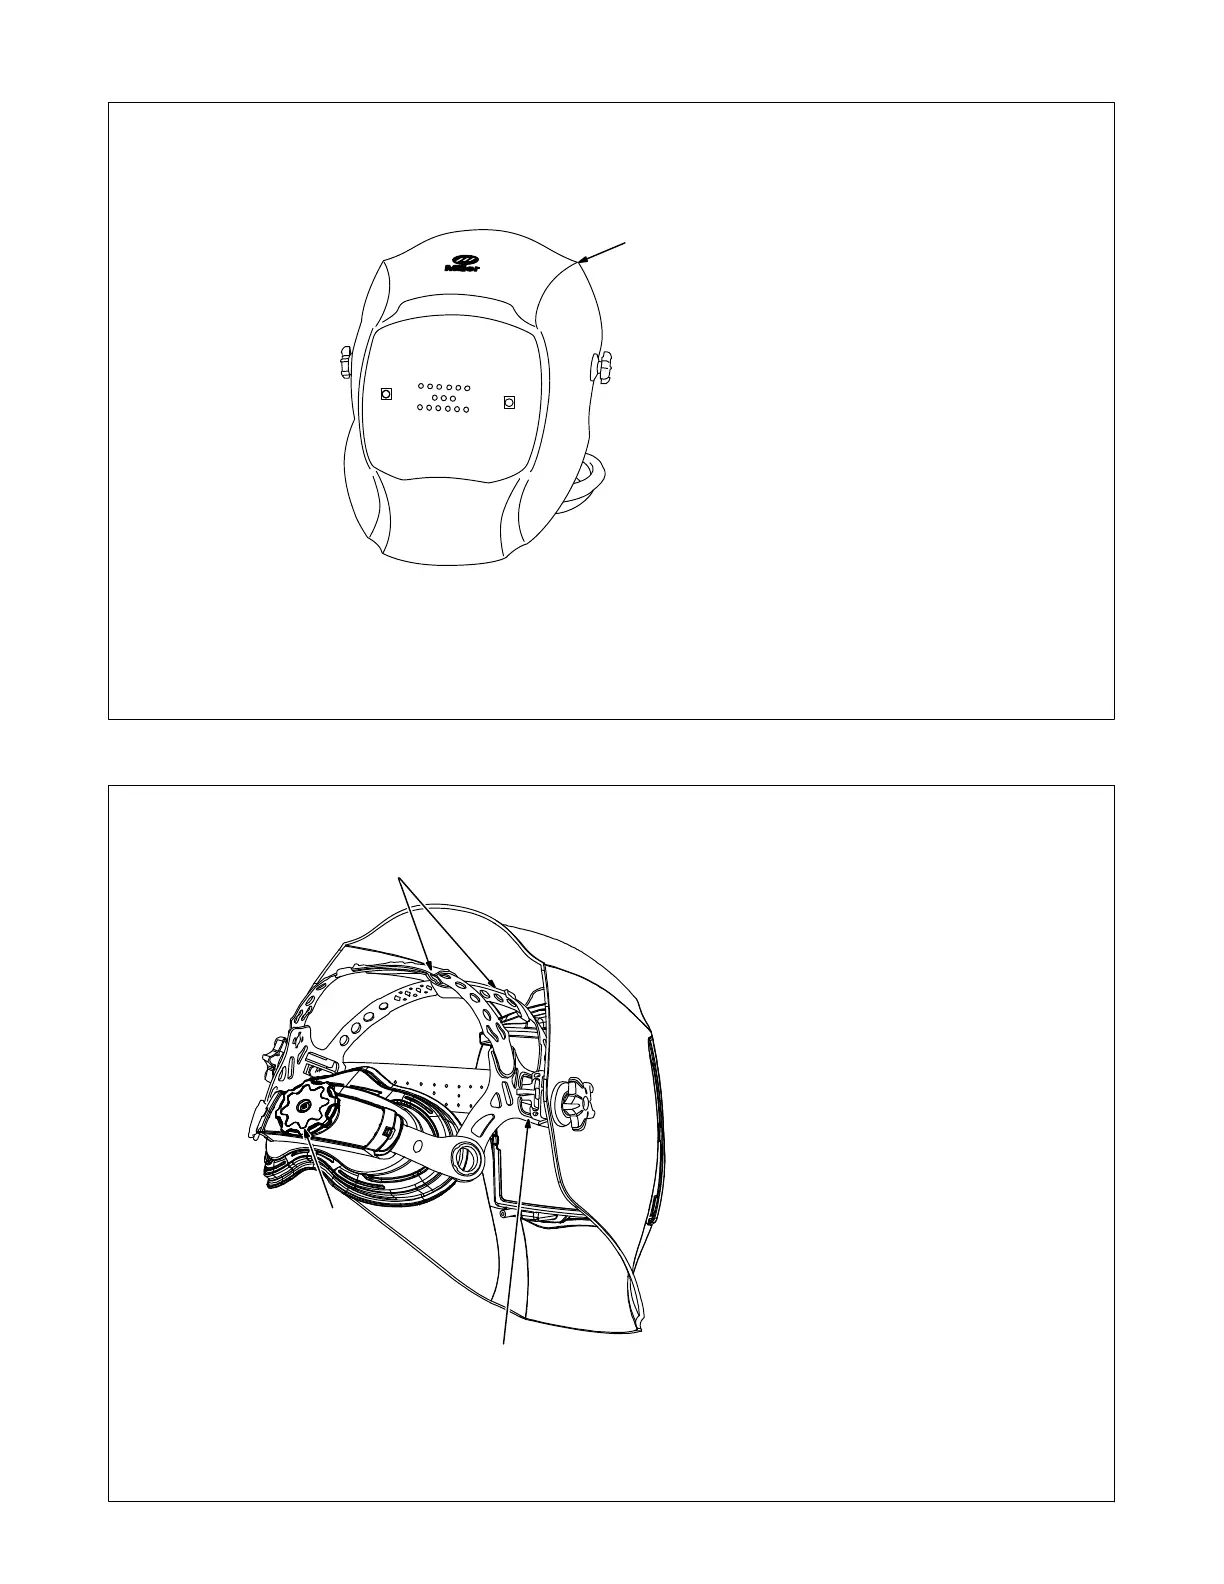
5-10. AR Welding Helmet
1
161-97
5-11. Making Helmet Adjustments
Helmet image is intended only for
reference in locating helmet ad-
justments.
There are four headgear adjust-
ments: headgear top, tightness,
angle, and distance.
1 Headgear Top
Adjusts headgear for proper depth on
the head to ensure correct balance and
stability.
2 Headgear Tightness
To adjust, turn the adjusting knob lo-
cated on the back of the headgear left
or right to desired tightness.
3 Angle Adjustment (Not Shown)
Seven slots on the right side of the
headband provide adjustment for the
forward tilt of the helmet. To adjust, lift
and reposition the control arm to the
desired position.
4 Distance Adjustment
Adjusts the distance between the face
and the lens. To adjust, press black
tabs on the top and bottom of the pivot
point and use other hand to slide
headgear forward or backward. Re-
lease tabs. (Both sides must be equal-
ly positioned for proper vision.)
Numbers on the adjustment slides
indicate set position so both sides
can be adjusted equally.
1
2
4