OM-278680 Page 17
SECTION 7 − OPERATION
Do not use the welding simulator if you are light sensitive or affected by video, flashing lights, or other visual stimuli. Stop using simu-
lator and consult your physician if you experience vision problems, nausea, headaches, dizziness, vertigo, or other conditions.
A MIG/FCAW welding simulation is shown in these examples. Setup and adjustments are similar for other welding processes.
7-1. Equipment Setup
• Assemble AugmentedArc training system. Install system in proper location and near 120 volt AC power source (see Section 5-1).
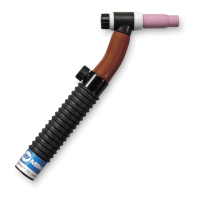
• Connect desired gun or torch to simulator (see Sections 5-9 and 5-12).
• Connect simulator and router power cords to 120 volt AC receptacles.
• Place simulator Input Power switch in On position (on back of simulator). Press router Power switch. Press and hold On-Off switch on front of
simulator until simulator turns on. For Classroom applications, also place controller Input Power switch (on back panel) in On position (see Section
5-4). Press and hold controller Power On/Off switch (on front panel) until unit turns on.
7-2. Getting Started
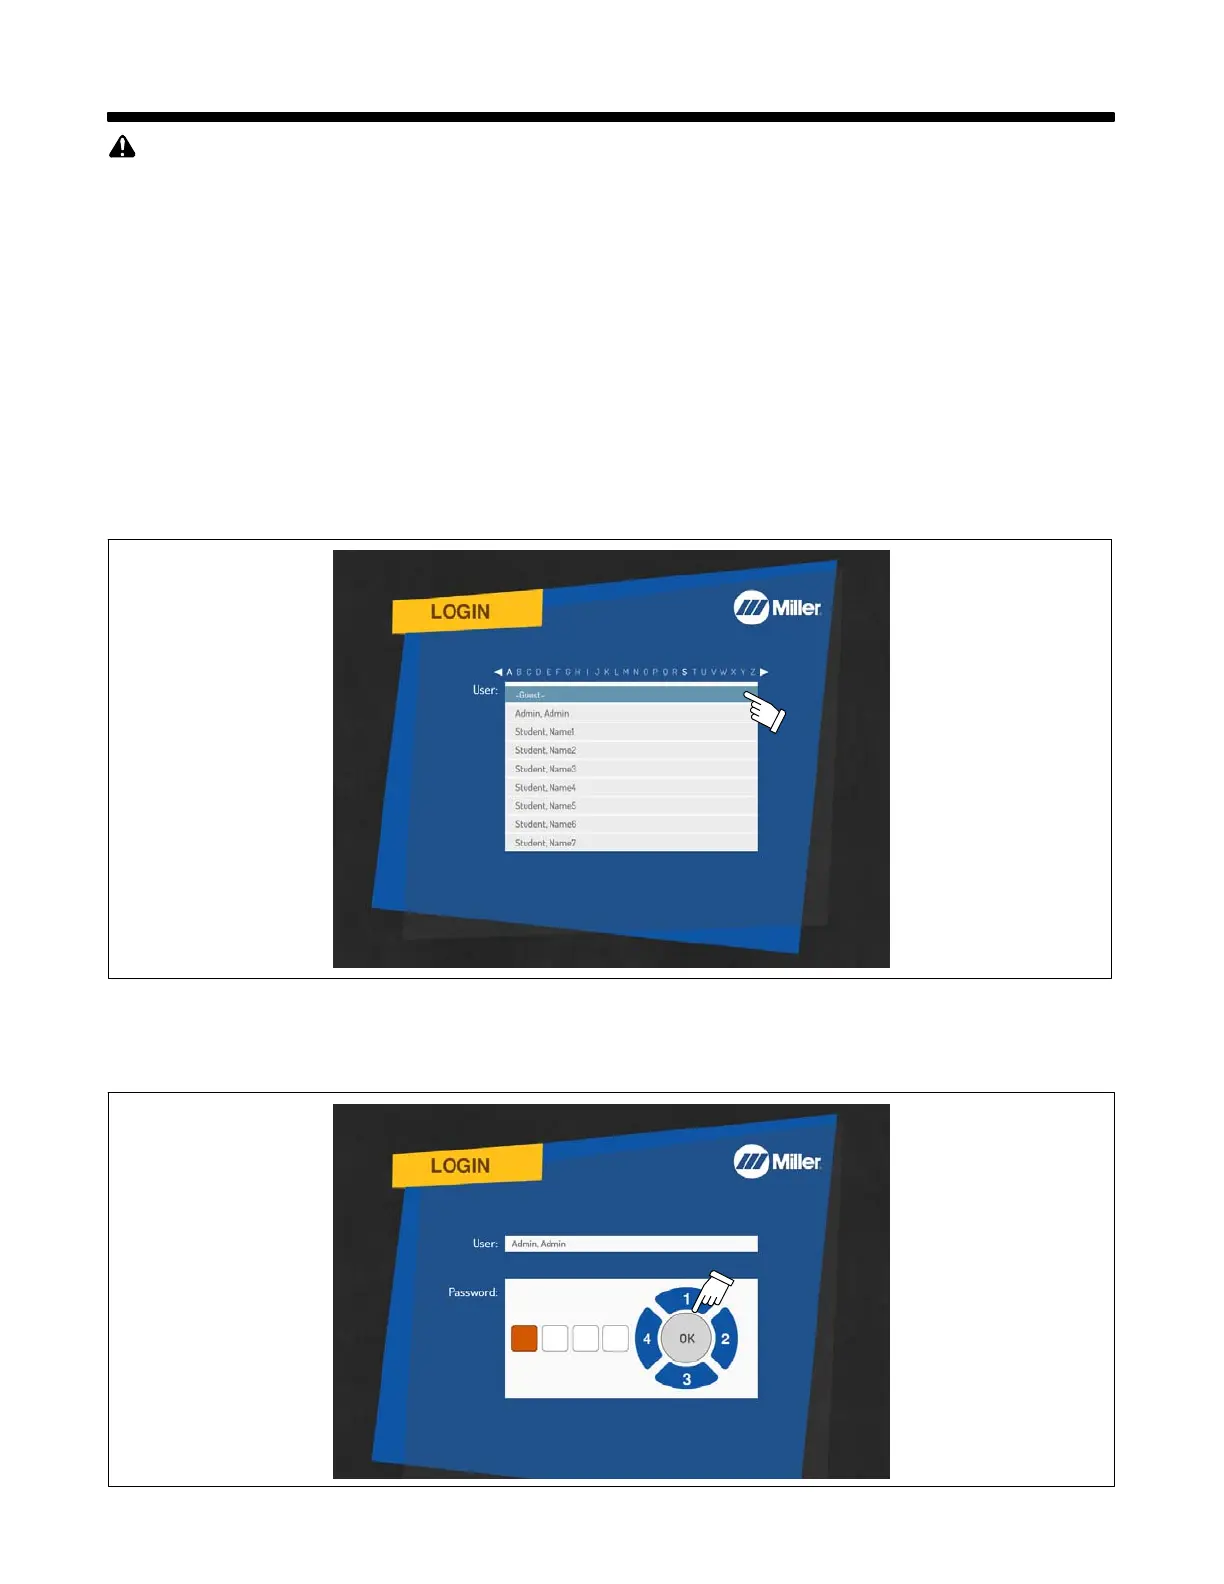
A. Login Screens
Use System Navigation buttons to select guest or user name from Login menu. Press OK.
To create a new user, see Section 9, Using The Teacher Software.
Figure 7-1. User Selection Screen
Use System Navigation buttons to enter User password. Each button represents a specific numeral (1 − 4) as shown in Figure 7-2. (The default
Admin user password is 1111.) Press OK.
Passwords are established by the instructor. Guest users do not need a password.
The default Admin user
password is 1111.
Figure 7-2. Password Screen