ZS3 Service Manual Page 136 of 295
3. Use a Philips screwdriver to install the four (4) 33104-00 screws that attach the
printer/bracket assembly to the user interface base.
Figure 14.2-ZS3: Printer Bracket Mounting to ZS3 Cart
4. NOTE: The printer comes out of the box with M3 Phillips head screws installed
in its threaded mounting holes, as placeholders or thread protectors. These
screws need to be removed before sliding the printer into the bracket. Place
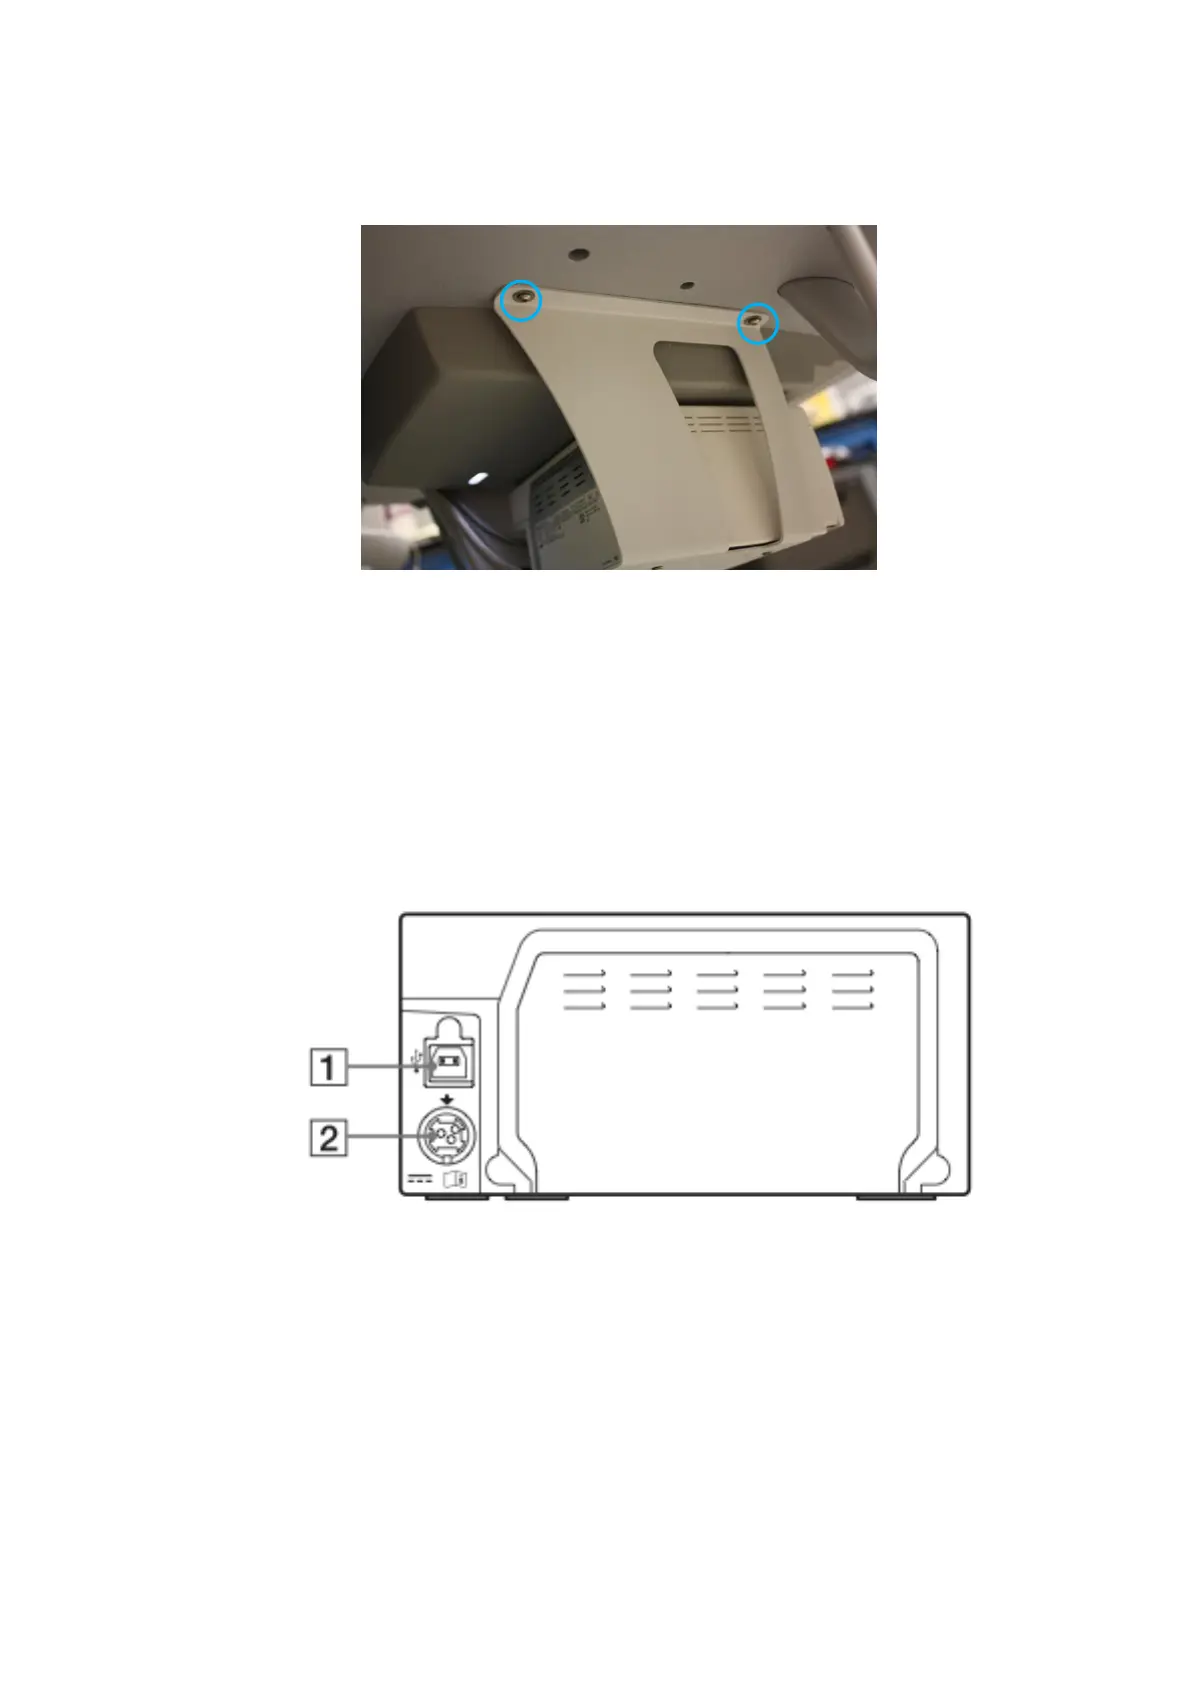
printer into bracket and slide back toward cart column to expose power and
USB connections on right side. Connect USB cable to printer. Connect power
cable to printer.
Figure 14.3-ZS3: Cable Connections (UP-D711)
 Loading...


