ZS3 Service Manual Page 146 of 295
Figure 14.13-ZS3
Notes: Screw tightening torque: M4: 6-7 kgf.cm
For upgrade gel warmer
Tools: Screw Driver,
Auxiliary material: Cable Tie, PVC electric insulation tape
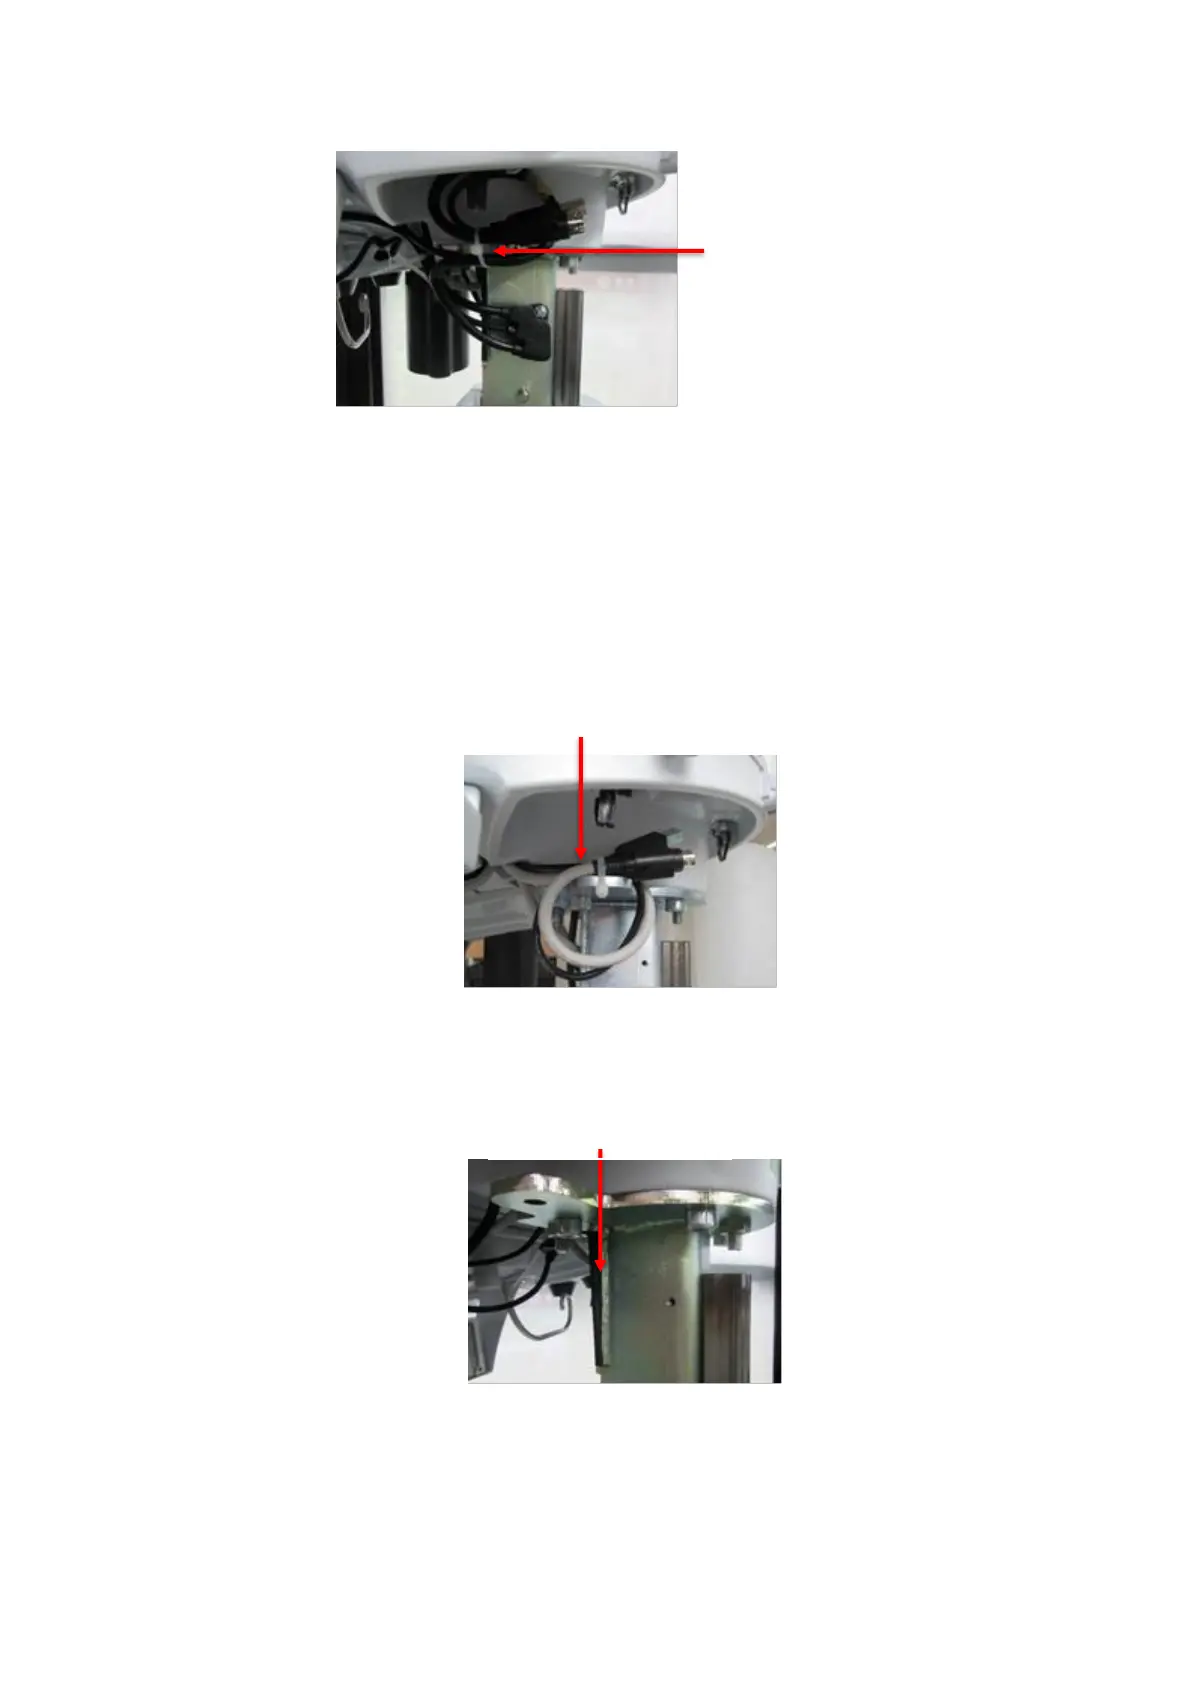
1. Drop telescoping cover to find preinstalled printer power and USB cables. Cut cable-
tie to release their free ends and route them forward.
Figure 14.14-ZS3
2. Paste 70-80mm length of PVC electric insulation tape on the edge of the Stem
weldment
Figure 14.15-ZS3
3. Use a screwdriver to install the 1 Pan head screw M4X12 that attach the Gel warmer
cable to the Stem weldment
the tail of the Gel
Warmer cable and
printer USB cable (If
printer with no
options)
 Loading...


