Users Guide ValueJet 1614
37 AP-75790 Rev 1.4 -22/02/2011,
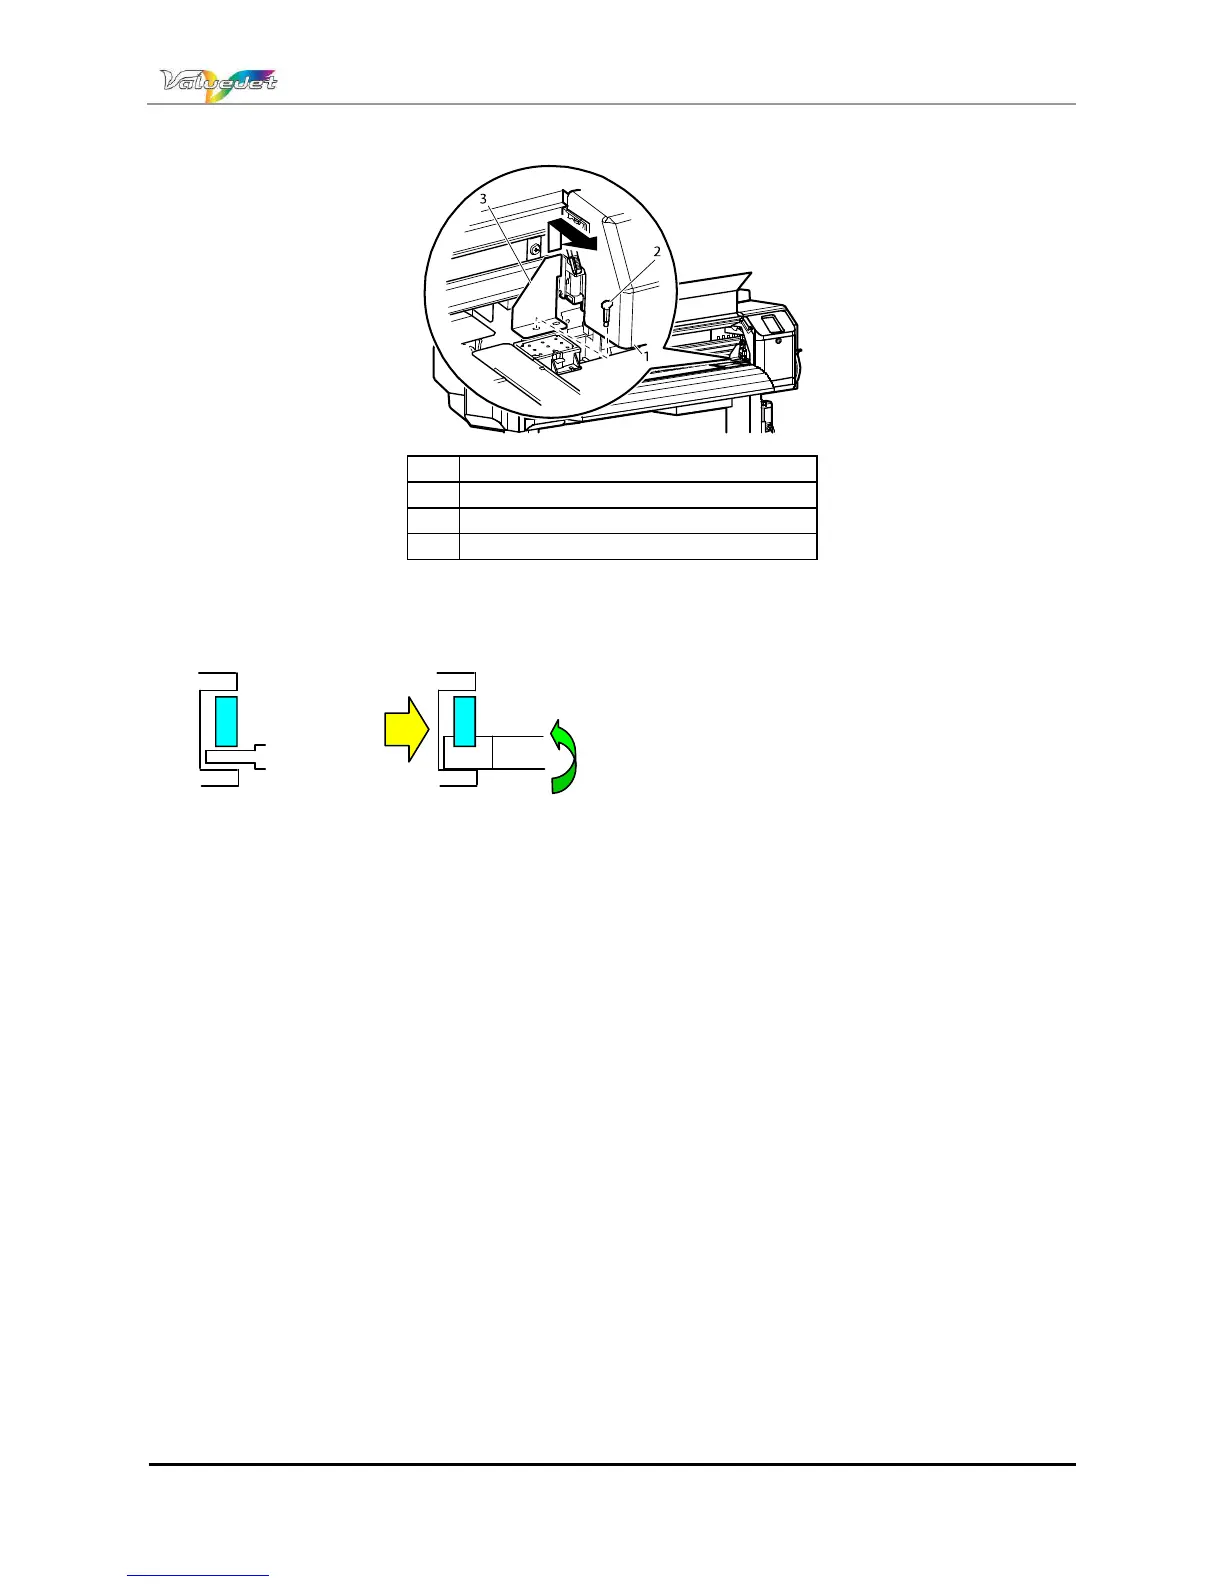
Step 8 : Attach the protective material (metal plate) to the head unit, and fix it with thumbscrews.
N° Name
1 Head unit
2 Butterfly screw
3 Head unit fastening material (metal plate)
Step 9 : Open the right maintenance cover and the front cover
Step 10 : Install the plastic bar while lifting the carriage.
Step 11 : The plastic bars are installed to both right and left side of the carriage.
Step 12 : Remove the printer from the stand. Refer to: Installation guide
Step 13 : Repack the printer.
(2) Post-transport procedure
Step 1 : To perform unpacking, assembling, and placing the printer. Please refer to: Installation guide
Set the printer in an available condition. Please refer to Transferring the printer and Steps after
transfer
Y rail
CR belt fixing
plate
Carriage fixing
shaft
 Loading...