Installation
3-9
Part 1079832_04
E 2015 Nordson Corporation
Applicator Flushing
Flushing the applicator removes cleaning solution, adhesive, and other
contaminants from the equipment. The applicator should be flushed before
initial use and anytime you change the adhesive in the hot melt system. This
helps prevent clogging of the filter or nozzles and makes the applicator work
more efficiently.
Prepare for Applicator Flushing
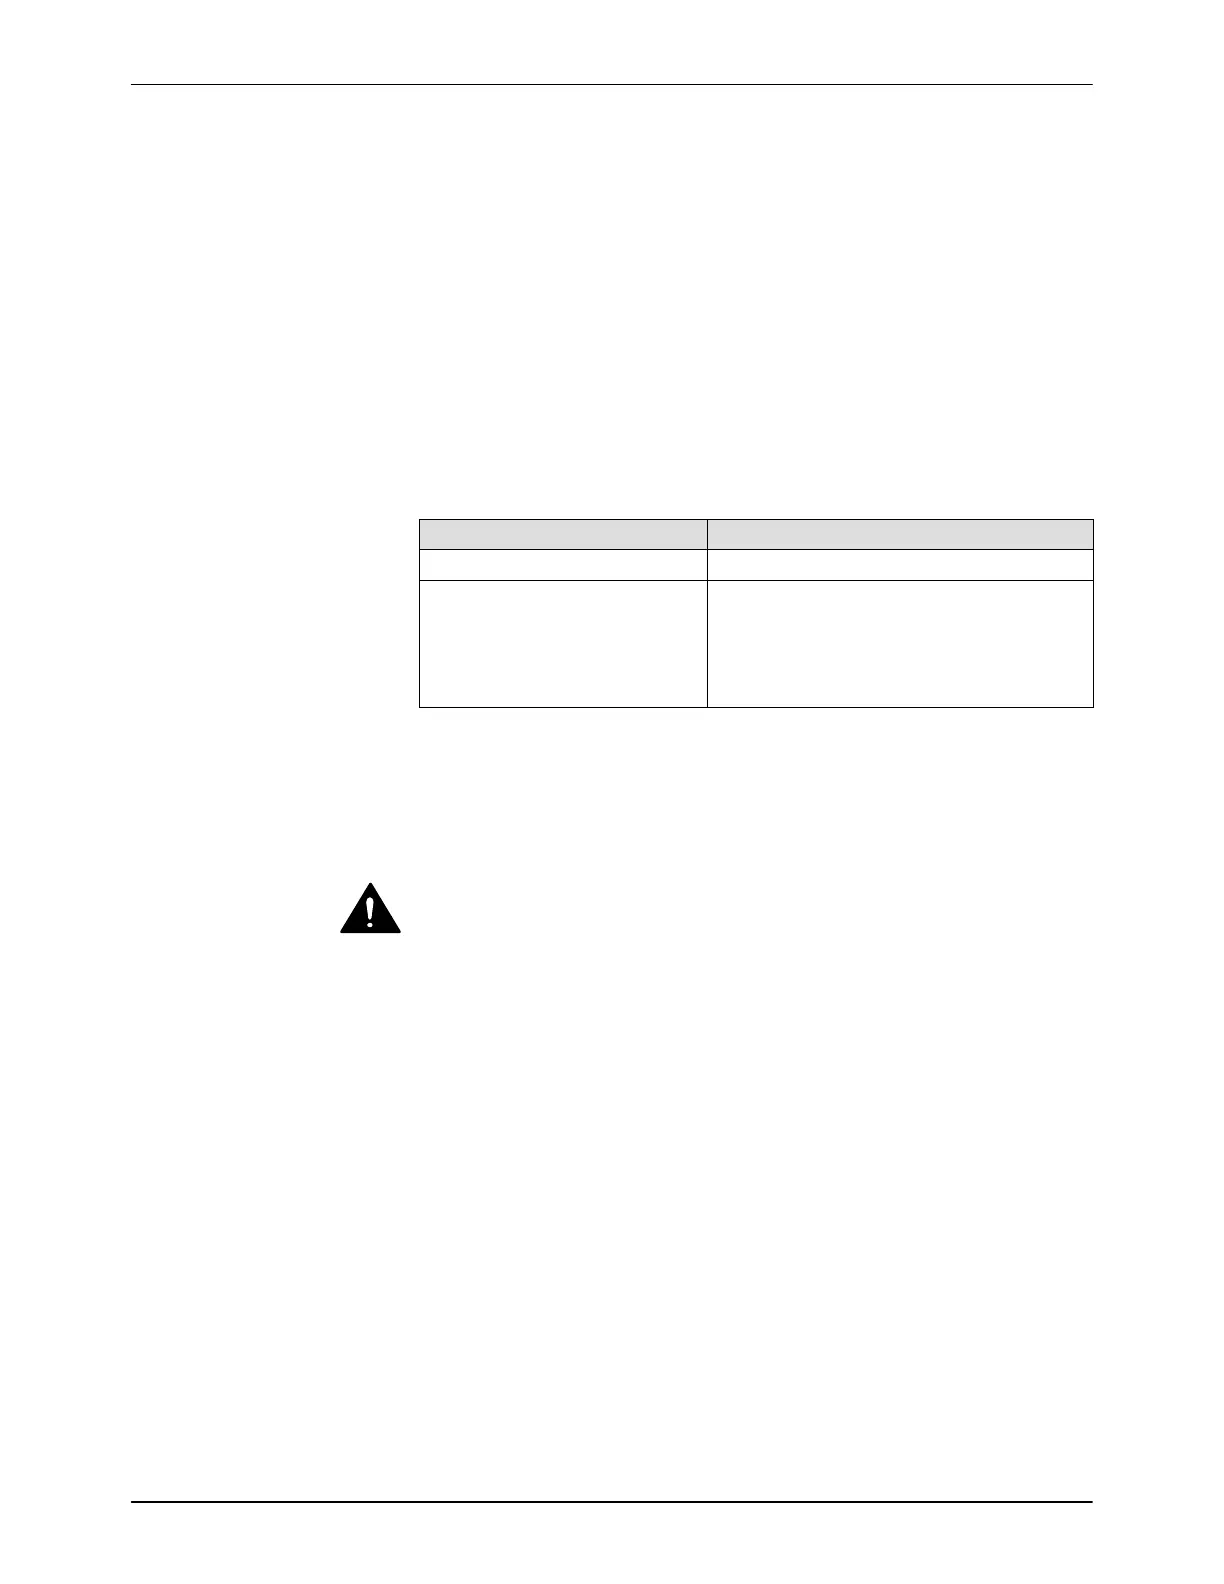
1. Determine whether you need to flush the applicator with adhesive or with
cleaning fluid and then with adhesive. Refer to Table 3‐1.
Table 3-1 Applicator Flushing Situations
Situation Flushing Materials to Use
Initial startup Adhesive only
Changing adhesive in the
system
a. Cleaning solution compatible with
both the old and new adhesives
b. New adhesive (to remove the
cleaning solution)
2. Heat the system to application temperature. Refer to the melter manual
as needed.
3. Stop the melter pump(s).
4. Place drain pans under the applicator drain valves, the hose connections,
and the modules.
WARNING! Risk of burns. Failure to relieve system pressure can cause hot
adhesive to spray from a connecting point. Relieve system pressure before
loosening or removing a hose, module, or any other part of the hot melt
system. Wear heat‐protective clothing, safety goggles (ANSI Z87.1 or
equivalent), and safety gloves.
5. Relieve system pressure. Refer to Relieving System Pressure in
Section10, Filter.
6. Flush the applicator by performing the following procedures with each
flushing material to be used:
S Flush the Hose
S Flush the Filter
S Flush the Manifold
S Flush the Modules
 Loading...

