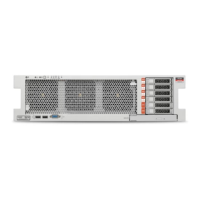
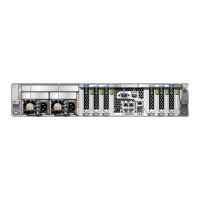
Remove the NVMe Cables
2.
Install the SAS cables into the drive backplane (1).
The SAS cable ends that connect to the drive backplane are different, one is horizontal and one
is vertical. Install each cable end into the appropriate connector.
3.
Connect the SAS cables to the internal HBA card (2).
4.
Install the PCIe riser with the internal HBA card into PCIe slot 3.
See “Install the PCIe Riser Into PCIe Slots 3 and 4” on page 94.
5.
Install all of the server fan modules.
See “Install a Fan Module” on page 65.
6.
Install the server mid-wall.
a.
Position the mid-wall over the front of the motherboard so that it engages
the mushroom-shaped standoffs that are located on the server chassis
sidewall (one for each end of the mid-wall).
b.
Ensure that SAS cables are not pinched by the mid-wall and that they run
beside the mid-wall and not under it.
c.
Tighten the four green captive screws to secure the mid-wall to the server
chassis, use No. 2 Phillips screwdriver.
7.
Replace the air baffle.
8.
Return the server to operation.
See “Returning the Server to Operation” on page 145.
Related Information
■
“Remove the HBA SAS Cable Assembly” on page 119
Remove the NVMe Cables
This is a cold-service procedure that must be performed by qualified service personnel. The
server must be completely powered down before performing this procedure.
1.
Prepare for servicing.
See “Preparing for Service” on page 33.
122 SPARC S7-2 Server Service Manual • March 2017

 Loading...
