Installation and alignment
Operating Manual PSEN sc M 3.0/5.5 08-17
1005387-EN-05
| 74
8 Installation and alignment
8.1 Installation options
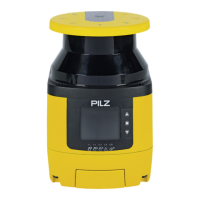
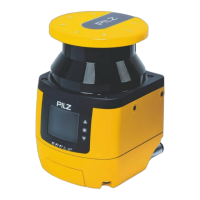
The safety laser scanner can be installed in various ways.
} Installation directly on to mounting surface [ 74]
} Installation of the protective bracket PSEN sc bracket H on the safety laser
scanner [ 75]
(Prerequisite for the following installation options)
} Installation on the floor [ 76]
} Installation for inclination to the side or upwards and downwards [ 77]
} Installation for inclination upwards and downwards [ 79]
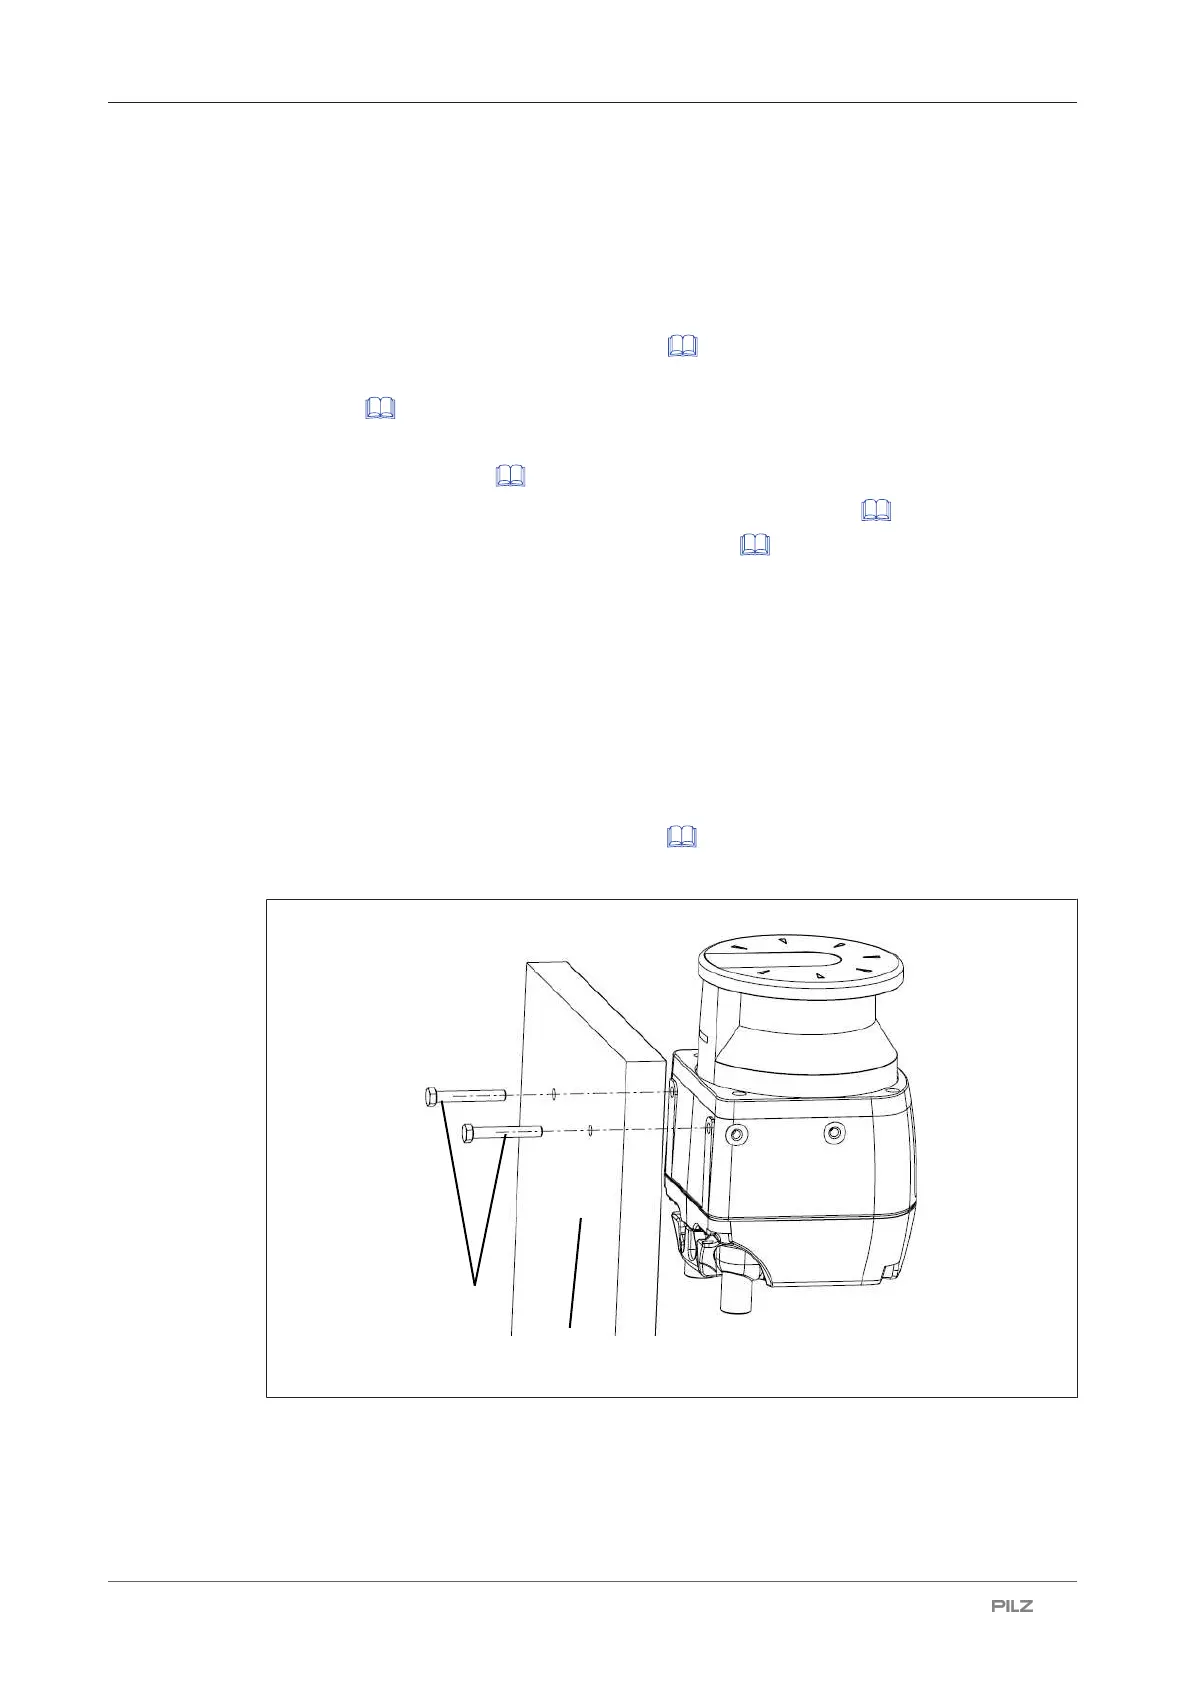
8.2 Installation directly on to mounting surface
For direct installation of the safety laser scanner on the mounting surface, two threaded
holes are provided at the rear of the safety laser scanner.
Note:
} With direct installation of the safety laser scanner at the mounting surface, the safety
laser scanner cannot be inclined to the side or to the top/bottom.
} Ensure that the front panel of the safety laser scanners is not covered by a wall or an-
other plane. Note the distance to the walls [ 51].
} To fix the safety laser scanner, use M5 screws for a max. screw depth of 10 mm.
Legend
[1] Mounting surface
[2] M5 screws
 Loading...