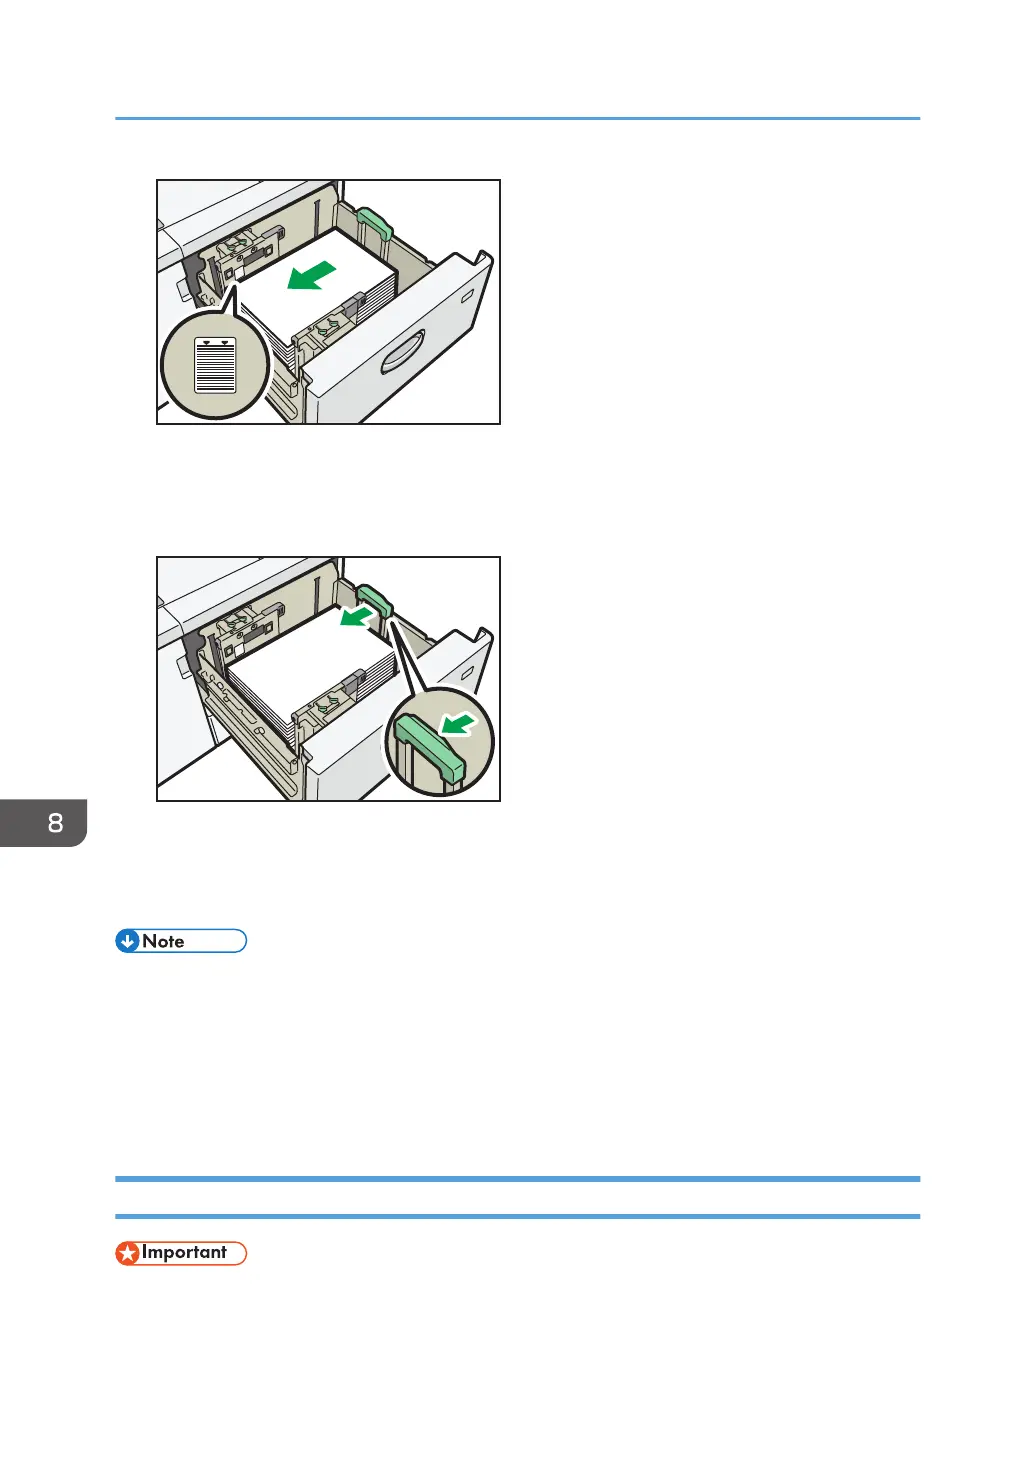
10. While pressing the release button of the end fence, align the end fence gently against the
paper you loaded.
Make sure that there is no space between the paper and end fence.
11. Carefully slide the paper tray fully in.
If you push the paper tray too forcefully when you put it back in place, the position of the paper
might change and print accuracy becomes lower.
• If you select Paper Weight 6 to 9, [Coated Paper: High Gloss], [Coated: Glossy], [Coated: Matte],
[Label Paper], or [Transparency] in [Tray Paper Settings], air is blown out automatically to fan the
paper loaded in the wide LCT. Fan this paper before loading it. For details, see page 163
"Fanning the paper".
• You can load envelopes in the wide LCT. When loading envelopes, place them in the correct
orientation. For details, see page 205 "Envelopes".
Loading Paper into the Interposer
• Do not place anything on top of or leave documents on the sensor. This may lead to the paper size
not being correctly scanned or paper jams.
8. Adding Paper and Toner
182
 Loading...


