ROXELL - 031 - 0516
FLEX-AUGER - INSTALLATION INSTRUCTIONS
III-39
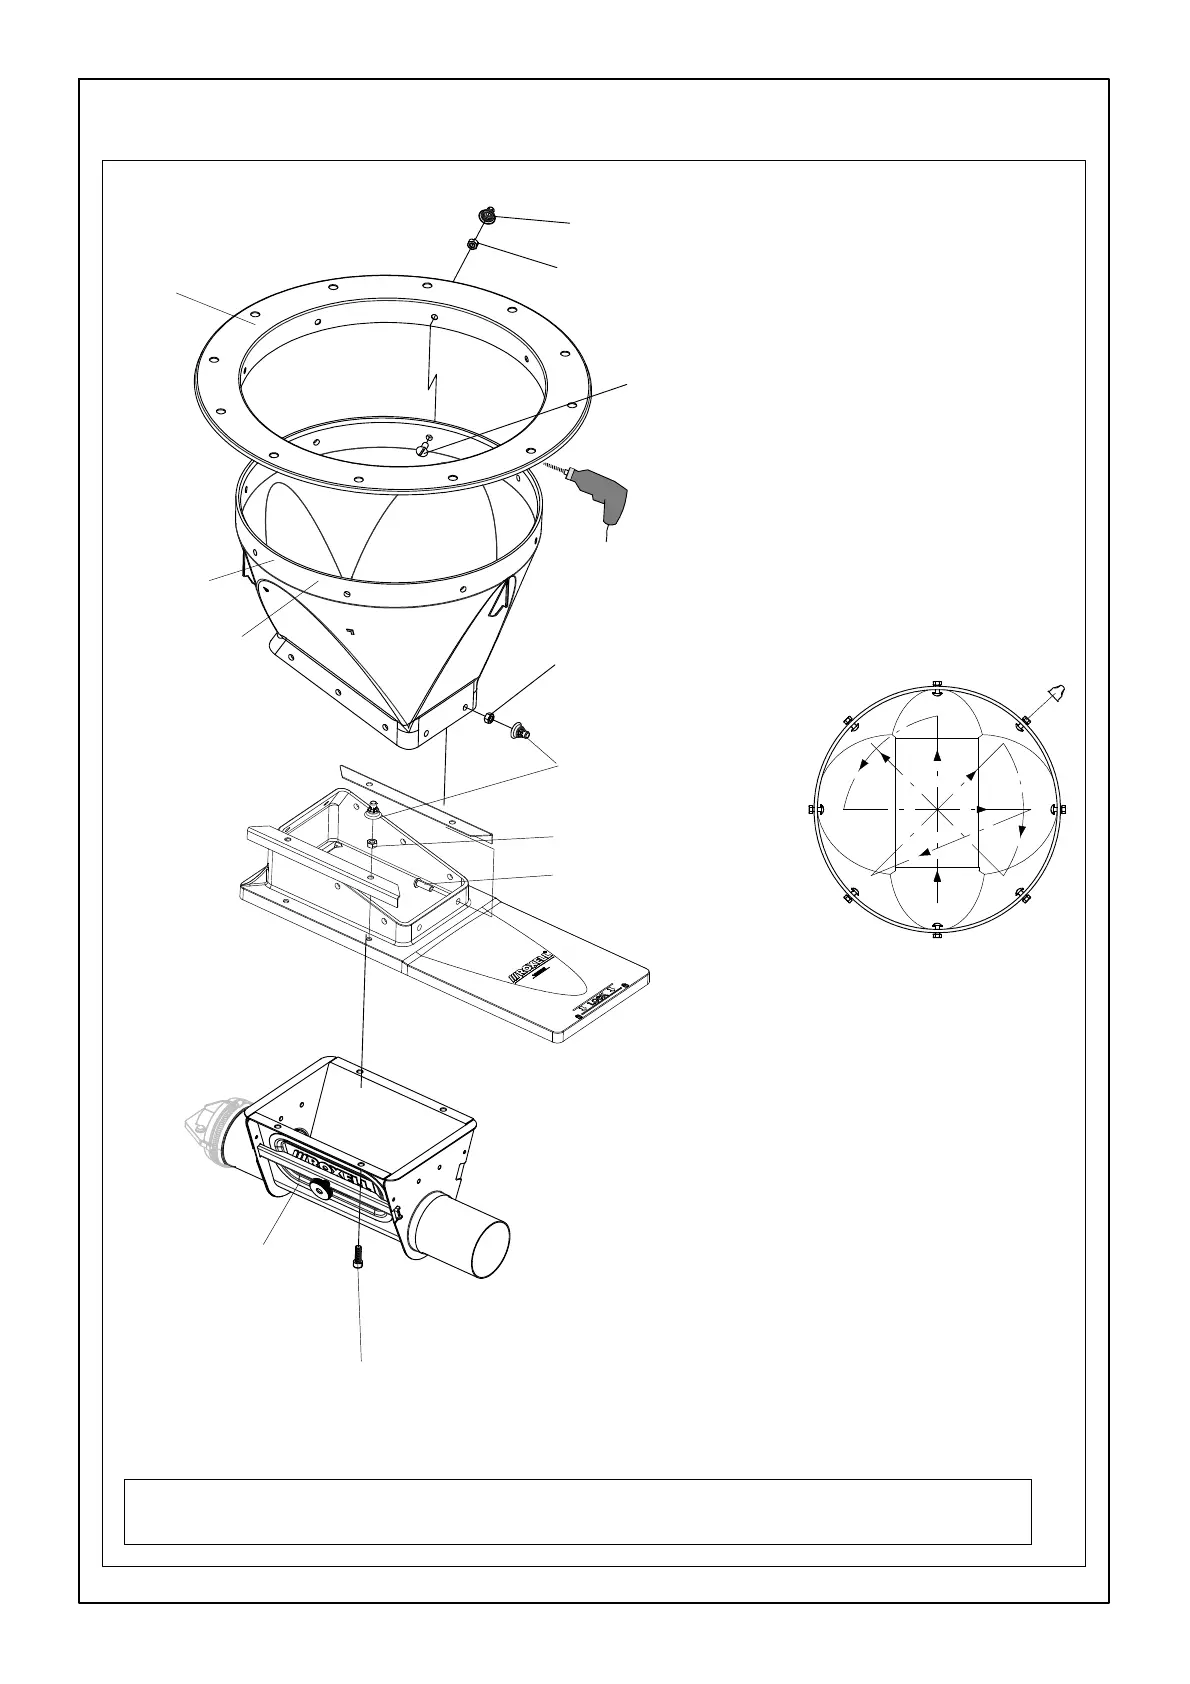
TO INSTALL THE BOOT ASSEMBLY
Upper boot.
ASSEMBLY - EXAMPLE UPPER BOOT (0_)
*8holes ø9.
Fix the transfer plate to the
upper boot.
Seal cap.
Fix the intake boot to the
transfer plate.
FIGURE 71.
Bin collar.
10 Hex. socket button head
screw M8X25.
1. Slide the edge of the upper boot as far as pos-
sible in the bin collar.
2. Make sure that the lower part of the boot
points in the direction the transport lines will
follow !
3. Drill a hole dia. 9 mm (1). Fix by hand with the bolt
and the nut.
4. Drill the opposite hole (2).Fixbyhandwiththebolt
and the nut.
5. Drillaholeat90_ (3), then drill the opposite hole
(4). Fix by hand with the bolt and the nut.
6. Proceed in the same way for the other fixing points
(5-8).
7. Use a ring spanner to tighten all nuts with a moment
of 4Nm in the same sequence (1-8). Do not tighten
too much (cracks!).
8. Install the seal caps.
1
5
3
8
2
6
4
7
8 M8X20.
4 socket cap screws M8X25.
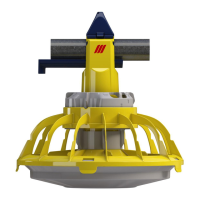
FLEX AUGER 125 :
First check sense of rotation of the auger, then install the thumper.
Nut M8.
Nut M8 PA6 black.
Seal cap.
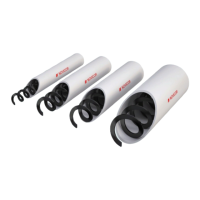
Intake boot.
Nut M8 PA6 black.