ROXELL - 031 - 0516
FLEX-AUGER - INSTALLATION INSTRUCTIONS
III-44
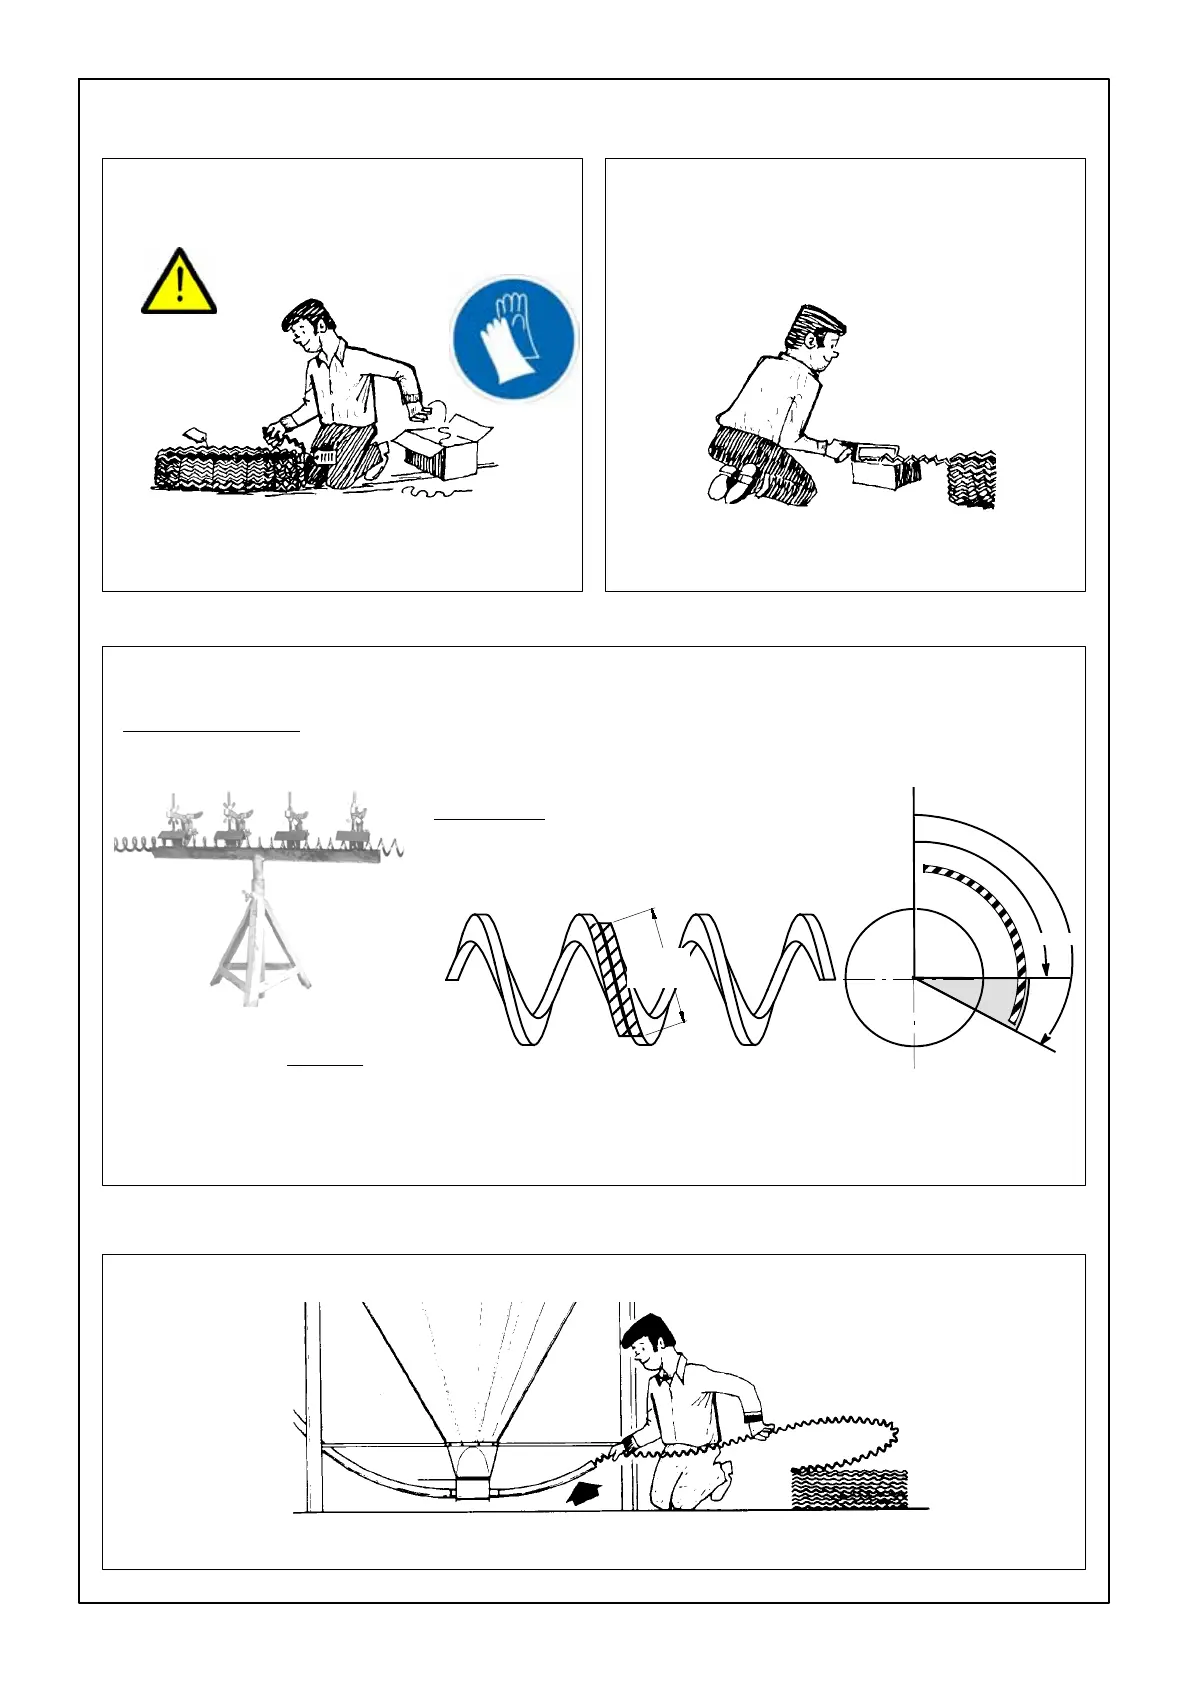
TO INSTALL THE AUGER
Remove all wires, labels etc... from the auger.
If the auger is kinked or bent: straighten it by
plying it over the upper leg.
FIGURE 87. FIGURE 88.
TAKE CARE THAT THE AU-
GER DOES NOT UNROLL !
If you can't straighten the auger, cut out the
kinked part.
Then braze the auger according to our instruc-
tions.
! KINKS OR DENTS WEAR OUT THE TUBES !
DANGER
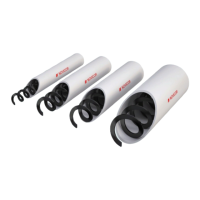
AUGER BRAZING
FIGURE 89. FIGURE 90.
Always use hard solder. We recommend a bronze, flux-coated rod.
The joint must be well filled. Avoid sharp edges or rough corners :
these wear out the tubes. Braze at low temperature.
Allow the joint to air cool. Rapid cooling makes the joint brittle and
breakable. Remove alle sharp welding seams that could wear out the
tube from the outer edges of the auger !
MAX. 1/3
MIN.1/4
MIN. 1/4
MAX. 1/3
Weld length.
Min.
1
/
4
of the auger circumference, up to
max.
1
/
3
of the auger circumference.
Have the joint as closely as possi-
bletotheMOTOR.
NEVER have
a joint in an elbow !
Firmly clamp the auger ends
against one another
, in one li-
ne, in an angle or channel iron.
FIGURE 91.
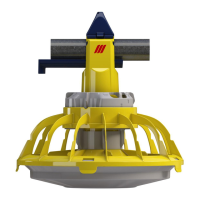
Slide the auger into the tubes through the rear end of the boot with short strokes.
You can use a piece of elbow to work more easily.