(Continued)
CONVERSION OF DEPARTMENT LAYOUT
CONVERTING TO 24 DEPARTMENTS
IMPORTANT: Make sure
the
back-up
batteries have been installed
to
insure any programming
or
data
will
not
be lost when unplugging
the
register. It is recommended
to
convert the departments either
bEidore
programming the register;
or
at
the
beginning
or
close of the
business
day. '
1.
Tum the Control Lock
to
the OFF position and unplug the cash register.
2.
Remove the department keys: Insert the head
of
a small screwdriver under the key
and
lift
off.
(Be
careful
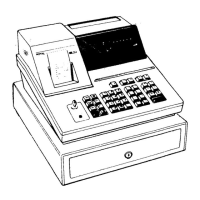
not to let the paper label fall into the keyboard mechanism). See Figure 3 (Page 26).
3.
Locate the key top label sheets with the 24 department key layout.
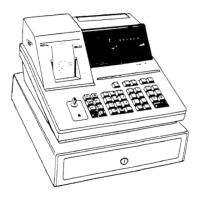
See
Figure
2.
4.
Write the description of the department key on the label
if
desired and place each label on one of the gray
key tops
and
cover with a clear plastic key cap. Snap the cap into place
to
secure.
5.
Repeat Step 4 for each of the department keys. Please note that the key top sheets must
be
replaced for
all
department keys
to
show the correct 24 key layout (including Departments
5,
10,
15
and
20).
See
Figure
~
.
6.
Place each department key on a post in the order shown in Figure
2.
Press down"'to secure.
To program the
cash
register for this new 24 Department
Key
Layout you must program
Flag
24
following the
procedure below
..
This flag setting can be done before or after changing the department
keys.
Please refer to Pages
29-31
for Department Status programming
to
set the tax status, pre-set pricing, etc.
as
needed. . .
AT
"PRG"
(PROGRAM) POSITION:
1.
Example:
To
select
20/40
department layout:
II
(PRG)
+ (2}{4) +
(0)
+ (VOID)
II
2.
Example:
To
select 15/30 department layout:
\1
(PRG)
+ (2)(4) +
(1)
+ (VOID)
1\
28