Getting Started
Making Connections
Before you can make any music with P3, it must be connected to a power supply and a MIDI
synthesizer, sound module or MIDI to CV convertor and analogue synthesizer.
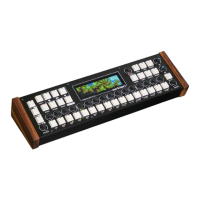
The rear panel connections look like this:
From left to right, the sockets are:
• SYNC output, which carries both a clock-only MIDI signal and DIN Sync 24
• four parallel MIDI outputs (all carry the same signal – it’s a built-in thru-box)
• MIDI input
• Power supply input
The MIDI and SYNC connections are all standard 5-pin DIN sockets.
The power supply input is a 2.1mm barrel-type connector.
P3 needs a supply of 9 volts DC with centre positive polarity, or 9 volts AC.
Current rating must be at least 400mA.
With a power supply and suitab le MIDI instrument attached, you can power-on and start making
music…