76
Network function
PresstheWPSbuttonontherouter/access
point.WhenyoupresstheWPSbutton,a
progress bar will appear on the display. Wait until
the connection is established.
Select“OK”whentheconnectiondetailsare
displayed.
•Ifyouhavefailedtoconnecttotheinternetin
theaboveoperation,anerrormessagewill
appear.
5
6
Select“Next”toproceed.
Goto
“Wireless setup”
s
"Change",
and then
press
?
.
Press
a
/
b
toselect“WPSpushbutton”,and
then press
?
.
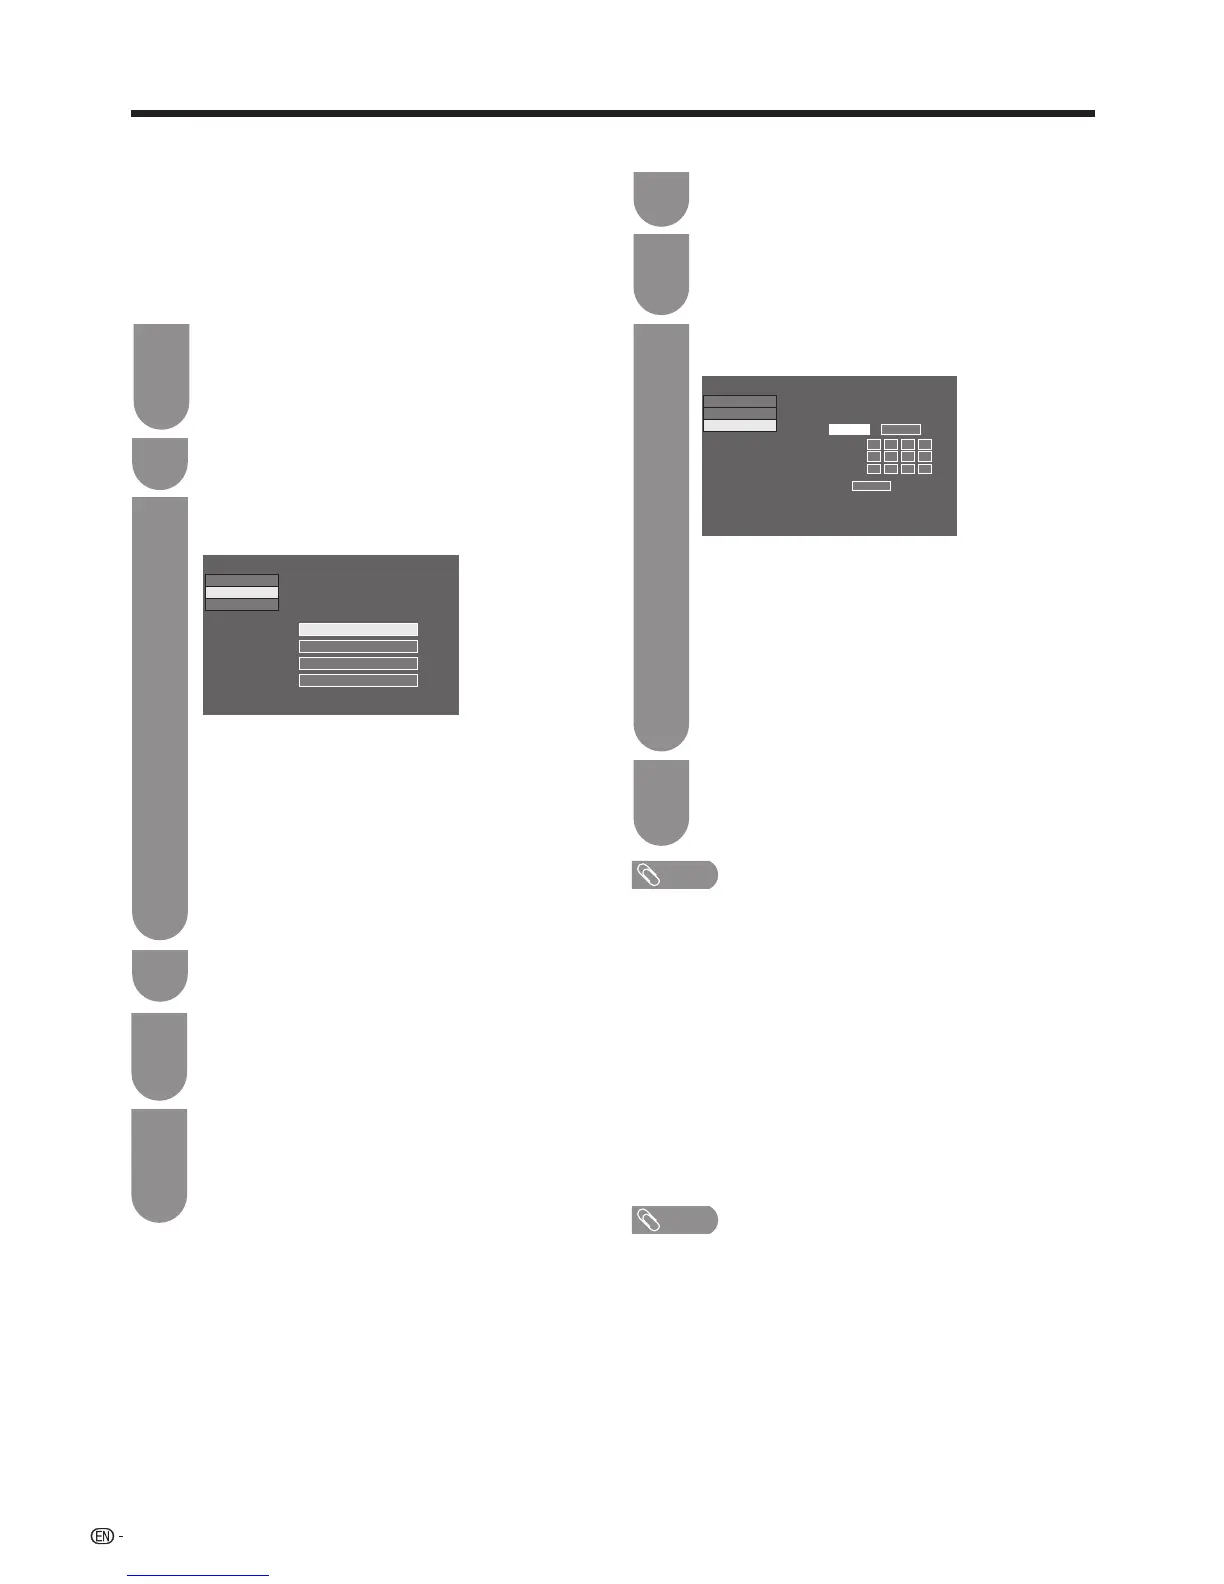
$POOFDUJPOUZQF
8JSFMFTTTFUVQ
3FHJTUFSTUIFXJSFMFTTOFUXPSL1MFBTFTFMFDU
IPXUPDPOOFDU
814QVTICVUUPO
8141*/DPEF
4FMFDUJOHXJSFMFTTOFUXPSL
3FHJTUFSJOHXJSFMFTTOFUXPVL
*1TFUVQ
57<4FUVQ7JFXTFUUJOH/FUXPSLTFUVQ-"/TFUUJOH>
•
Ifyourrouter/accesspointdoesnotsupportWPS
(Wi-FiProtectedSetup),select“Selectingwireless
network”andfollowtheon-screeninstructionsand
theoperationmanualoftherouter/accesspoint.
• Toestablishtheconnectionmanually,select
“RegisteringWirelessnetwork”.Followtheon-
screen instructions and the operation manual of
therouter/accesspoint.
• Toestablishtheconnectionmanually,select“WPS
PINcode”.Followtheon-screeninstructionsand
theoperationmanualoftherouter/accesspoint.
1
4
2
3
NOTE
• ToconnectyourTVtotheinternet,youmusthavea
broadband internet connection.
• Ifyouraccesspointissettoastealthmode(that
preventsdetectionbyotherdevices),youmaynot
beabletoestablishaconnection.Inthiscase,
disable the stealth mode on the access point.
• IfyouwanttochangetheIPsettingsmanually,go
to “Menu”
s
“Setup”
s
“Viewsetting”
s
“Network
setup”
s
“IPsetup”andfollowtheon-screen
instructions and the operation manual of the router.
• Astherearelotofformatsintheinternet,some
formatsmaynotbesupportedbythisTVunit.
Goto"Menu"
s
"Setup"
s
"Viewsetting"
s
"Networksetup"
s
"LANsetting"
s
"Manual
setup"
s
"Yes".
"Connectiontype"
s
"Wireless"
s
"OK".
1
Goto"Menu"
s
"Setup"
s
"Viewsetting"
s
"Networksetup"
s
"LANsetting".
2
Press
a
/
b
to select “Manual setup”, and then
select"Yes",press
?
.
•Goto
"Connectiontype"
s
"Wired"
s
"OK".
3
Pressa/btoselect“IPsetup”,press?,
select"change"andthenpress?.
Select“OK”,andthenselect“Finish”.
• IfyouhavefailedtoconnecttotheInternet
intheaboveoperation,anerrormessagewill
appear.
4
• Set“GettheIPaddressautomatically”and
“GettheDNSaddressautomatically”to
“Yes”,tonishthenetworksetup.
• Thewirednetworkisnowestablished
automatically.Ifyouwanttomanually
change the settings, go to “Menu”
s
“Setup”
s
“Viewsetting”
s
“Network setup”
s
“LANsetting”
s
“IPsetup”andfollowthe
on-screeninstructionsandtheoperation
manual of the router.
(FUUIF*1BEESFTT
BVUPNBUJDBMMMZ
:FT /P
---
---
---
---
---
---
---
---
---
---
---
---
*1BEESFTT
/FUNBTL
(BUFXBZ
/FYU
$POOFDUJPOUZQF
8JSFMFTTTFUVQ
*1TFUVQ
57<4FUVQ7JFXTFUUJOH/FUXPSLTFUVQ-"/TFUUJOH>
Wireless installation
Wired installation
w Connection test
•
Youcantestthenetworkconnectionstatus.
NOTE
•
Successfullypassingtheconnectiontestdoesnot
guaranteethatyoucanconnecttoallthird-partyservices.
w Manual setup
• Youcanselecttheconnectiontype(wired/wireless),
choosethewirelesssetupmode,andsettheIP
address.
• Followtheon-screeninstructionstocompletethe
network setup.