83
USB recording playback (continued)
Playbackrecordedscenesoftheprogrammebeing
recorded.
Press
d
during recording.
•
Press
REC STOP
H
to return the scene that is
broadcasting.
NOTE
• Youcanalsooperatefromthecontrolpanelby
pressing CONTROL.
• USBrecordingplaybackmaytakeawhiletostart.
• USBrecordingplaybackwillstopandtheTVwill
return to normal broadcasting when a programme is
fast-forwardedtoascenethatisneartothescene
currently being broadcast. The timing at which it
returnsdependsonthespeedoffast-forwarding.
w
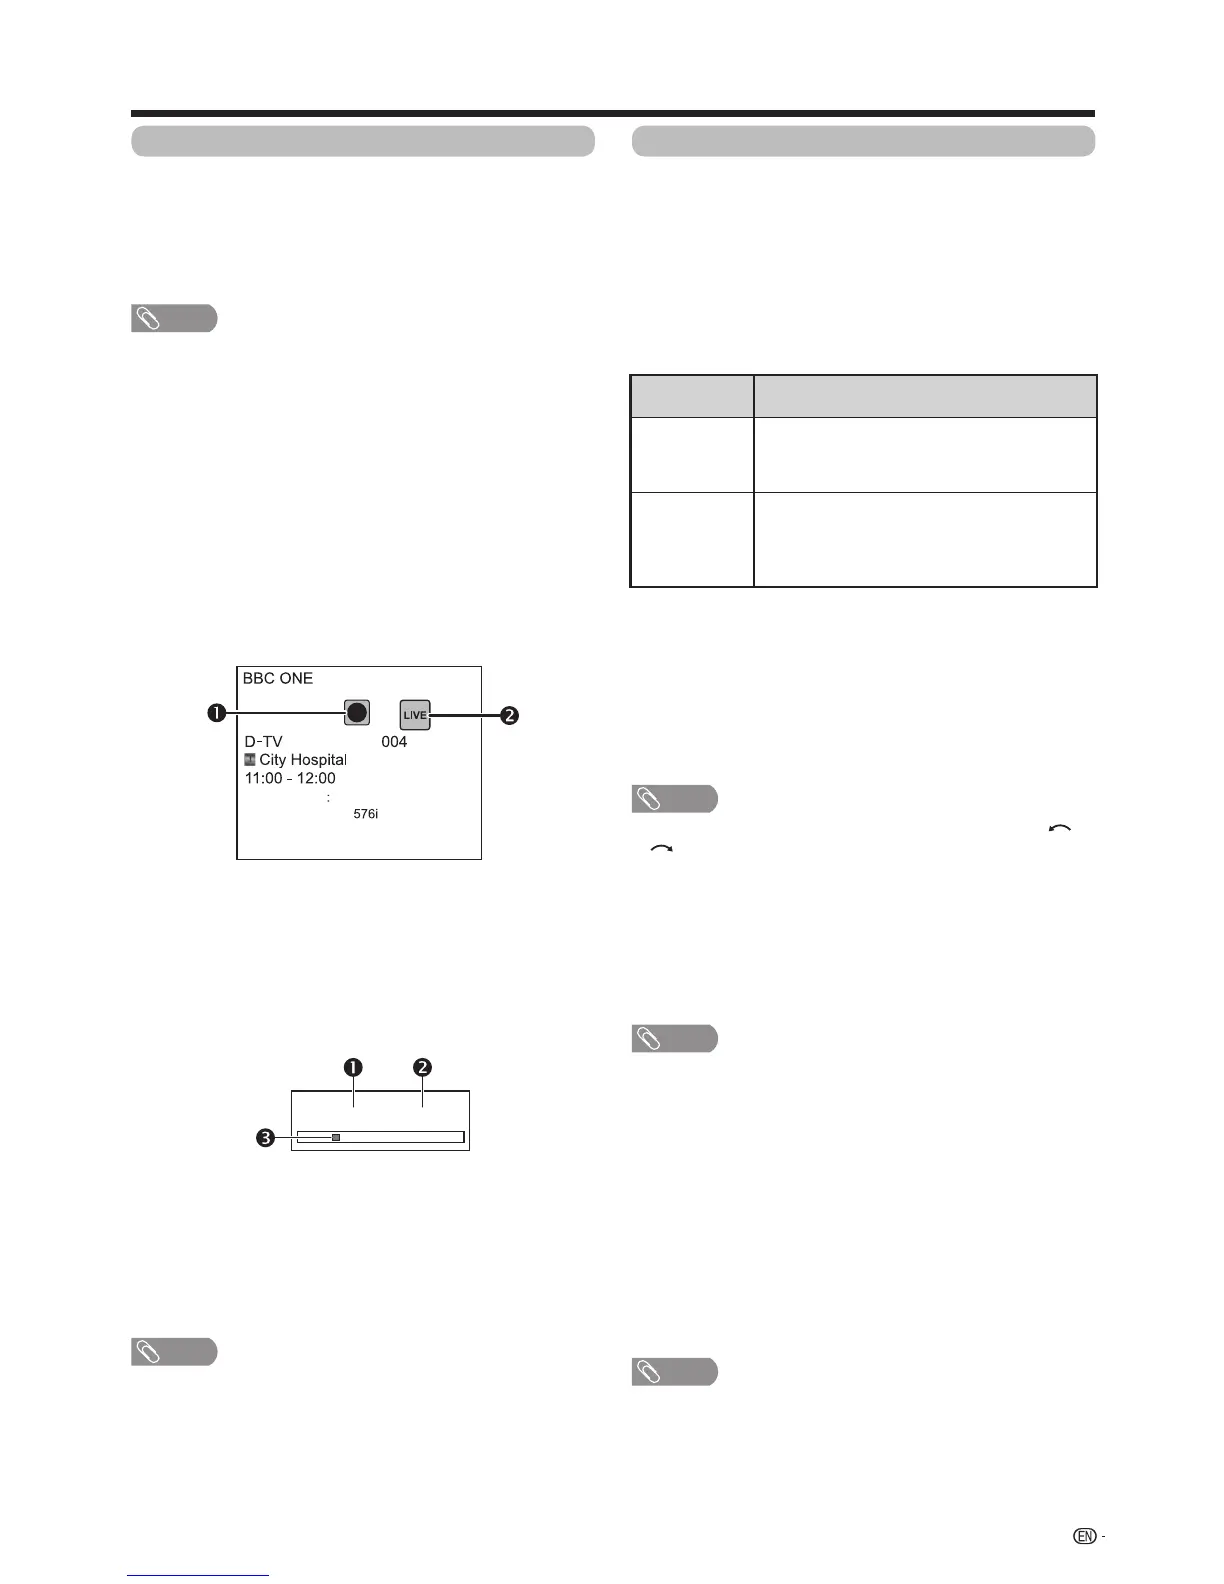
Display information regarding USB
recording
E
Channel display
ChannelinformationdisplaysbypressingDISPLAY on
the remote control unit.
View setting
w Auto input selection
Youcanchoosewhetherornottoswitchtheinput
sourceautomaticallywhenreceivinganAQUOSLINK
compatiblesignalontheTVduringUSBrecording
operations.
Goto“TVMenu”
s
“Setup”
s
“Viewsetting”
s
“USBRECsetting”
s
“Autoinputselection”.
Selected item
Description
Enable
ReleaseUSBrecordingwhenreceivingan
AQUOSLINKcompatiblesignal.Switch
input source automatically.
Disable
USBrecordingcontinuestowork.TheTV
does not switch input source automatically
evenwhenreceivinganAQUOSLINK
compatible signal.
w Jump time setting
Youcansetthetimeintervalforplaybacktoresume
afterjumpingbackwards/forward.
Goto“TVMenu”
s
“Setup”
s
“Viewsetting”
s
”USBRECsetting”
s
“Jumptimesetting”.
• Atimeintervalfrom10sec.to99min.50seccan
be selected.
NOTE
• Youcanusethetimeintervalyousetusingthe or
buttons.
w Device registration
YouneedtoregistertheUSBHDDfortheUSB
recording.
Goto“TVMenu”
s
“Setup”
s
“Viewsetting”
s
”USBRECsetting”
s
“Deviceregistration”.
• RefertoUSB HDD registration (Page80).
NOTE
• OnlyoneUSBHDDcanberegisteredforUSB-
recording.RemoveallUSBHDDsexcepttheone
usedforUSBrecording.
• AtleastUSBHDDswithmemorybetween100GB
and2TBandunderarerequiredforUSBrecording
to register.
• SomeUSBHDDs,suchasoneswhichhavemultiple
drives,etc.,cannotbeusedforUSBrecording.
w Device format
You can format all data on the USB HDD.
Goto“TVMenu”
s
“Setup”
s
“Viewsetting”
s
”USBRECsetting”
s
“Deviceformat”.
NOTE
• Onceformattinghasbeencompleted,datacannot
be restored.
The recording icon shows up when
REC
E
is
pressedandtheTVisrecordingtheprogramme.
The status icon shows up depending on what is
shown on the screen.
E
Counter
The counter displays on the screen with the control
panel.
Currentplaybacktime.
•Hiddenduringrecording.
Total playback time of the content
The yellow bar shows how much time has
progressed.
•Hiddenduringrecordingorplayback-during-recording.
• Youcanalsocalluptheinformationaboveby
pressing CONTROL on the remote control unit
orselect“Control(USBREC)”from“TVMenu”>
“Setup”>“Option”>“Optionforview”.
Other useful features
00:02:38/00:08:18
NOTE
Audio (ENG) STEREO
Video
Subtitle Off
>> New information