Chapter 5: Assembly and Disassembly of Parts
SPD-M20A Service Manual
30
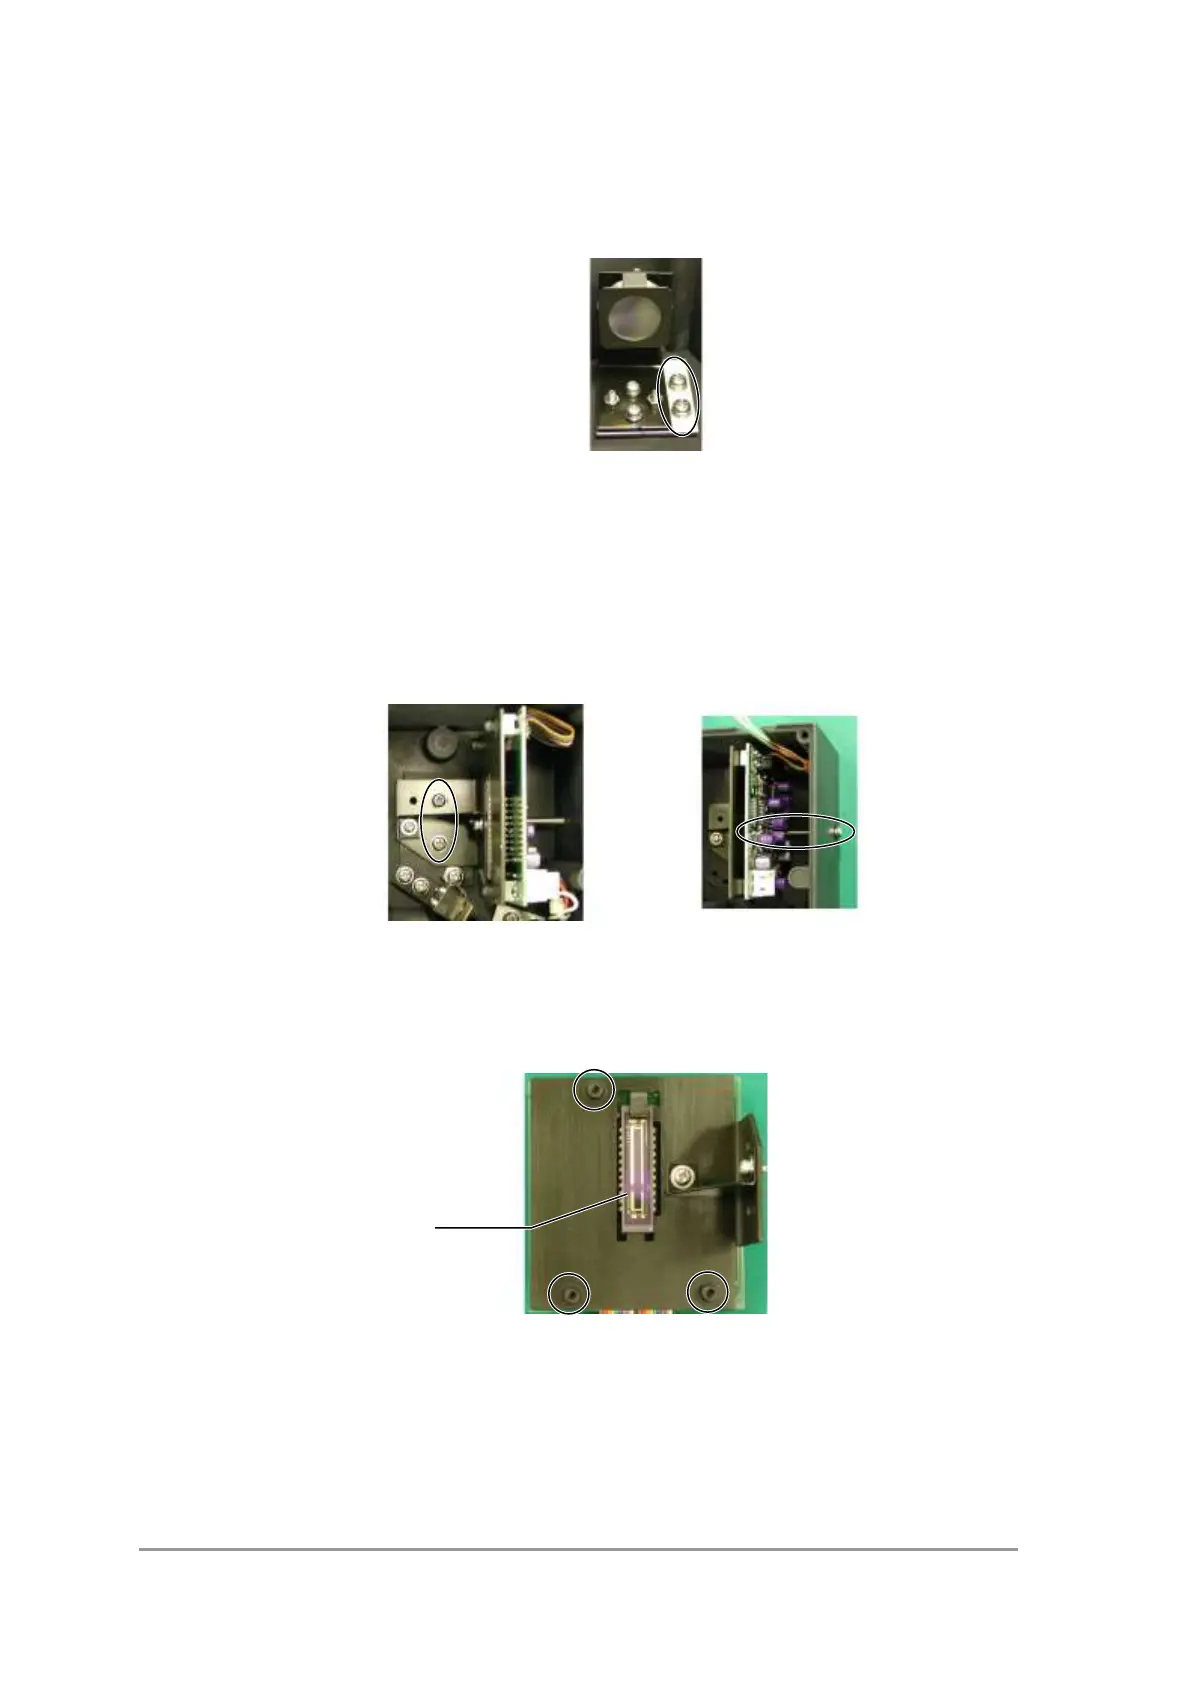
<Grating ASSY>
1) Remove the two screws (sems, P4 M4x8) fixing the grating, and remove the
grating.
Positions of Grating Fixing Screws
2) To adjust the grating after attachment, see 6.6 Grating Adjustment.
<PDA ASSY>
1) Remove the connector for the slit ASSY connected to the PDA ASSY.
2) Remove the screw (M4x50) for adjusting the PDA position and the screws
(sems, P4 M4x8) for fixing the PDA holder, and carefully detach the flat cable
(cable, PDA P/N 228-33962-91).
Positions of PDA Fixing and Position Adjustment Screws
3) To adjust after attachment, see 6.8 Photodiode Array (PDA) Adjustment.
4) Remove the three screws (S socket head, P3 M3x6) on the PDA ASSY, and
remove the PDA holder.
Positions of PDA Holder Fixing Screws
5) Remove the PDA with the special tool (retraction tool, GX-3 P/N 086-16671-01,
etc.).
6) To adjust the new PDA after installation, see 6.8 Photodiode Array (PDA)
Adjustment.
<Slit ASSY>