4. Unscrew the fastening screws at the fan plate.
5. Pull the fan at the metal flap to the front to remove it out of the device [C].
6. Insert the new fan in reverse order.
7. Repeat the procedure for the second fan.
Replacing the capacitor unit
1. Remove the fastening screws [A] of the cover (Torx 10).
2. Then, remove the other fastening screws [B] of the cover (Torx 20) and remove the
cover carefully from the device to the front.
3. Unplug the connector from the female connector [D].
4. Unscrew the fastening screws.
5. Lift the capacitor unit carefully and pull it to the front to remove it out of the device
[E].
6. Insert the new capacitor unit in reverse order.
7. Repeat the procedure for the second capacitor unit.
5.8.2.2 Device 0362281BF
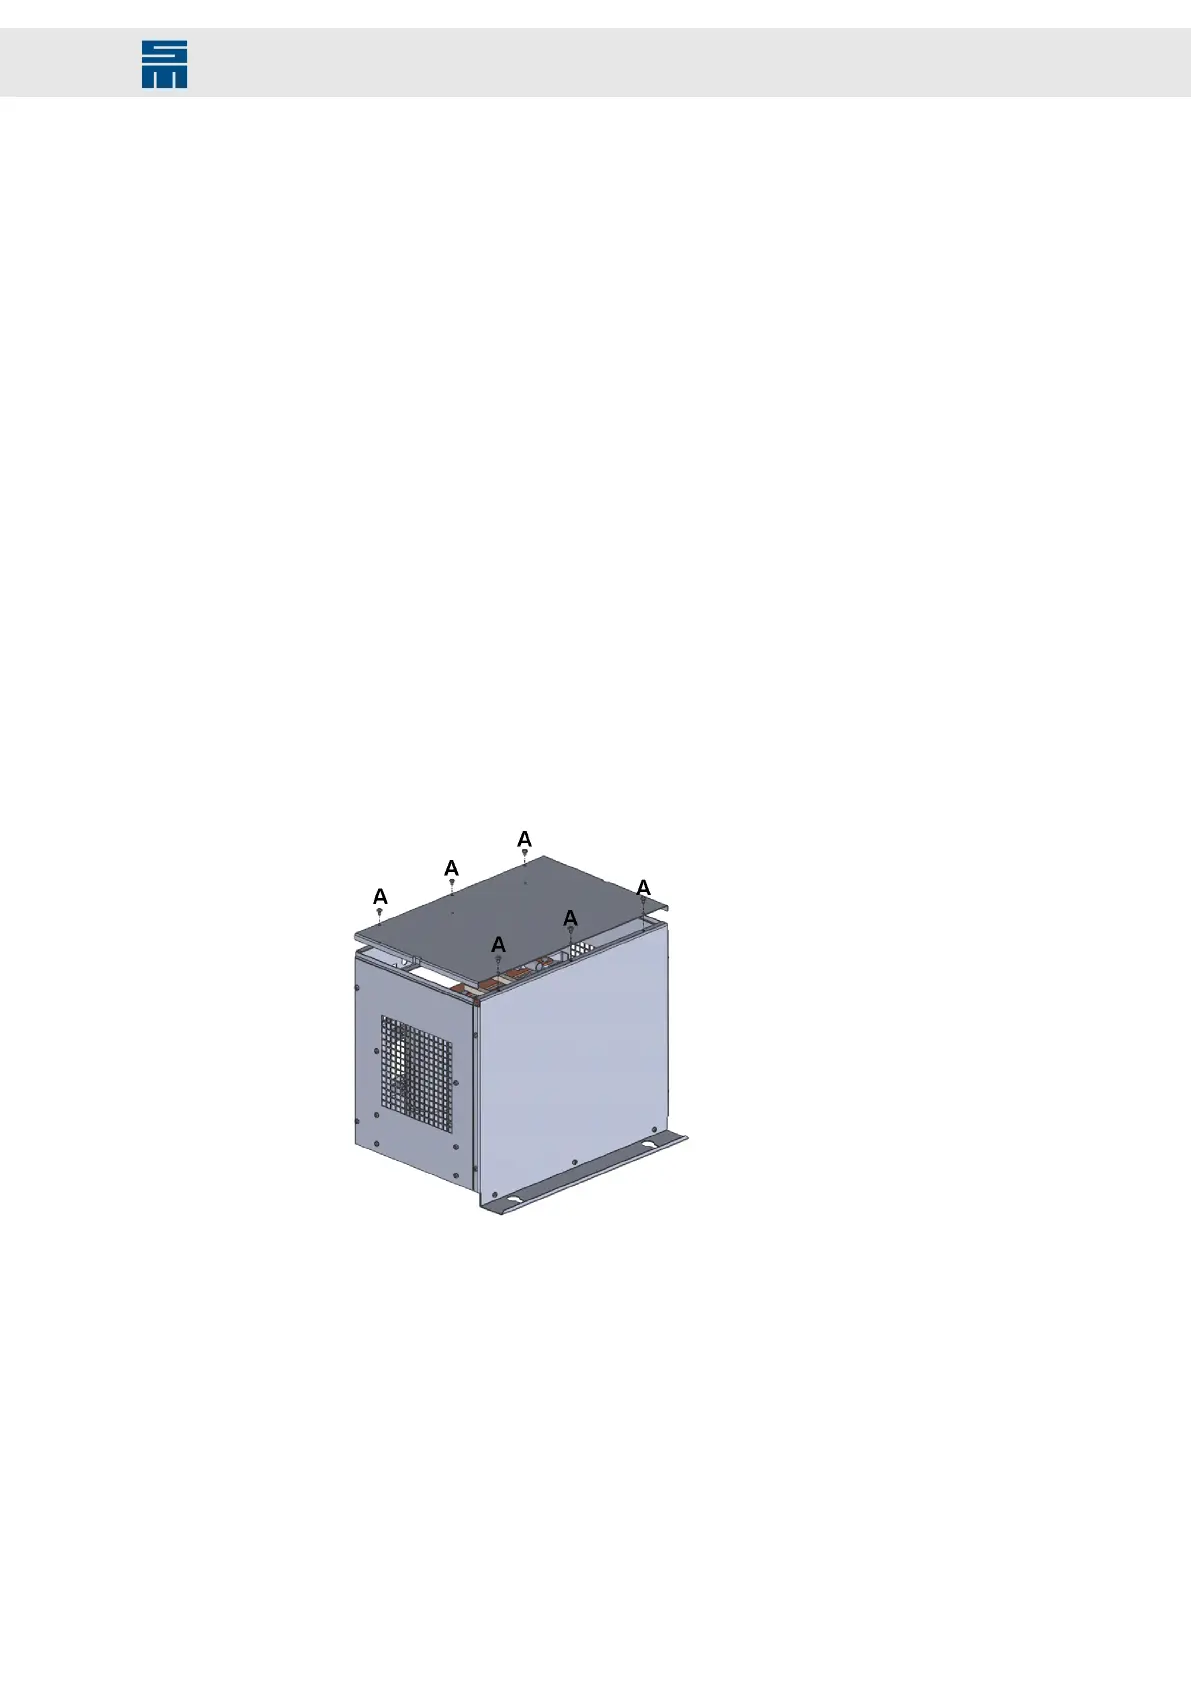
Replacing the DC link extension
1. Loosen the bolts (A) of the front panel cover and remove it from the DC link exten-
sion 036225000.
2. Remove the fastening bolts [B] of the DC link extension.
35Drive System SD2M - Hardware Description 036228xxF
Drive Amplifier SD2M