EasyManuals Logo

Siemens CLINITEK Status+ User Manual

Siemens CLINITEK Status+
172 pages
To Next Page IconTo Next Page
To Previous Page IconTo Previous Page
Page #19 background imageLoading...
Page #19 background image
CLINITEK Status+ Analyzer Operator’s Guide 19
Introduction
Note If you run a CLINITEK Status+ analyzer with a CLINITEK Status
connector, you can use a handheld bar-code reader to enter
information into the analyzer.
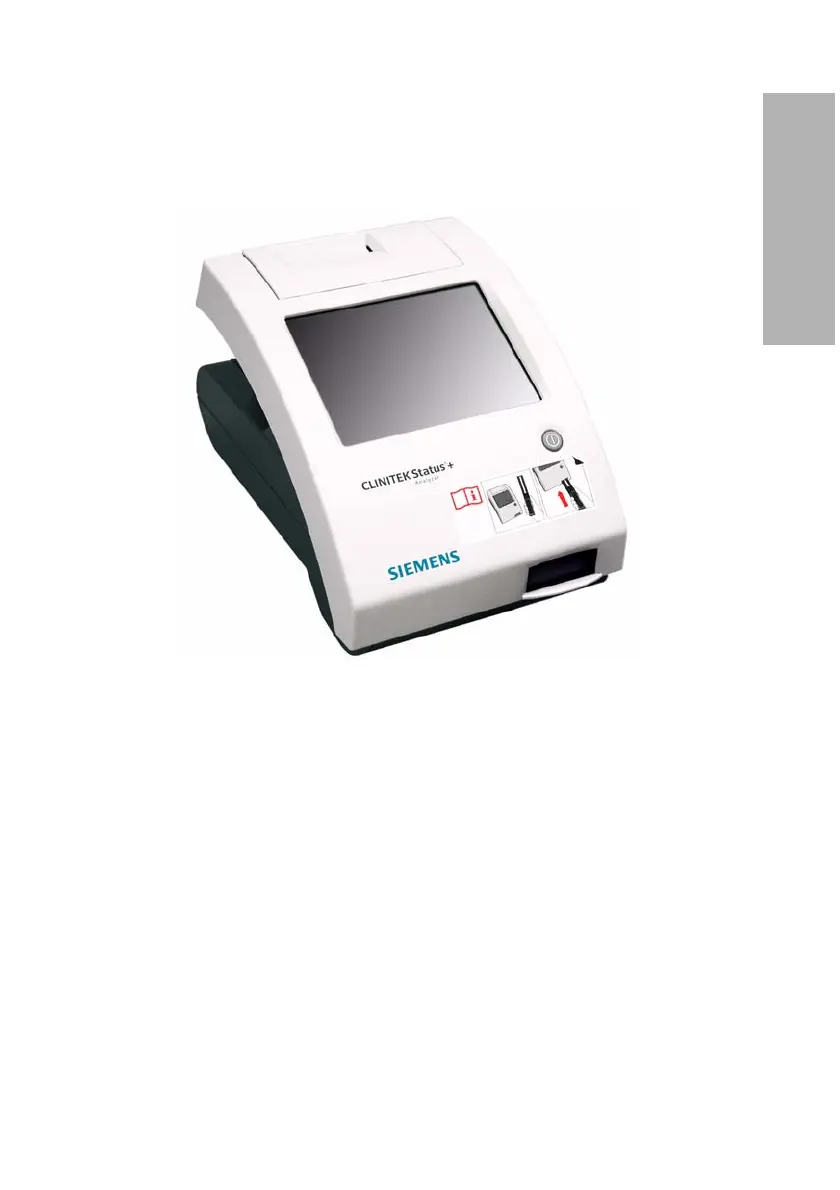
Figure 1-5: Touch Screen Display
Test Table
All testing takes place on the test table.
1. Place the strips or the cassette on the test table insert.
Note If you use a urinalysis strip that has 4 or fewer test pads,
such as Uristix 4 reagent strips, use a short test table insert. You
need to order the short test table insert separately from the
analyzer (see Appendix C, Orderable Supplies).
2. The analyzer pulls in the test table partially for calibration and then
pulls in the test table completely to read and test the strip or
cassette.
3. When the test finishes, the test results display on the screen.

Table of Contents

Questions and Answers:

Question and Answer IconNeed help?

Do you have a question about the Siemens CLINITEK Status+ and is the answer not in the manual?

Siemens CLINITEK Status+ Specifications

General IconGeneral
DisplayLCD
Sample TypeUrine
Measurement MethodReflectance photometry
TypeUrinalysis Analyzer
Test TypesUrine Chemistry
ConnectivityRS232 port
Weight5.0 kg
Power Supply100-240 V AC, 50-60 Hz
Data StorageUp to 200 patient results
Test ParametersLeukocytes, Nitrite, Urobilinogen, Protein, pH, Blood, Specific Gravity, Ketone, Bilirubin, Glucose
Test StripsMultistix and other compatible strips

Related product manuals