Lower the safety shield and press START to continue.
NOTE: in ‘exceptional’ cases (e.g. machine breakdown) the key can be removed from the automatic
clamp ‘manually’:
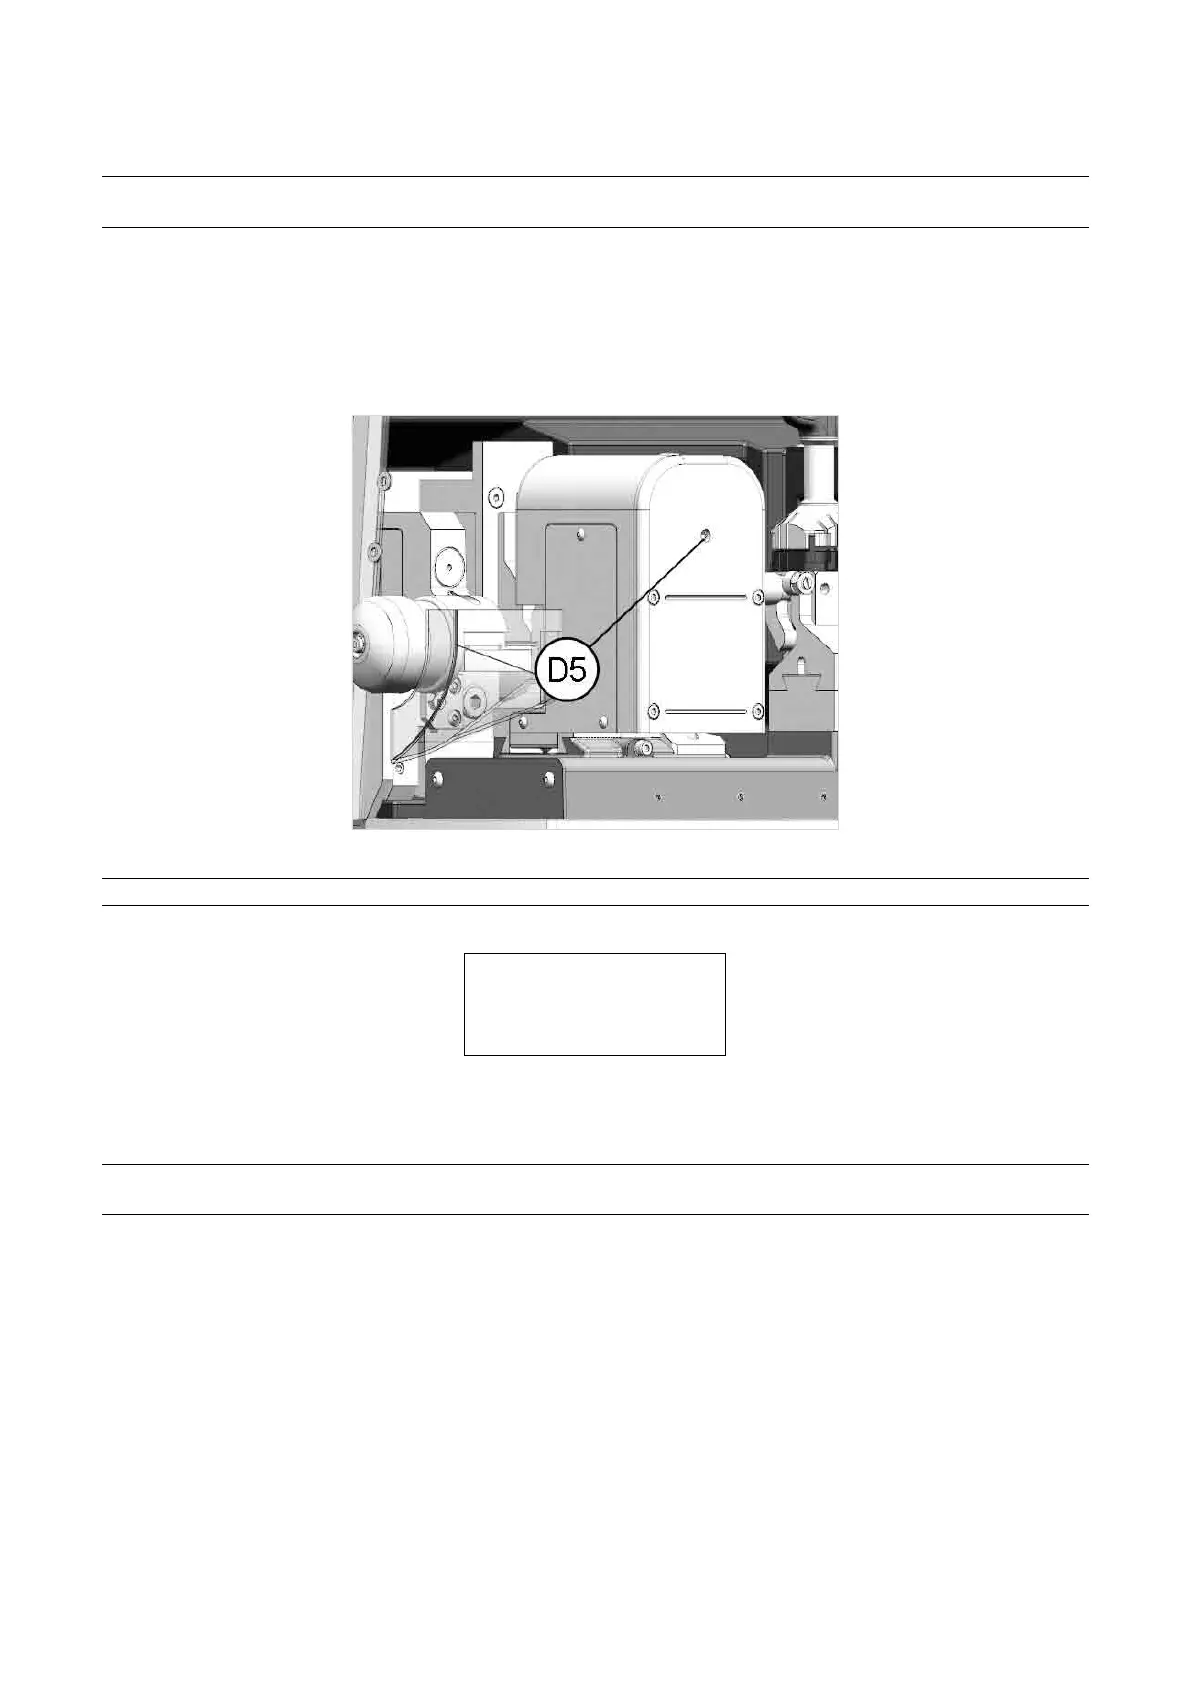
5) raise the safety shield.
6) use a 5 mm hex wrench on the automatic clamp screw (D5) in order to open the jaws.
7) remove the key (blank or cut) and close the jaws with the 5 mm hex wrench.
8) remove the 5 mm hex wrench and lower the safety shield.
Fig. 42
NOTE: if the absence of key blanks in the loader is detected during the cycle, the display will show:
FEEDER EMPTY
Pieces maked: x / y
Continue?
No=STOP Yes=ENTER
Open the guard and insert one or more key BLANKS (according to needs). At the cutting stage it can be used to
knowhowmanykeysshouldbeaddedtonishthejob.
NOTE: press SHIFT + START to continue, even if the key has not been detected (e.g. head bore too
big).
Operating Manual UC199
Copyright Silca 2012
32