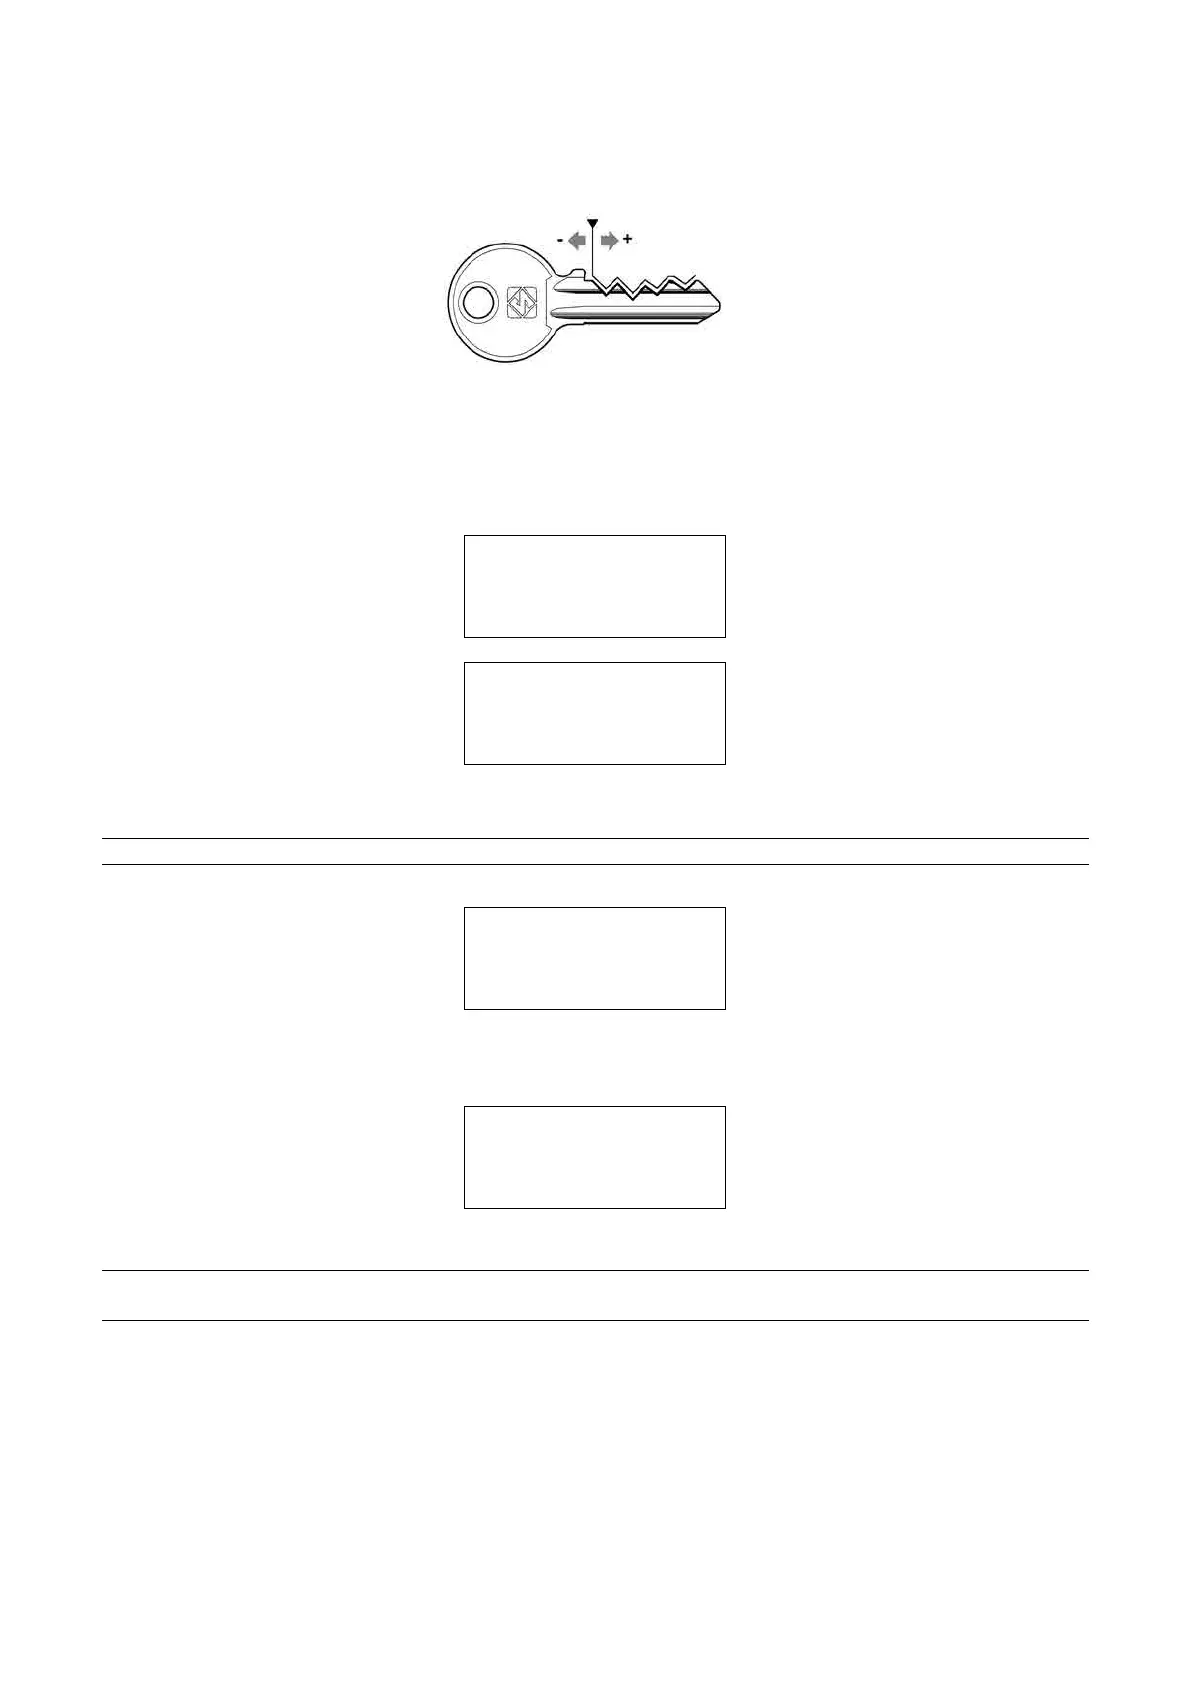
Spaces: (from -20 to +20 centesimi di mm)
Enter the value (positive or negative) to move all the cuts closer to or farther from the key stop.
Fig. 47 - SPACES ADJUSTMENTS
5) Set the number of keys to be cut.
Operational keys: press the keys [< >] to enter the quantity of keys to be cut.
PressSTARTtoseeonthedisplay,atrst:
CUTTING IN PROGRESS
Copy: 1 of: 1
And then:
Copy: 1 of: 1
Finished.
Morecopies?
NO=STOP Yes=ENTER
Press STOP to return to the main menu.
NOTE: if a machining cycle is interrupted (intentionally or accidentally), the display will show:
ATTENTION
Remove key from
clamp!
[START]
IT IS COMPULSORY to remove the key:
press START, raise the safety shield and remove the key from the Automatic Clamp.
the display will show the message:
Zero the axes !
[START]
Lower the safety shield and press START to continue.
NOTE: in ‘exceptional’ cases (e.g. machine breakdown) the key can be removed from the automatic
clamp ‘manually’:
1) raise the safety shield.
2) use a 5 mm hex wrench on the automatic clamp screw (D5) in order to open the jaws.
3) remove the key (blank or cut) and close the jaws with the 5 mm hex wrench.
4) remove the 5 mm hex wrench and lower the safety shield.
Operating Manual UC199
Copyright Silca 2012
36