The Y measurement read should be the same as the theoretical one (value = 500 expressed in brackets).
If not, proceed as follows:
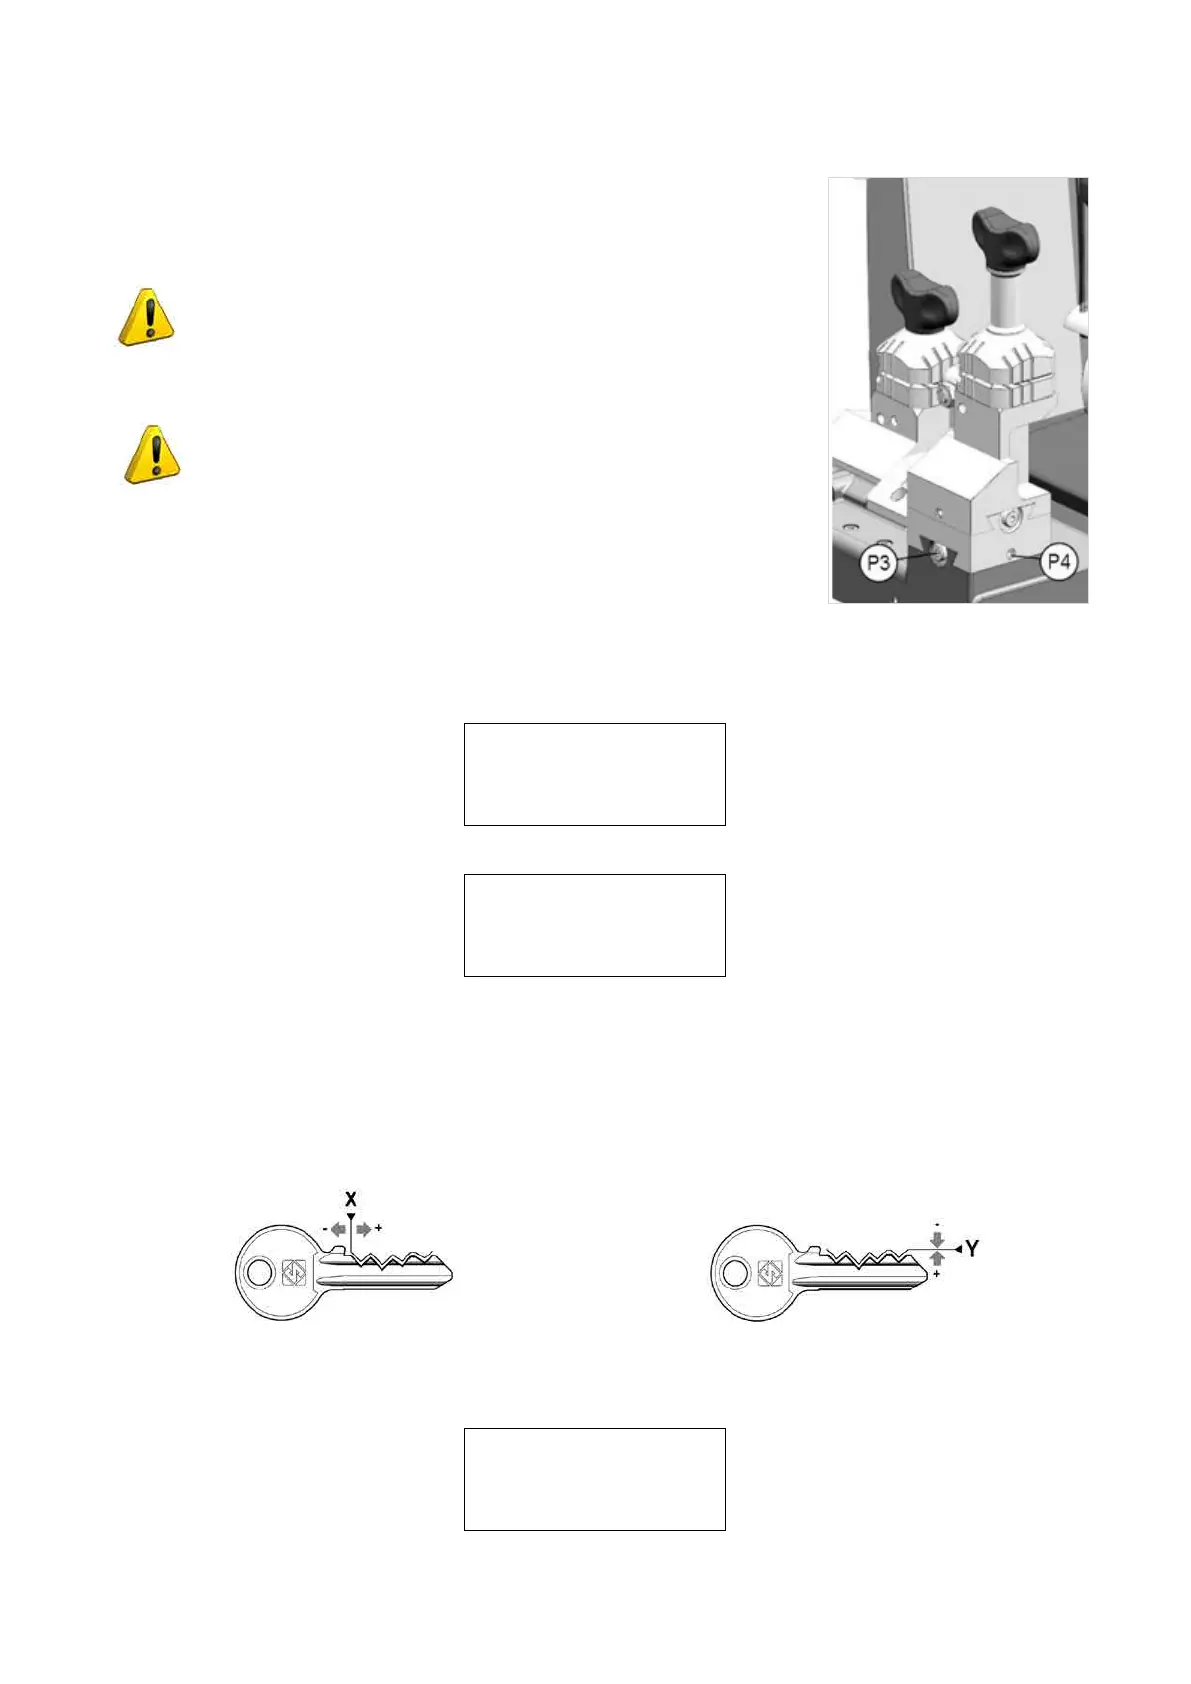
• For Y values of less than 500, loosen the grub screw (P3) and use the hex.
wrench to tighten the screw (P4)
ATTENTION: a quarter turn of the screw (P4) makes a movement
of approx. 19 hundredths of a millimetre.
• For Y values of over 500, loosen the grub screw (P3) and use the hex. wrench
to tighten the screw (P4).
ATTENTION: a quarter turn of the screw (P4) makes a movement
of approx. 19 hundredths of a millimetre.
Fig. 56
Tighten the grub screw (P3) and press START to repeat the operation until the X and Y values are correct.
When the values read for X and Y are the same as the theoretical ones (expressed in brackets), press STOP.
The display will show:
Conrmyouwantto
quit the gauging
procedure?
No=STOP Yes=ENTER
PressENTER(*)toconrm.Thedisplaywillshow:
L100-STANDARD S: A
Manual adjustment:
X=+000 Y=+000
To calibrate [START]
Press START to re-start the gauging cycle.
Press STOP.
5.7.1.1-a MANUAL ADJUSTMENTS
WhentheautomaticcalibrationprocedureisnishedforclampL100(Side:A)adjustmentstoX(spaces)andY
(depths) can be made manually for sides B - C - D.
Fig. 57 - SPACING ADJUSTMENT (X) Fig. 58 - DEPTH ADJUSTMENT (Y)
Press SHIFT+ENTER to see on the display:
L100-STANDARD S: B
Manual adjustment :
X=+000 Y=+000
Operating Manual UC199
Copyright Silca 2012
46