5-10
Connecting 4010ES basic components, continued
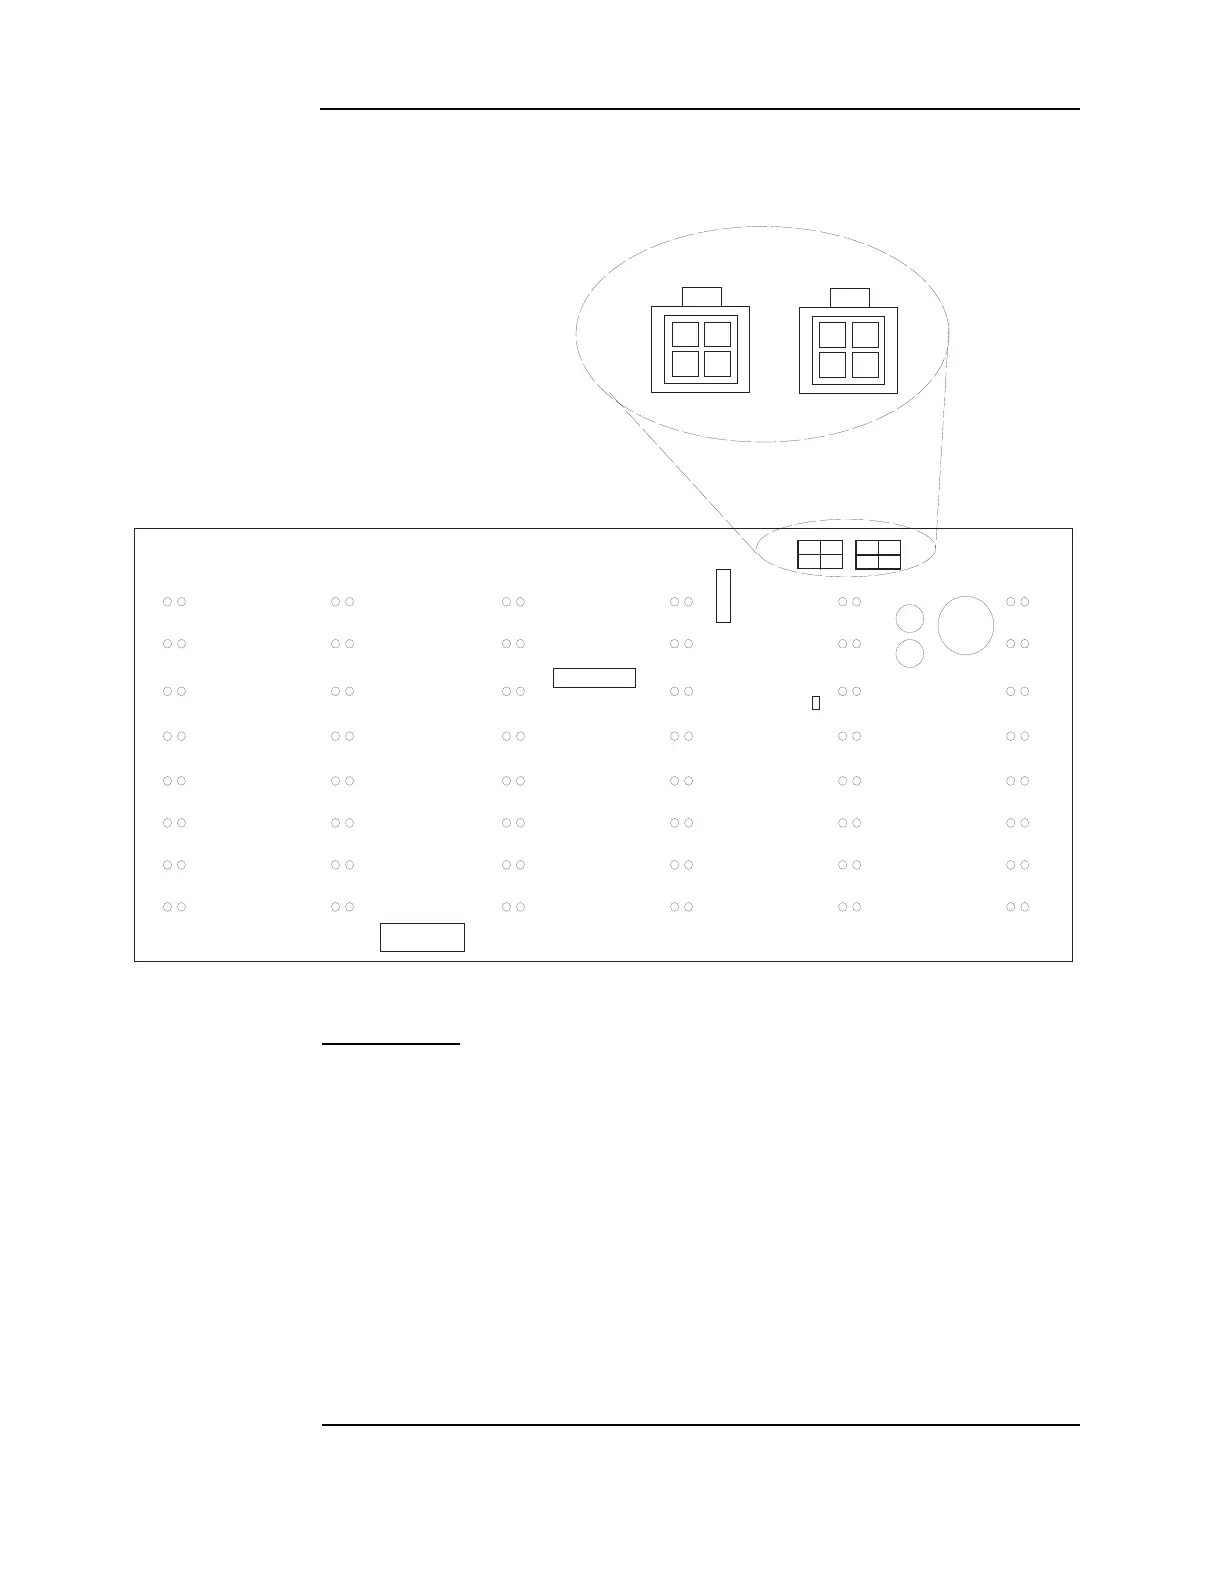
Connecting the
48-LED Module
Connect port P1 or P2 of the 48-LED Module card to either port P9 or P10 of the CPU card
(Figure 5-10). Use the 734-181 4-pin connector harness provided.
Figure 5-10. 48-LED Module rear view
Swapping LEDs
To swap any of the 48 LEDs on the 48-LED Module, follow the steps below:
1. Turn off AC power at the breaker, then remove the battery + connection at the panel.
2. Remove the 48-LED module from the dead front by following the steps below:
1. Disconnect any cables in P1 or P2 of the module
2. Remove the four screws holding the card to the dead front.
3. Remove the card from the dead front.
3. Pull out any necessary LEDs from the module.
4. Insert new LEDs in the vacated slots. For correct polarity, the flat line of the LED outline
on the card must line up with the flat side on the LED.
5. Re-attach the 48-LED module back on its spot on the dead front.
6. Re-attach the batteries and re-apply AC power to the 4010ES panel.
00
!$$2%33 37
, 3" -3"
0
"AR #ODE ,ABEL
#OMM ,OSS
, %$
,%$
,%$
,%$
,%$
,%$
,%$
,%$
,%$
,%$
, %$
, %$
, %$
, %$
, %$
, %$
, %$
, %$
, %$
, %$
, %$
, %$
, %$
, %$
, %$
, %$
, %$
, %$
, %$
, %$
, %$
, %$
, %$
, %$
, %$
, %$
, %$
, %$
, %$
, %$
, %$
, %$
, %$
, %$
, %$
, %$
, %$
, %$
, %$
0 0