A-5
Simultaneous alarm display, continued
Creating
annunciation
zone lists
3. Select points for the list as follows.
• Non-Adjacent Points. If the points required for the zone are not adjacent to one another,
select the points by holding down the shift key and then click the mouse cursor on each
point. When all of the non-adjacent points are selected, press the space key to select the
points and add them to the zone’s list. A >> symbol appears to the left of each point to
indicate that it is selected.
• Range of Adjacent Points. If the points required for the zone are adjacent to one another in
the tag list, highlight the first point then hold down the shift key and use the Up or Down
arrow key to highlight the points above or below the first point. When the full range of
points is highlighted, press the space key to select the points and add them to the zone’s
list. A >> symbol appears to the left of each point to indicate that it is selected.
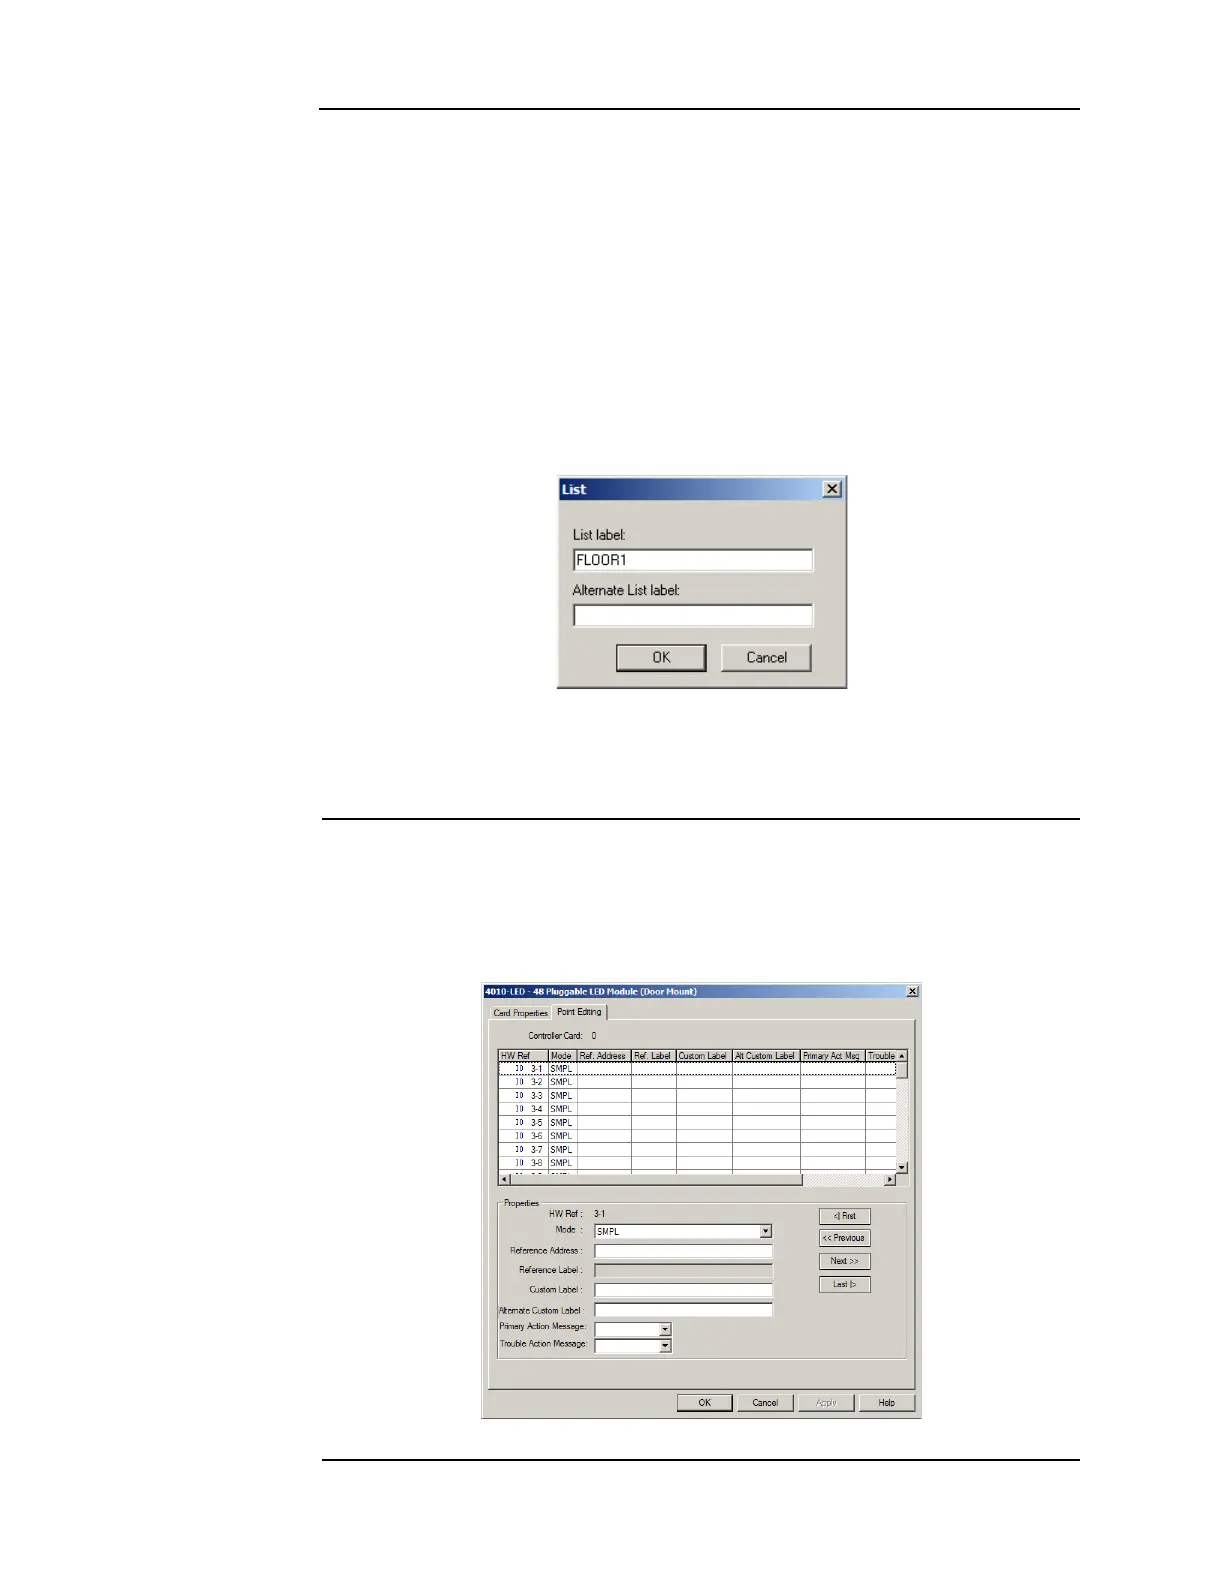
4. Click the OK button in the TagList dialog. A labeling dialog appears, allowing you to
specify the name for the list.
Figure A-5. The List dialog
5. Enter a text name that uniquely identifies the zone (i.e., Floor1, Zone1, etc.). Click OK.
The list is added to the List window. Repeat steps 1 through 5 for each annunciation zone
list.
Programming the
address and
mode for each
LED
This section describes associating each pair of LEDs with the correct mode and reference
address.
1. Click on the Hardware tab. Locate the icon for the 48 PLuggable LED Module (door
mount). Right-click the mouse and select Properties. When the properties dialog for the
card appears, click on the Point Editing tab. A window similar to the following appears.
Figure A-6. The Point Editing tab
Continued on next page