INTRODUCTION
NOTE: Avoid grinding.
– Clean both mating surfaces with solvent.
– Spray Loctite Primer N on both mating surfaces
andonbothsidesofgasket. Allowtodry1or
2 minutes.
– Apply gasket eliminator 515 (P/N 413 702 700)
on both sides of gasket, using a clean applicator.
– Place gasket on mating surfaces and assemble
immediately.
NOTE: If the cover is bolted to blind holes (above),
apply proper strength Loctite in the hole and on
threads. Tighten.
If holes are sunken, apply proper strength Loctite
on bolt threads.
– Tighten as usual.
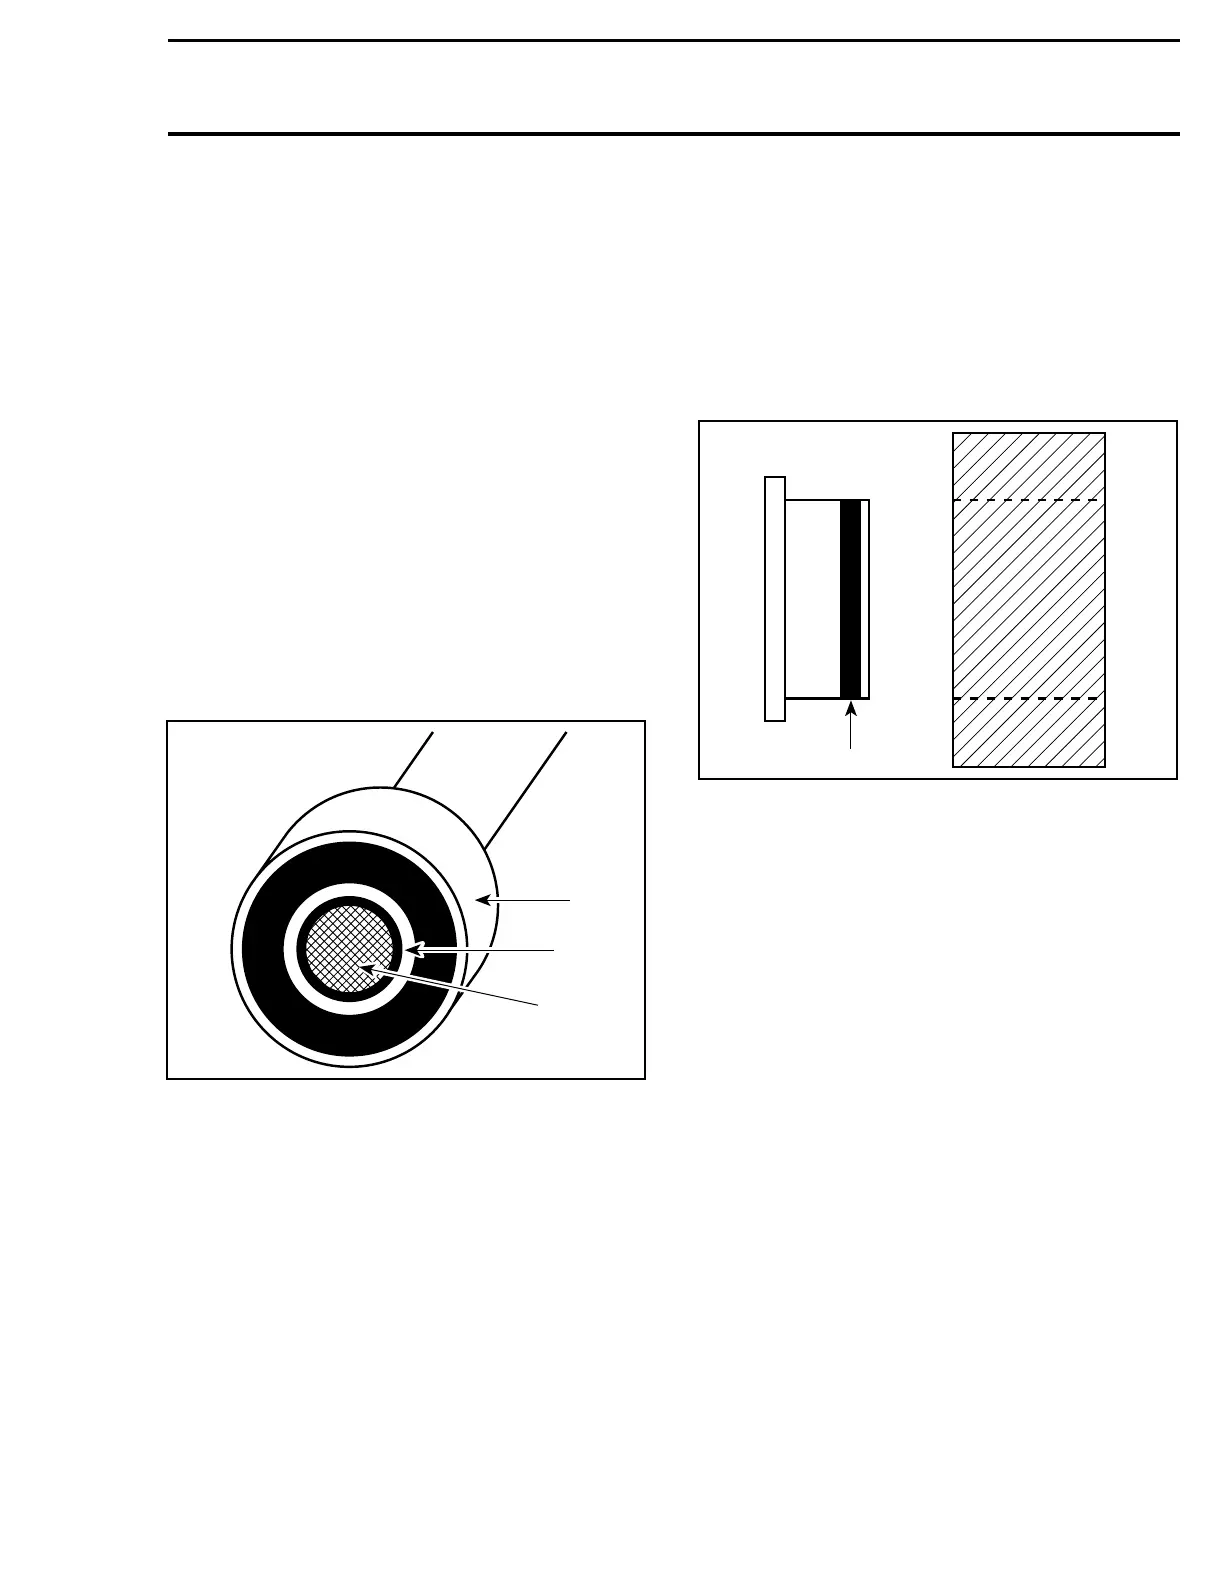
MOUNTINGONSHAFT
Mounting with a Press
A00A3UA
1
2
3
1. Bearing
2. Proper strength Loctite
3. Shaft
Standard
– Clean shaft external part and element internal
part.
– Apply a strip of proper strength Loctite on shaft
circumference at insert or engagement point.
NOTE: Retaining compound is always forced out
whenappliedonshaft.
– DO NOT use anti-seize Loctite or any similar
product.
– No curing period is required.
Mounting in Tandem
– Apply retaining compound on internal element
bore.
– Continue to assemble as shown above.
CASE-IN COMPONENTS
Metallic Gaskets
A00A3VA
1
1. Proper strength Loctite
– Clean inner housing diameter and outer gasket
diameter.
– Spray housing and gasket with Loctite Primer N
(P/N 293 800 041).
– Apply a strip of proper strength Loctite on lead-
ing edge of outer metallic gasket diameter.
NOTE: Any Loctite product can be used here. A
low strength liquid is recommended as normal
strength and gap are required.
– Install according to standard procedure.
– Wipe off surplus.
– Allow it to cure for 30 minutes.
NOTE: Normally used on worn-out housings to
prevent leaking or sliding.
It is generally not necessary to remove gasket
compound applied on outer gasket diameter.
XV

 Loading...