Section04ENGINE
Subsection 05 (PTO HOUSING)
A32C0RA
1
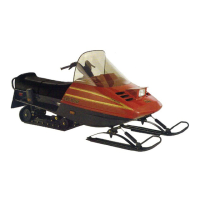
SEAL CARRIER INSTALLED ON DRIVE SHAFT
1. Alternator belt loosely installed
Loosely install a new collar on the seal carrier.
Reinstall engine support (with drive shaft).
NOTE: While installing engine support, turn drive
shaft to mesh splines.
Fasten the new collar to secure seal carrier boot
to PTO housing.
Secure engine support to engine block first, then
secure to engine mounts.
Refill engine with oil. Refer to ENGINE section.
Align drive and driven pulleys. Refer to TRANS-
MISSION.
Adjust alternator belt tension. Refer to ELECTRI-
CAL SYSTEM.
PTO SEAL
Inspection
Check the PTO seal no. 22 and O-rings no. 10 on
the PTO housing. If brittle, hard or damaged, or if
you see a sign of oil leakage, replace it.
Removal
NOTE: When drive shaft will be removed, some
oil will flow out. To prevent it, start engine, run at
4000 RPM for 10 seconds and stop engine at this
RPM. This will move oil out of PTO housing into
oil tank.
CAUTION: Never run engine without being
connected to the cooling system.
Place a small pan under PTO housing to prevent
spillage. If spillage occurs, clean immediately
with the pulley flange cleaner (P/N 413 711 809)
to prevent oil stains.
Remove:
– engine support (with drive shaft). See above in
PTO HOUSING
– Oetiker clamp no. 11 located close to the PTO
housing
– PTO seal no. 22.
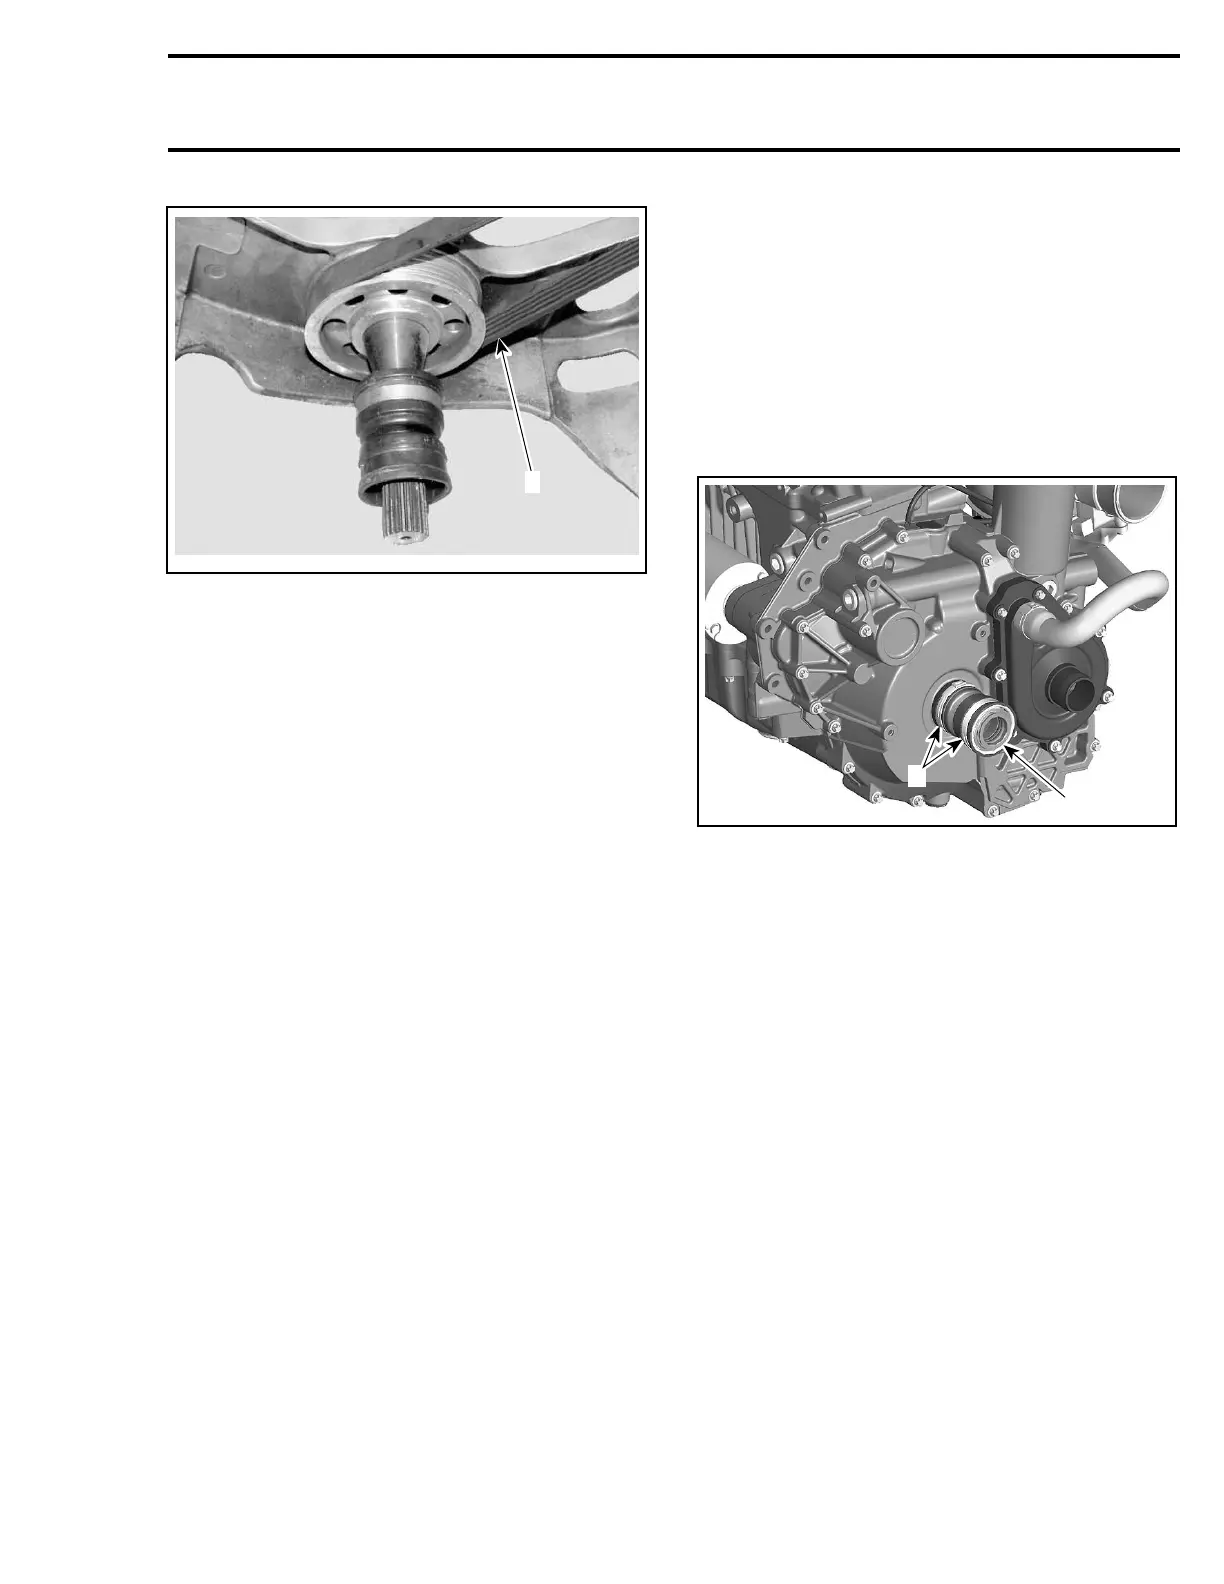
2
R1503motr340A
1
1. Oetiker clamps
2. PTO seal
Installation
Reinstall removed parts in the reverse order.
CPS
Removal
Remove:
– PTO housing (refer to PTO HOUSING RE-
MOVAL elsewhere in this section)
– screws no. 14
– grommet on CPS cable from housing
– CPS.
Te m pla te 91

 Loading...