Section 08 REAR SUSPENSION
Subsection 03 (TRACK)
TRACK
TRACK TYPE APPLICATION
Refer to TECHNICAL DATA.
GENERAL
This section gives guidelines for track removal.
Some components require more detailed disas-
sembly procedures. In these particular cases, re-
fer to the pertaining section in this manual.
INSPECTION
Visually inspect track for:
– cuts and abnormal wear
– broken rods
– broken or missing track cleats.
If track is damaged or rods are broken, replace
track. For damaged or missing cleats, replace by
new ones, using cleat remover (P/N 529 028 700).
Use narrow-cleat installer (P/N 529 008 500).
WARNING
Do not operate a snowmobile with a cut, torn
or damaged track.
REMOVAL
NOTE: Each track can be removed individually.
Remove the following parts:
– rear suspension
– plastic molding (refer to BODY)
– end bearing housing
– drive axle
– track.
INSTALLATION
Reverse the removal procedure.
NOTE: When installing the track, respect rotation
direction indicated by an arrow on track thread.
Check sprocket/track alignment as described in
DRIVE AXLE.
ADJUSTMENT
Track Tension and Alignment
Track tension and alignment are inter-related. Do
not adjust one without checking the other. Track
tension procedure must be carried out prior to
track alignment.
Track Tension
NOTE: Ride the snowmobile in snow about 15 to
20 minutes prior to adjusting track tension.
Lift the rear end of snowmobile by the bumper
with a suitable lifting device.
NOTE: The vehicle can also be lifted off the
ground by the structural upper chassis.
Allow the rear suspensions to fully extend and
check gap half-way between front and rear idler
wheels. Measure between slider shoe bottom
andinsideoftrack. Thegapshouldbeasgivenin
SPECIFICATIONS. If the track tension is too loose,
track will have a tendency to thump.
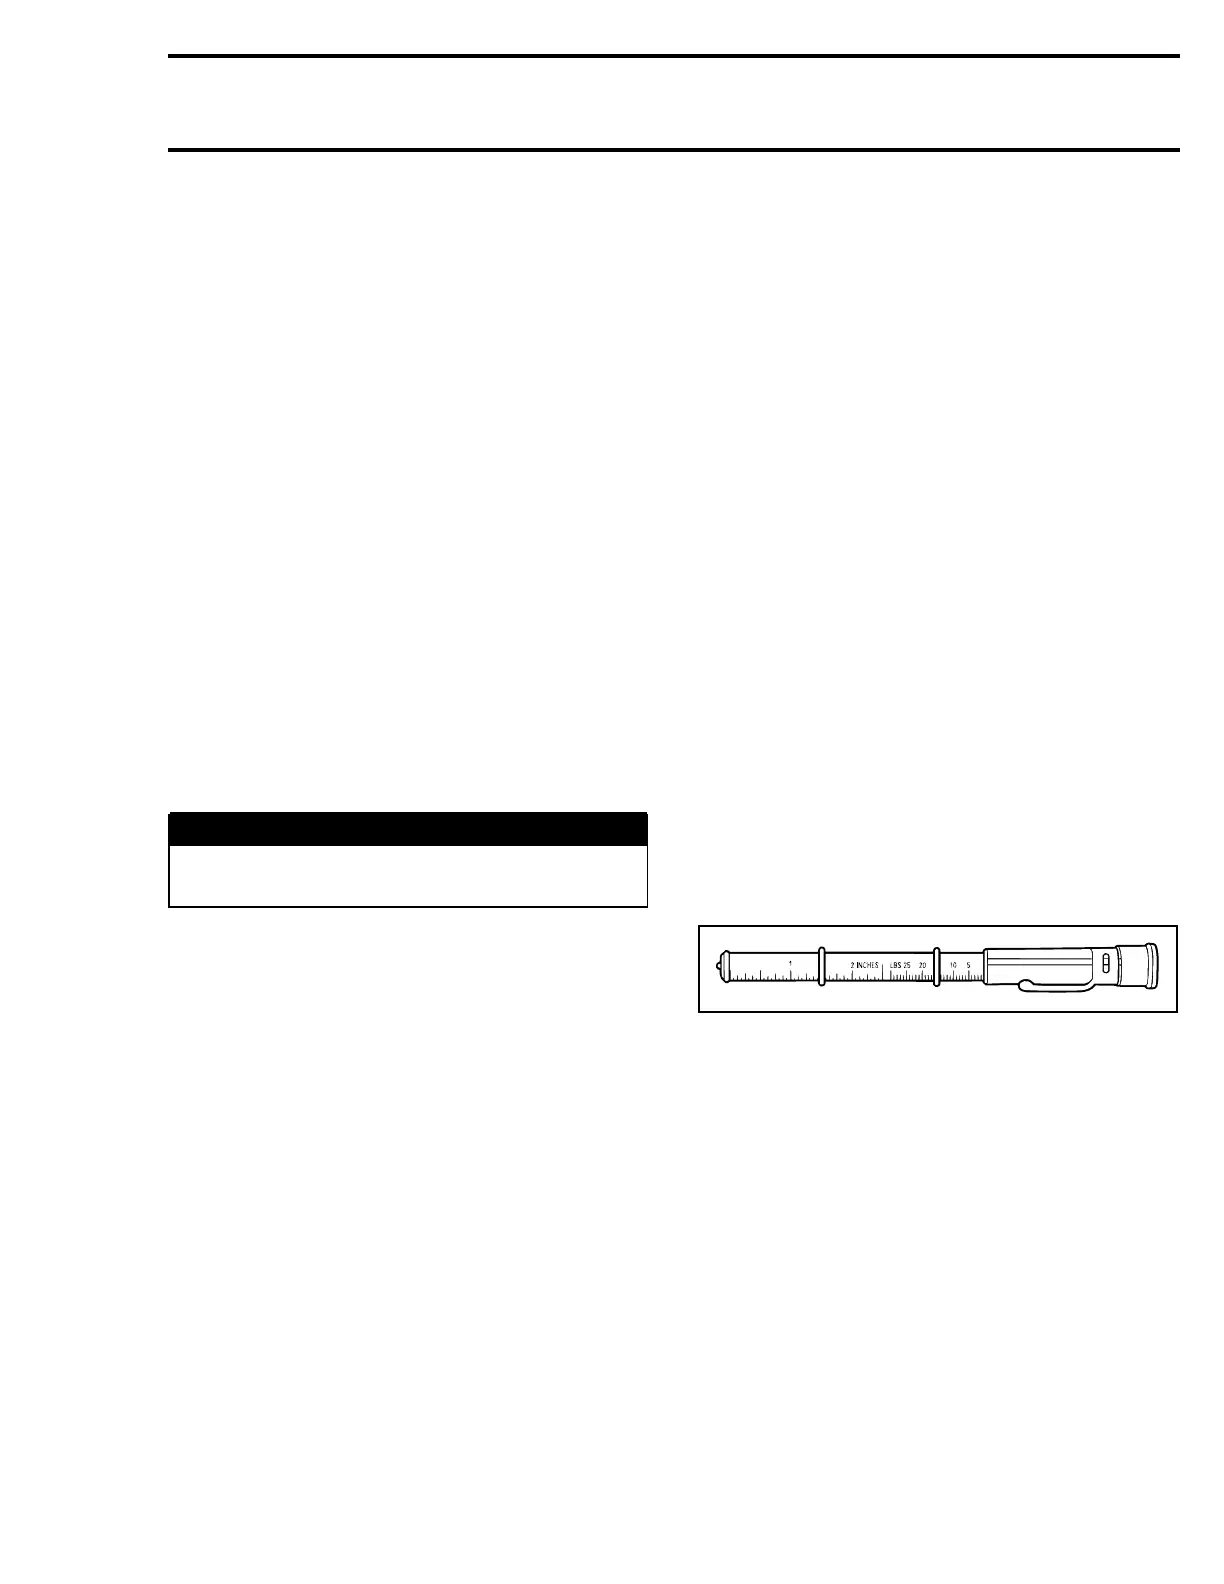
NOTE: A belt tension tester (P/N 414 348 200)
may be used to measure deflection as well as
force applied.
A00C07C
BELT TENSION TESTER
Te m pla te 277
 Loading...