25
2019 Stenograph, L.L.C. All Rights Reserved.
25
Luminex Users Guide
Chapter 2 Hardware
Tripod
The Luminex uses only the EasyLock LMX V2 tripod designed with three straight legs, tilting
mechanism and constructed of high gauge aluminum to provide a lightweight but strong and stable
stand for your Luminex. The EasyLock LMX V2 tripod fully extends to 27.5 inches. When folded, the
tripod is 12.5 inches long.
Attaching the Tripod
On the bottom of the Luminex is a positive locking mechanism that looks like a large, round keyhole.
The top of the EasyLock LMX V2 tripod fits like a key into the recessed mechanism.
To attach the tripod, follow these steps:
1. Fully extend each leg of the tripod, making sure the braces lock.
2. Set the tripod on the floor.
3. Loosen the thumb-lock knob on the tripod base.
4. Extend the inner tripod tube to a comfortable height. Turn the tripod head so that the one flat side of
the tripod head is facing you and tighten the thumb-lock knob.
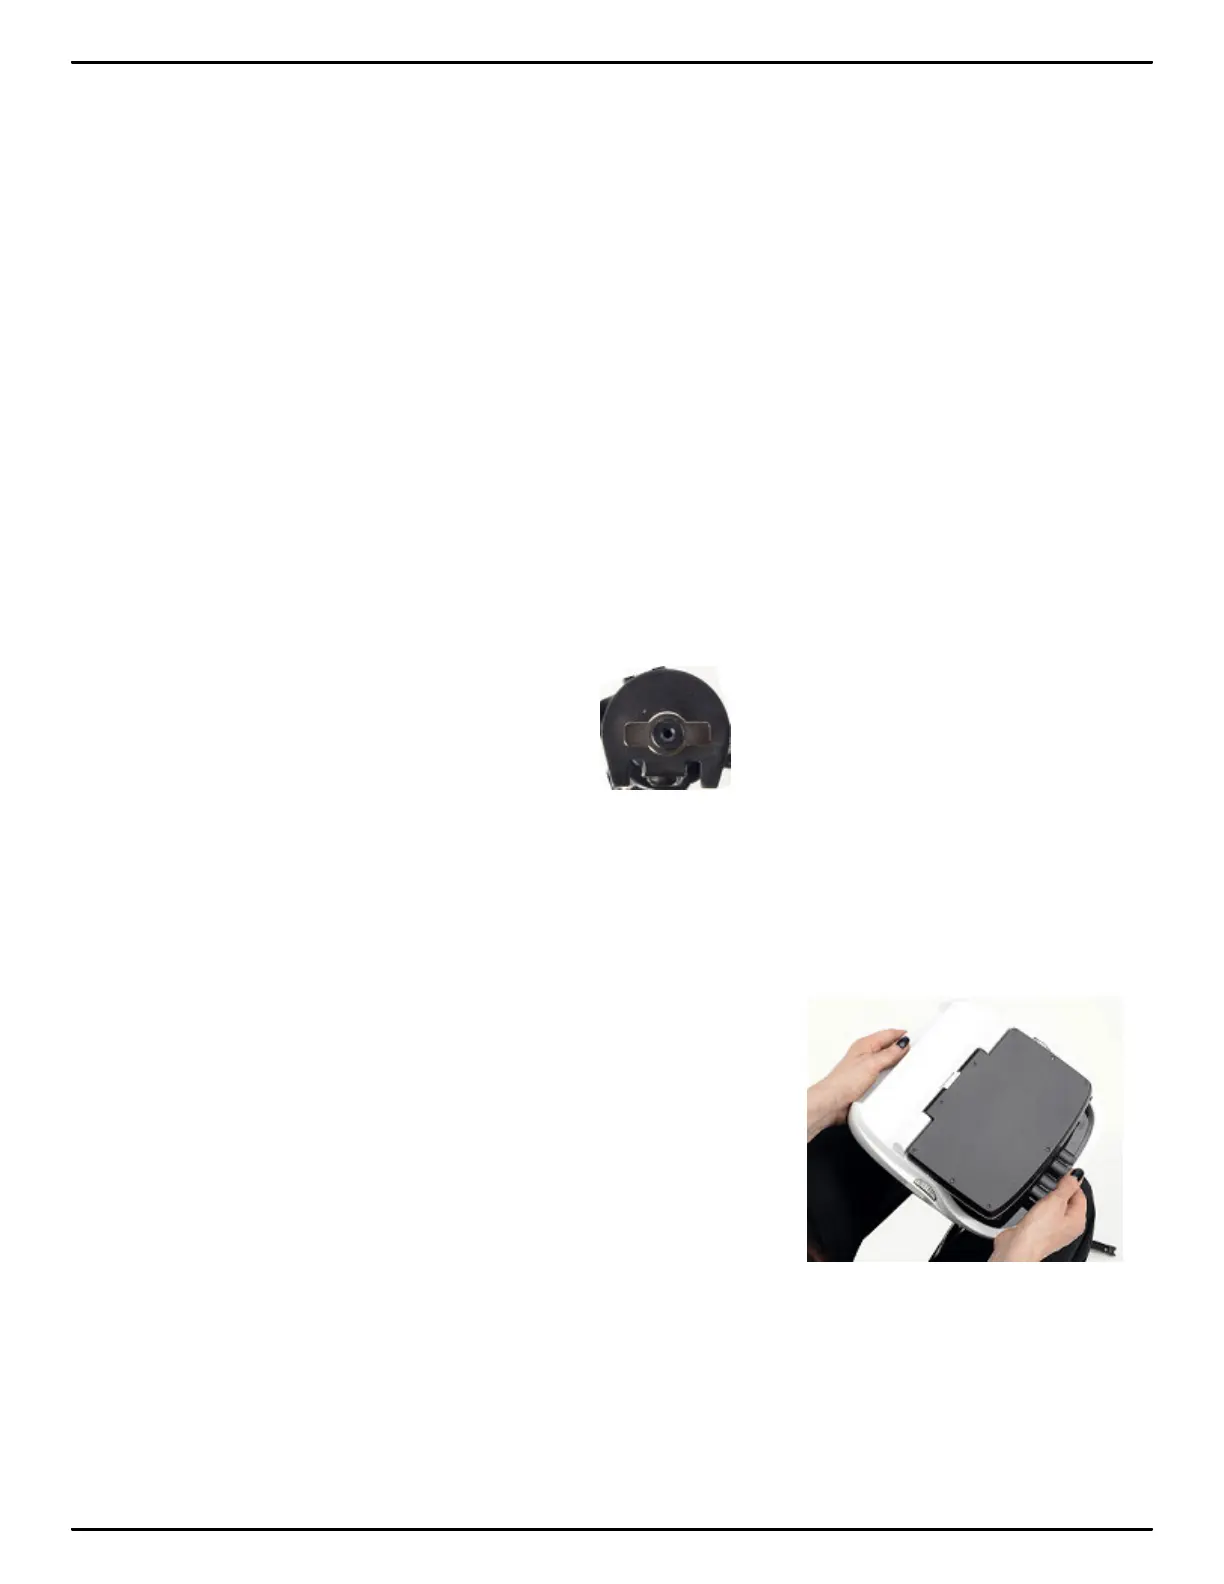
Top of EasyLock LMX V2 Tripod
5. On the bottom of the Luminex, locate the positive locking mechanism that looks like a large, round
keyhole. The top of the EasyLock LMX V2 tripod fits like a key into the recessed mechanism.
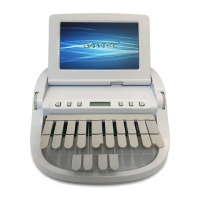
6. Lift the Luminex on two sides of the machine and lower it evenly onto the top of the tripod with one
of the flat sides of the writing machine facing you.
7. Grasp the inner tripod tube with one hand and with the other hand, rotate the machine clockwise
until you hear a solid click. Ensure the Luminex is firmly attached to the tripod tube.