Service Information
72
DRIVE MOTOR REMOVAL AND REPLACEMENT
Required Tools:
Phillips Screwdriver 1/2” Socket Wrench Bungee Cords
Floor Jack T27 Torx
Procedure:
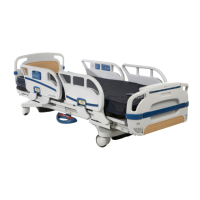
1. Raise the litter to the full up position.
2. Unplug the power cord from the wall socket and push the battery power on/off switch to the “OFF” posi-
tion.
3. Using a Phillips screwdriver, remove the four screws holding the base hood to the base frame.
4. Open the cable clamp at the head end, left side of the base frame and remove the cables from the clamp.
5. Lift the base hood and support it from the litter frame using bungee cords or the equivalent.
6. Using a T27 Torx, remove the four screws holding the power board cover to the side of the electronics
box. Remove the two motor wires from the power board and remove the T27 Torx ground screw.
7. Apply the brakes and disengage the drive wheel. Place a floor jack under the leaf spring at the foot end
of the bed and raise the wheels approximately three inches off the floor.
8. Using a 1/2” socket wrench, remove the four bolts holding the drive motor to the leaf spring.
CAUTION
Support the drive motor before removing the four bolts to prevent it from falling to the floor and becoming
damaged.
9. Reverse steps 1 − 8 to install the new drive motor.
10. Run through the operation of the power drive wheel to ensure it is operating properly before returning the
unit to service.
 Loading...
