Service Information
88
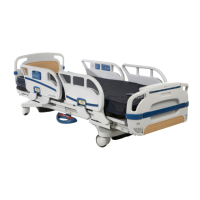
ZOOMR OPTION CONTROL BAR POTENTIOMETER “BURN−IN” PROCEDURE
Required Tools:
T27 Torx 1/2” Box End Wrench #2 Phillips Screwdriver
Wire Cutters Small Flat Blade Screwdriver 5/16” Nut Driver
1. If it has not already been done, follow steps 1 − 7 of the control bar potentiometer replacement procedure
on page 87.
2. Hold down the switch on the back of the drive CPU board.
3. With the switch depressed, move the battery power on/off switch to the “ON” position.
4. Verify the “ENGAGE DRIVE WHEEL” LED at the head end of the bed is flashing.
5. Move the battery power on/off switch to the “OFF” position, close the drive control box, and move the
switch back to the “ON” position.
6. The “ENGAGE DRIVE WHEEL” LED will flash once. The control bar potentiometer is calibrated.
7. Grasp the drive handle and squeeze the motion release switch without moving the drive handle forward
or back. Verify the bed does not move.
8. Release the bed brakes and engage the drive wheel. Standing at the head end of the bed, grasp the drive
handle and squeeze the motion release switch while moving the drive handle away from you. Verify the
bed moves forward.
9. Grasp the drive handle and squeeze the motion release switch while moving the drive handle toward you.
Verify the bed moves backward.
10. Reverse steps 1 − 7 of the control bar potentiometer replacement procedure on page 87 to reassemble
the bed.
 Loading...
