11-10 SPARCclassic/SPARCclassic X/SPARCstation LX Service Manual • November 1993
1. Remove the faulty VSIMM.
See Section 11.2.1 “Removing the VSIMM” on page 11-7. Make sure you use the
wrist strap and antistatic mat.
2. Install the new VSIMM.
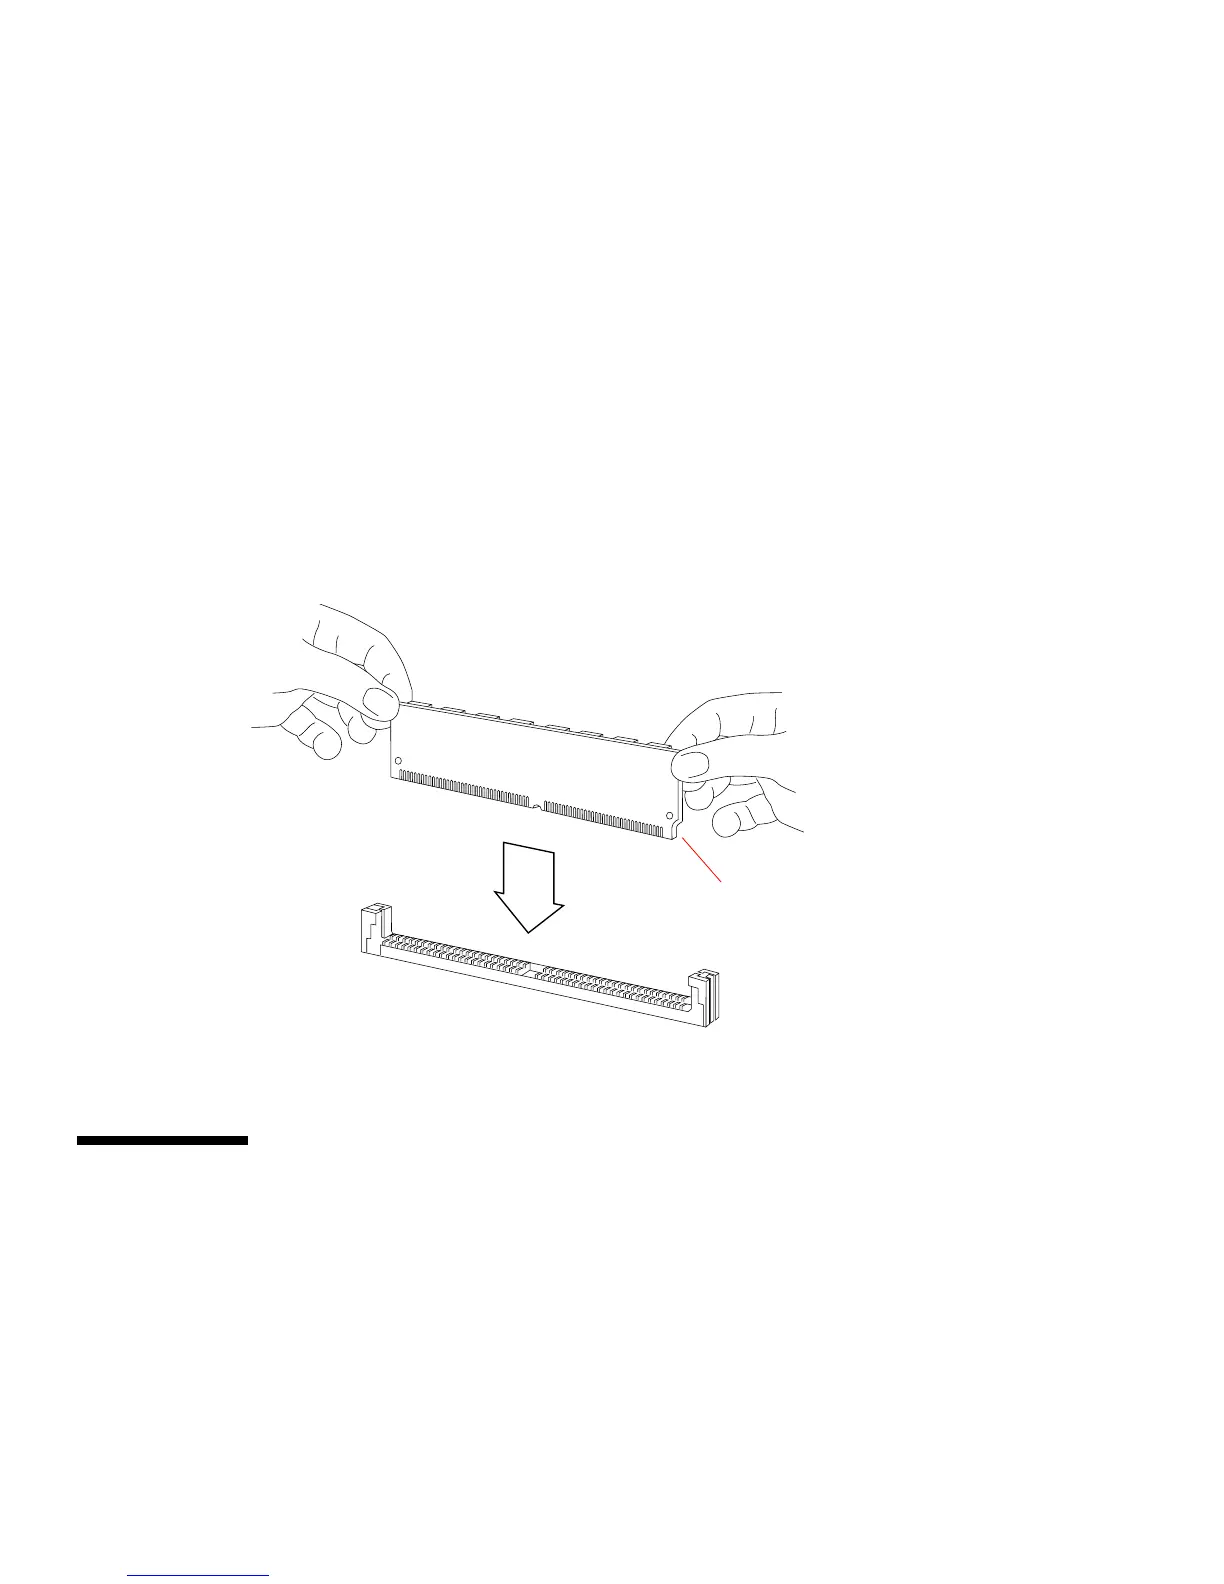
The VSIMM is keyed so it can be installed only in one way. Grasp the VSIMM by its
top corners and align it with its connector (see
FIGURE 11-7). Applying equal pressure
to both corners, push down the VSIMM until it is firmly seated in its connector.
3. Refer to Chapter 7, “Internal Access,” to perform the following procedures:
■ Detaching the wrist strap
■ Closing the system unit
■ Reconnecting system components
4. Refer to Chapter 6 “Power Off and On to turn the power on.
FIGURE 11-7 Installing the VSIMM
11.3 DRAM Single In-line Memory Modules
(DSIMMs)
This section describes the procedures for removing and replacing faulty DSIMMs. To
determine the location of a faulty DSIMM, see Section 4.4 “Determining Faulty
DSIMM Locations” on page 4-7.
Notched corner
ensures proper
insertion.