8-6 SPARCclassic/SPARCclassic X/SPARCstation LX Service Manual • November 1993
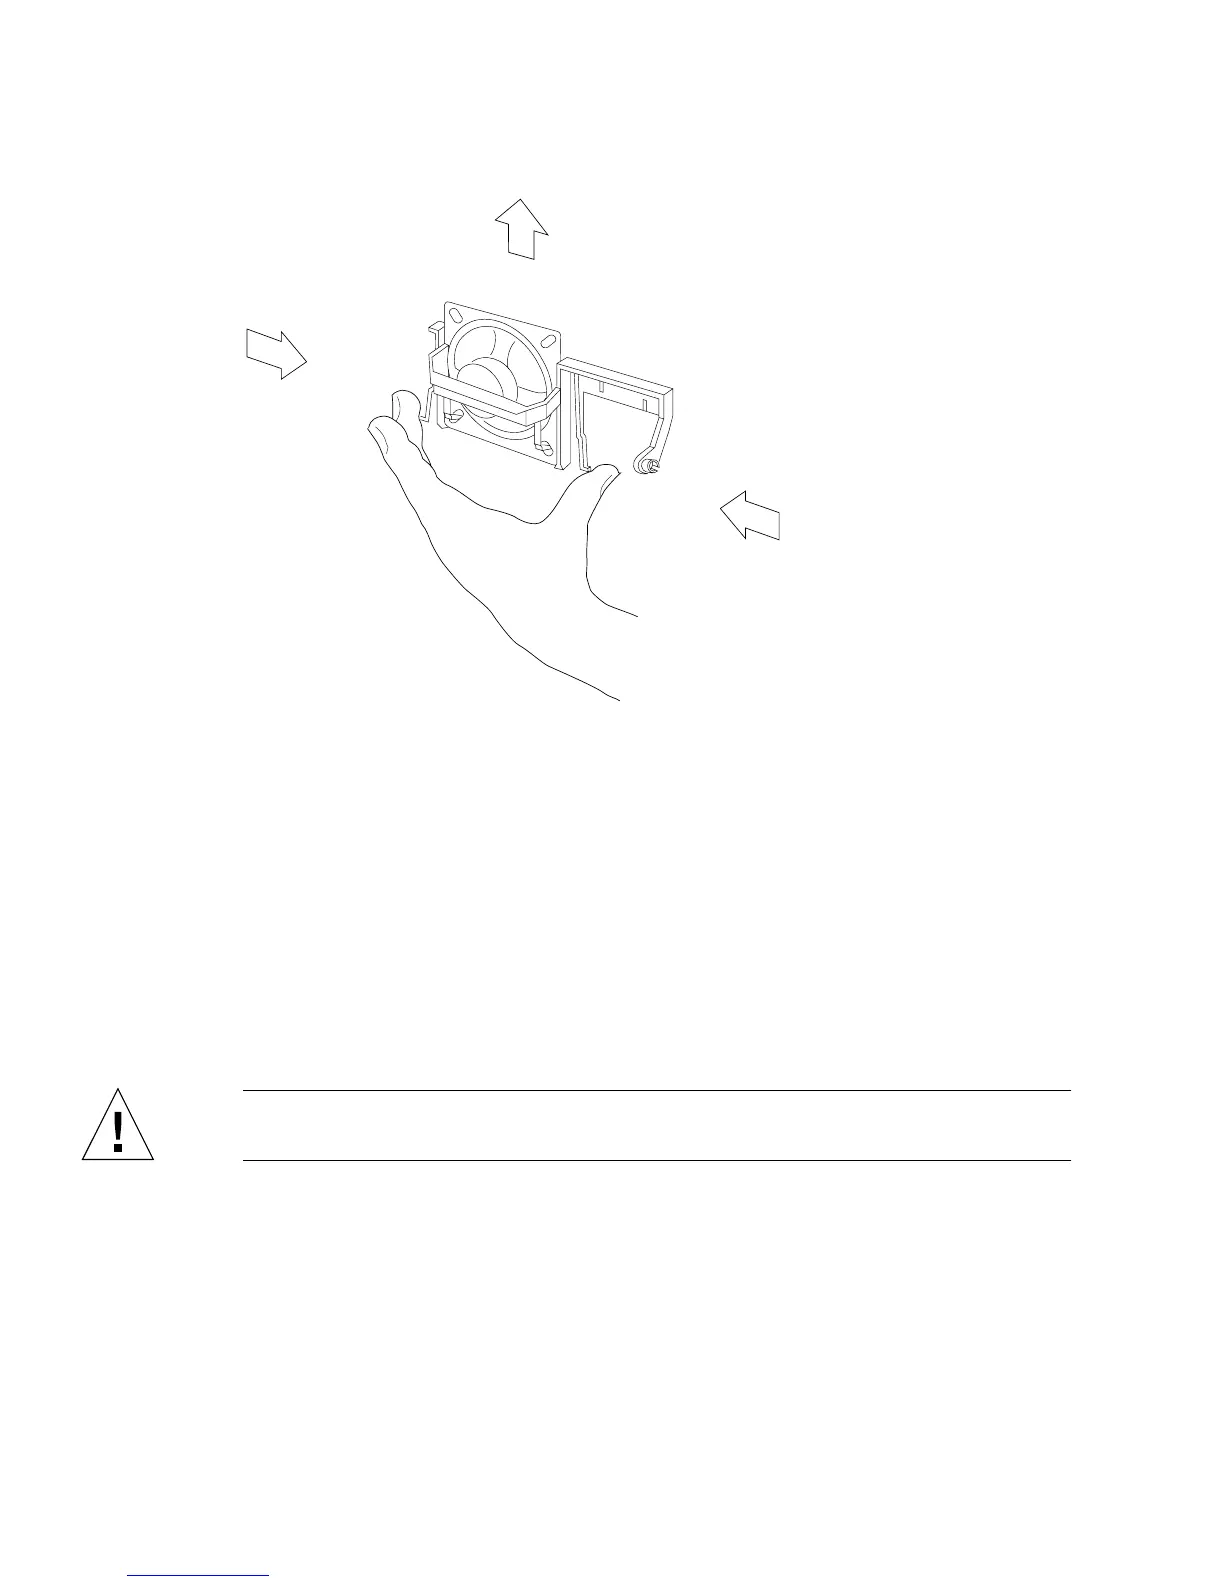
FIGURE 8-2 Removing and Replacing the Speaker/Power LED Assembly
8.2.2 Replacing the Speaker/Power LED Assembly
To replace the speaker/power LED assembly:
1. Remove the faulty speaker/power LED assembly as described in the previous
section.
2. Squeeze the replacement speaker assembly where indicated in
FIGURE 8-2 and
slide it down into its channel guides until it snaps into place.
Caution – Do not touch or press on the speaker cone. You may damage the speaker
or the sound quality.
3. Reconnect the speaker/LED cable to its connector on the main logic board.
The connector is keyed to fit only one way. For the connector location, see
Chapter 11 “Main Logic Board and Component Replacement.”
4. Refer to Chapter 7 “Internal Access to perform the following procedures:
■ Detaching the wrist strap
■ Closing the system unit
Squeeze the two levers
at the base of the assembly,
and slide the assembly up.