8-12 SPARCclassic/SPARCclassic X/SPARCstation LX Service Manual • November 1993
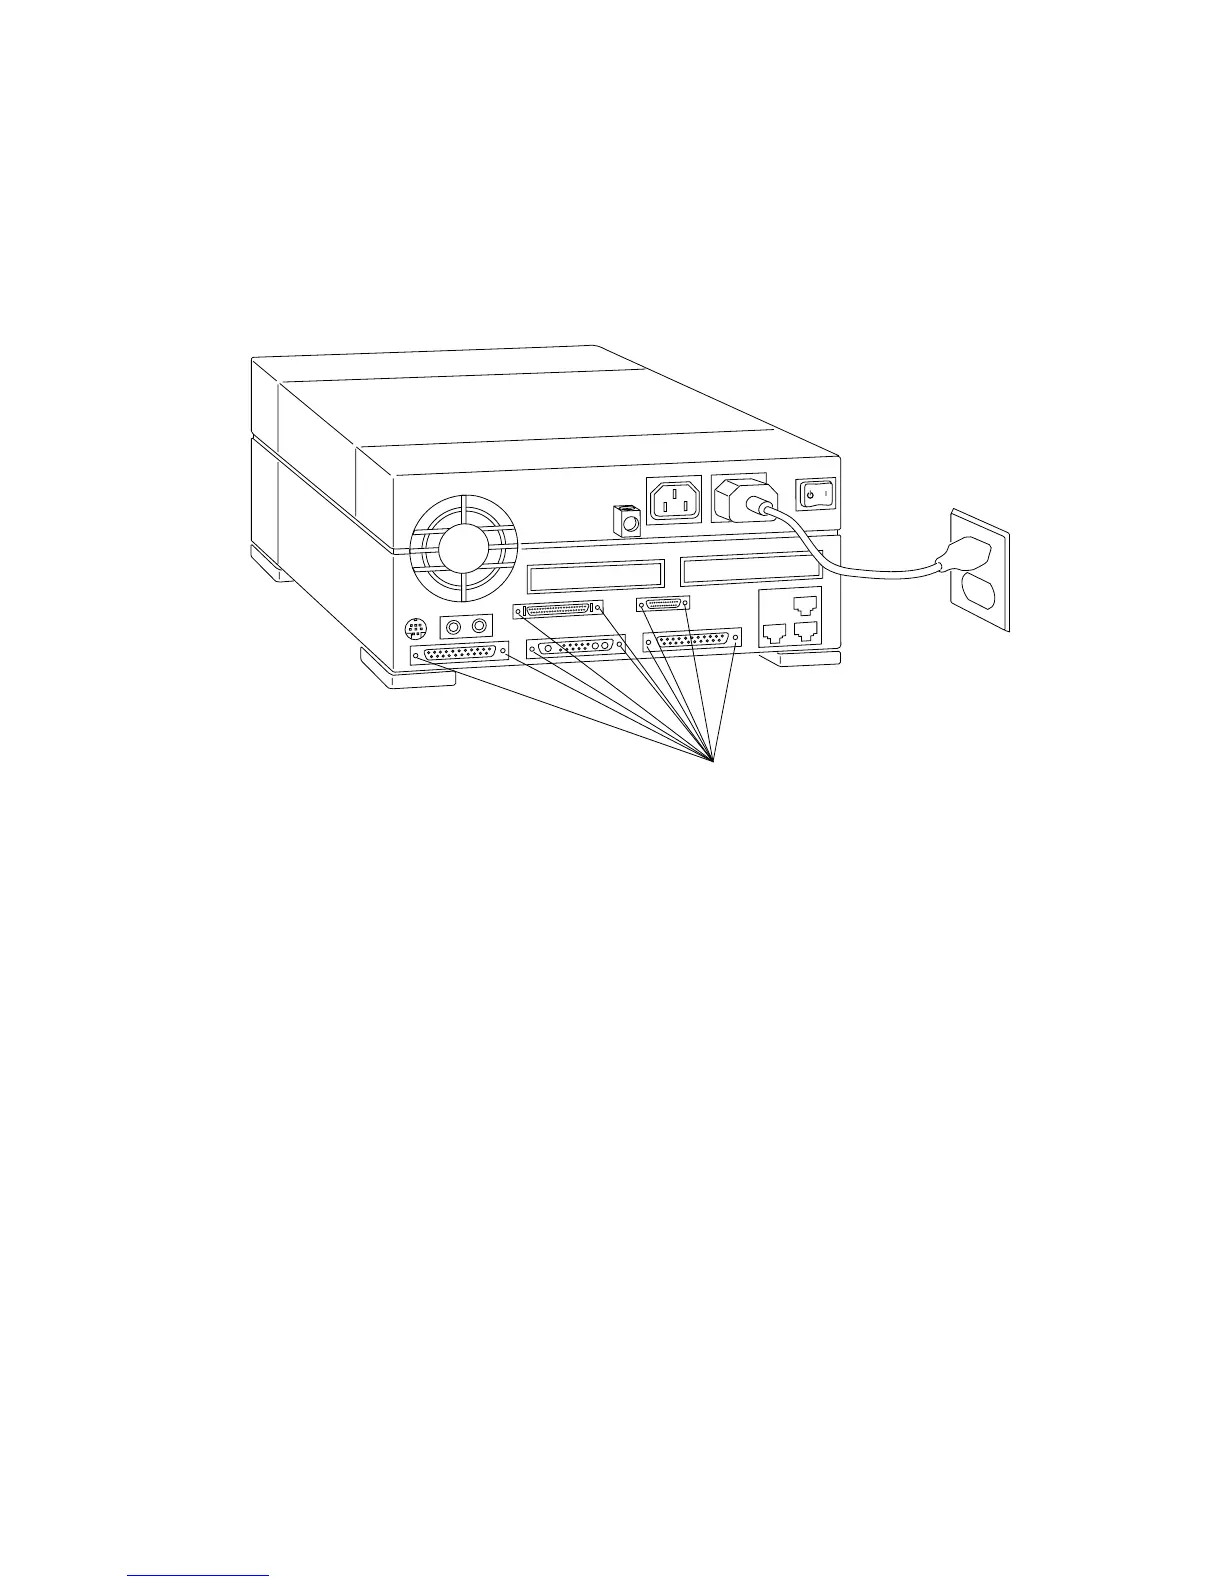
2. Use a small flat-blade screwdriver to remove the 10 screws that secure the system
I/O board to the system unit chassis (see
FIGURE 8-7). Take care to remember
where each screw belongs.
3. Pull the system I/O board away from the back panel to remove it.
FIGURE 8-7 Removing the System I/O Board
8.3.2 Replacing the System I/O Board
To replace the system I/O board:
1. Replace the system I/O board.
a. Position the system I/O board so that its connectors protrude through their
respective openings in the system unit chassis.
b. Align the screw holes in the chassis with the holes in the system I/O board and
secure the board with the 10 screws provided (see
FIGURE 8-7). (Replace the
plastic connector covers, if necessary.)
2. Reinstall the main logic board.
a. Grasp the board by the SBus connectors with both hands. Insert the main logic
board extractor lever through the rectangular cutout in the main logic board
(see
FIGURE 8-6). Avoid handling any of the delicate electronic components or
touching any of the circuit board traces.
Remove screws
(10 places)