Brake Control System and Diagnosis: 4A-10
Assembly
Assemble the master cylinder in the reverse order of
disassembly. Pay attention to the following points:
CAUTION
!
• Wash the master cylinder components with
new brake fluid before reassembly.
• Do not wipe the brake fluid off after
washing the components.
• When washing the components, use the
specified brake fluid. Never use different
types of fluid or cleaning solvents such as
gasoline, kerosine, etc.
• Apply brake fluid to the master cylinder
bore and all of the master cylinder
component to be inserted into the bore.
BF: Brake fluid (DOT 4)
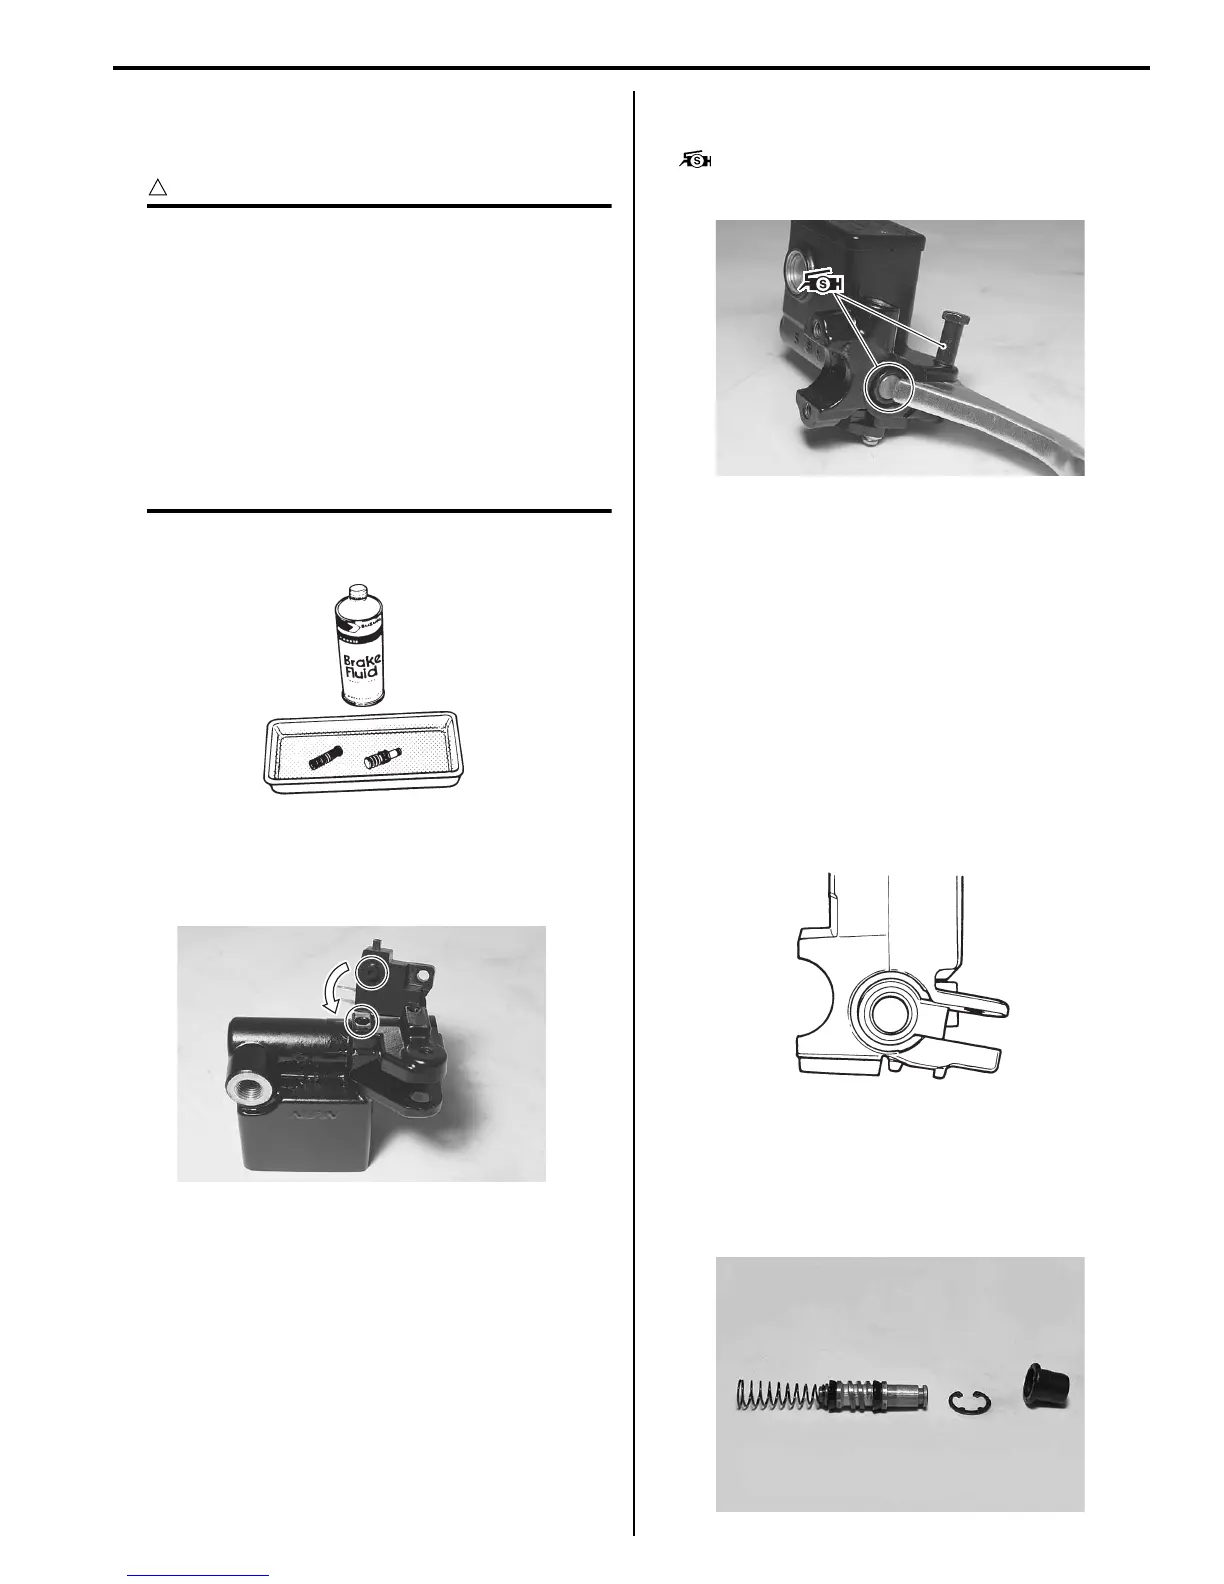
• When installing the brake light switch, align the
projection on the switch with the hole in the master
cylinder.
• Apply grease to the brake lever pivot bolt.
• Apply grease to the contact point between piston and
brake lever.
: Grease 99000–25100 (SUZUKI Silicone
Grease or equivalent)
Tightening torque
Brake lever pivot bolt: 1.0 N·m (0.1 kgf-m, 0.72 lb-ft)
Brake lever pivot bolt lock-nut: 6.0 N·m (0.6 kgf-m,
4.5 lb-ft)
Front Master Cylinder Parts Inspection
B705H14106025
Refer to “Front Master Cylinder / Brake Lever
Disassembly and Assembly (Page4A-9)”.
Master Cylinder
Inspect the master cylinder bore for any scratches,
corrosion or other damage. If any defects are found,
replace it with the new ones.
Inner Parts
Inspect the piston/cup set, spring, snap ring and dust
boot surface for any scratches or other damage. If any
defects are found, replace it with the new ones.
I649G1410024-01
I705H1410013-01
I705H1410014-01
I649G1410027-01
I705H1410015-01
 Loading...