User Guide Options and accessories
Settings
This section describes how to set the tear position, the first printing line, the print
head gap as well as the font and the character density.
Setting the print head gap
The printer features automatic print head gap adjustment to the thickness of the
paper used. In setup mode, you can enter a correction value to modify the head
gap determined automatically. This correction is useful for modifying the
appearance of the type face.
The AGA (automatic gap adjustment) function must be set to On. For more
detailed information, refer to the section Automatic gap adjustment (AGA).
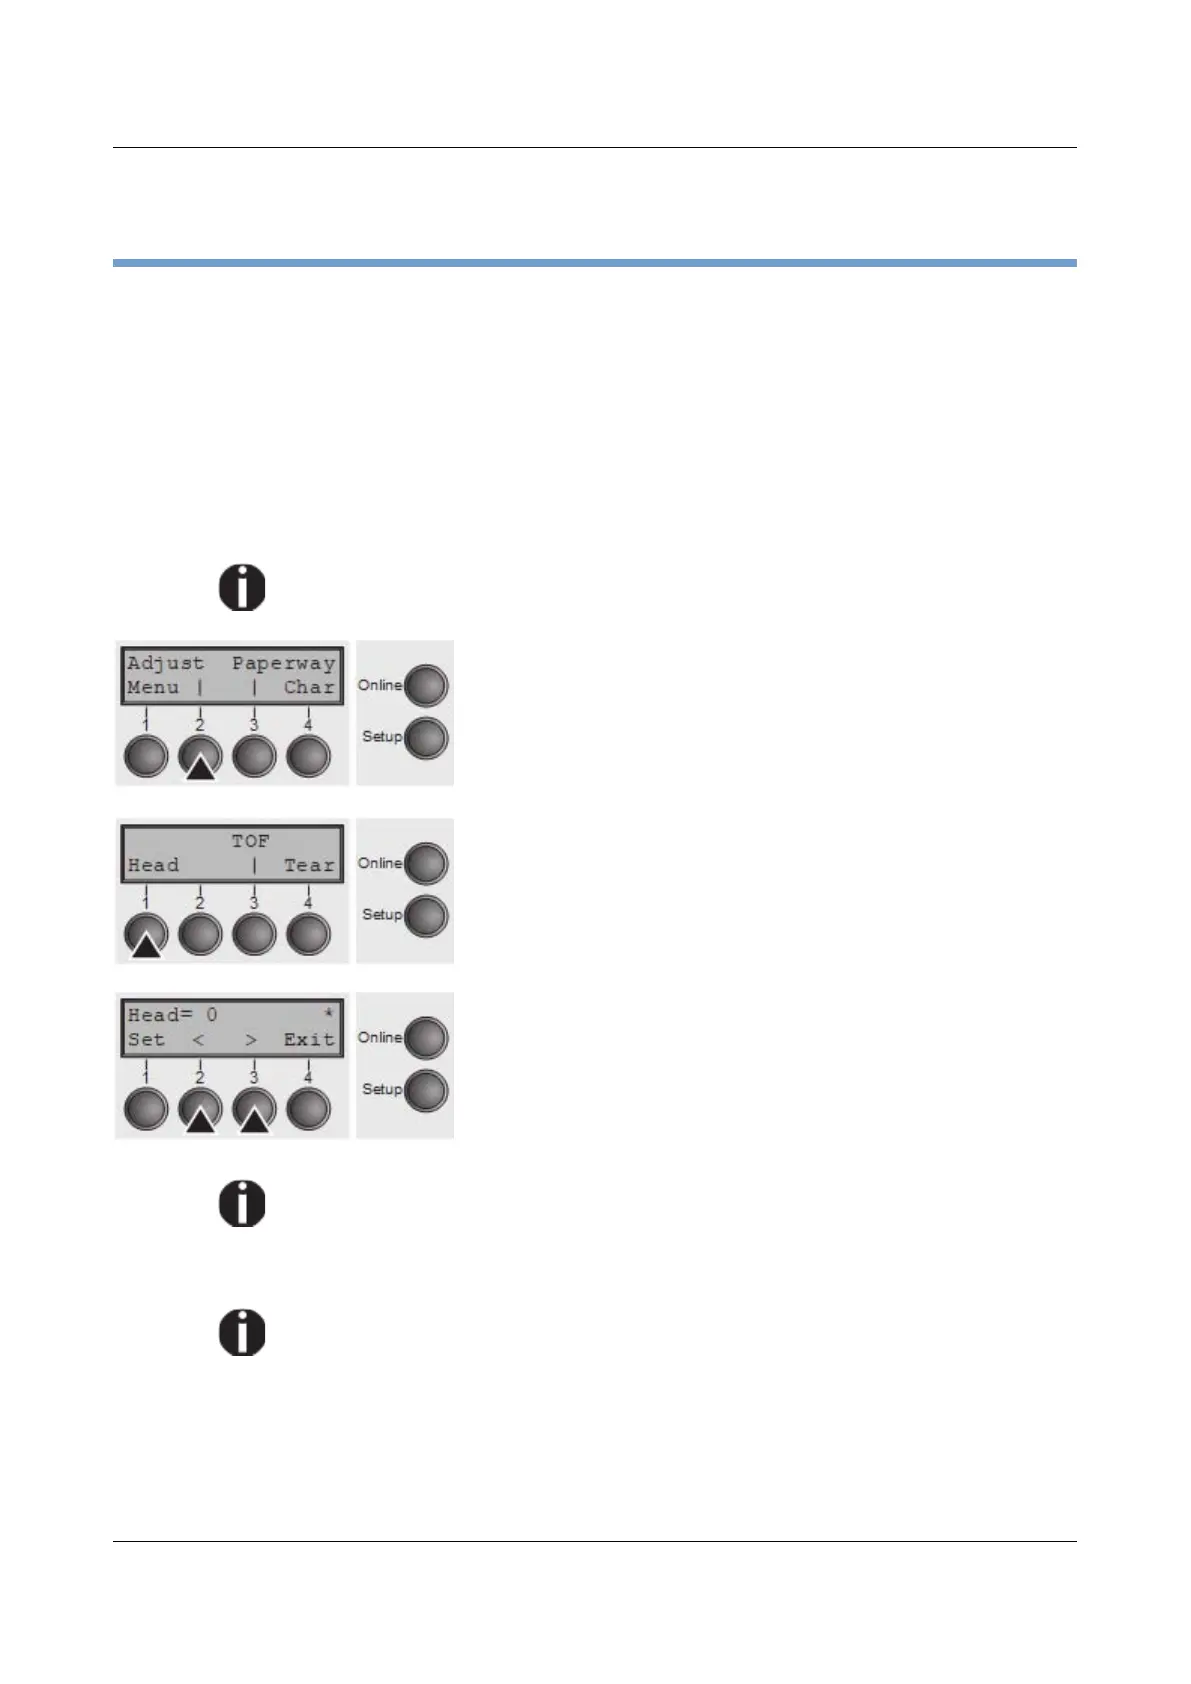
Press the Setup key. The printer changes to setup mode.
Press the Adjust (2) key.
Press the Head (1) key.
Use the < (2) or > (3) key to set the range within which the
automatic gap adjustment is to be corrected. You can
select values in the range from -10 to +10.
Confirm the input by pressing the Set (1) key.
Press the Setup key. The printer returns to the initial
status.
Negative values decrease the print head gap, positive values increase it.
Changing the automatically determined value may have a strong effect on
the printing quality.
The setting made will be retained after switching off the printer.
If the printout shows signs of smudging, we recommend that you increase
the print head gap up to +10 (if AGA is on, see Automatic gap adjustment
(AGA) and use a less smooth type of paper.
39