Disassembly and Replacement
NOTE: Make sure that you do not strain the keypad cable when moving the cover. This could
cause the cable to tear at the keypad.
NOTE: Make sure that the cover is not pinching any wires when it is setting on the base.
4. With the cover’s tabs aligned over the tab slots in the base, press down on the front right corner of
the cover until the you feel the tab protruding through the tab slot in the bottom of the instrument.
5. Push the cover to the left until you feel the front left corner tab protrude through the tab slot in the
bottom of the instrument.
6. Press the cover straight down until the tabs lock into place.
7. Access the rear of the instrument and tighten the two mounting screws (refer to Figure 5.3).
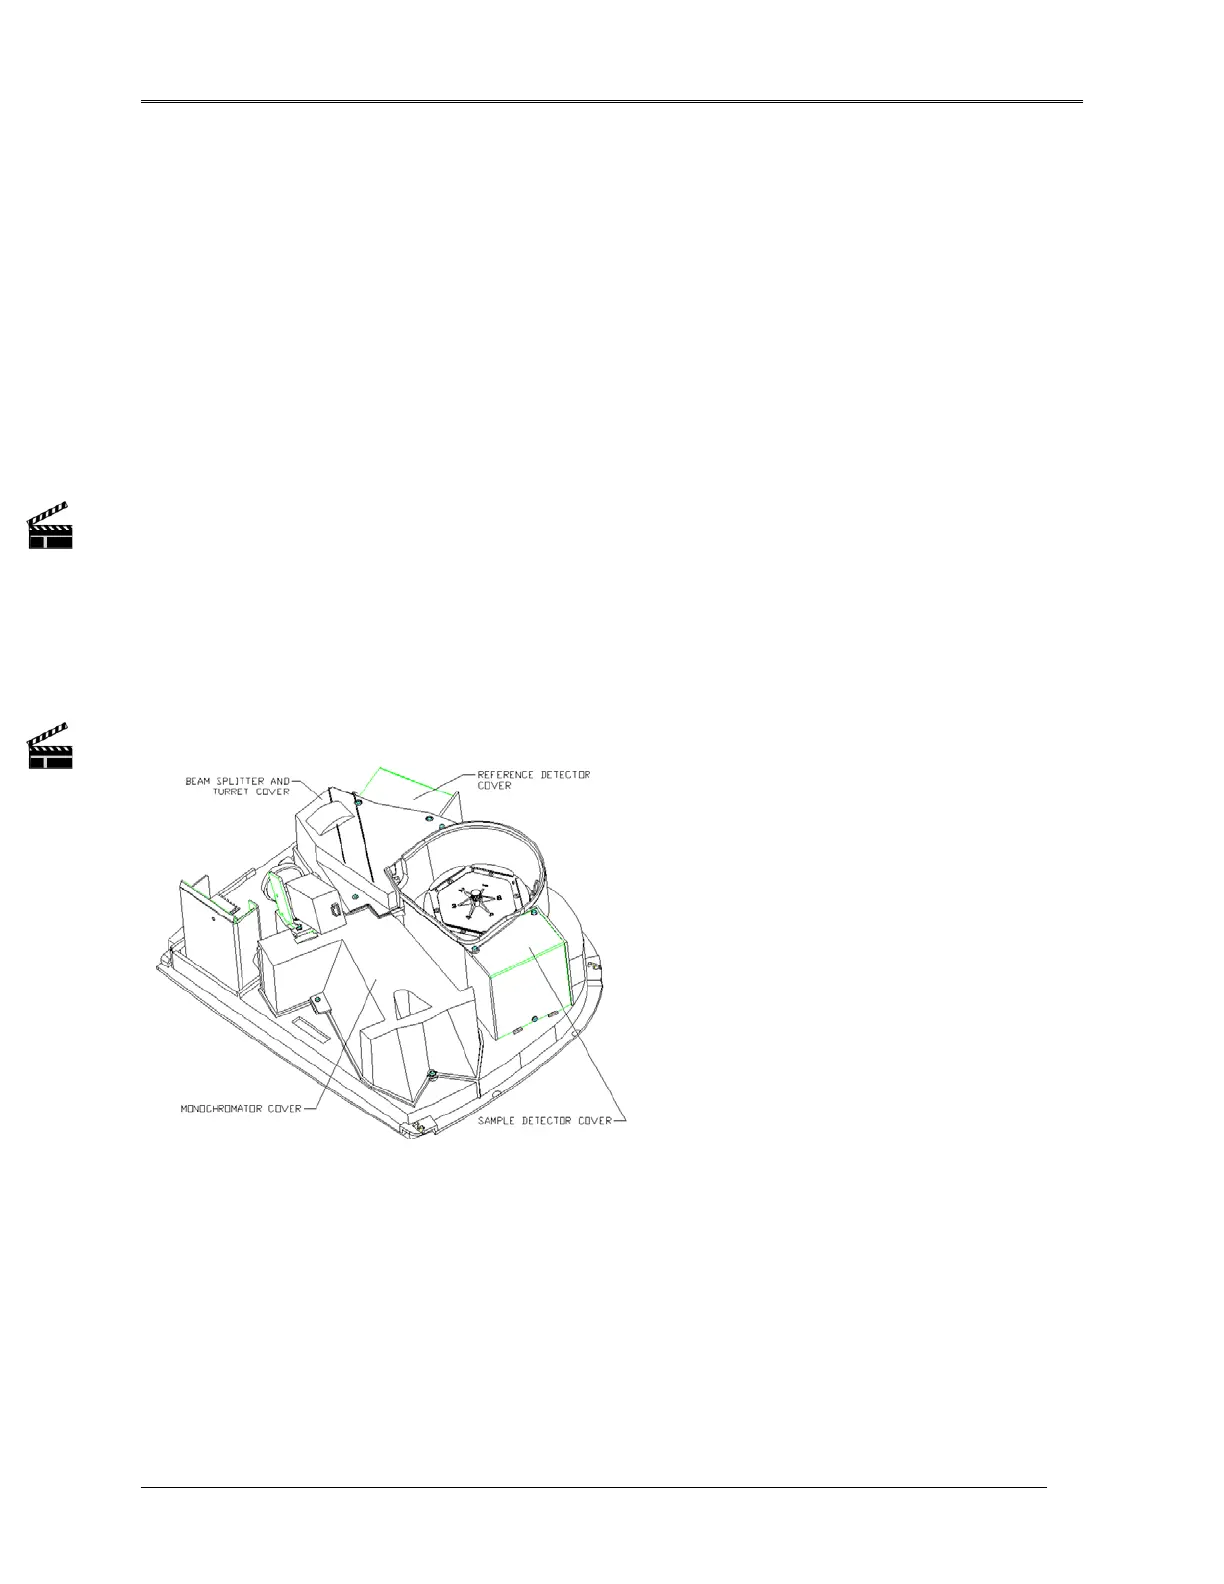
Internal Assemblies
NOTE: Prior to working on any of the internal assemblies, it is necessary to remove either the
bottom cover (refer to Bottom cover [Main board], Bottom cover [Power Supply], and Top
Cover).
Figure 5.6 Internal Assemblies
5-6
 Loading...


