Disassembly and Replacement
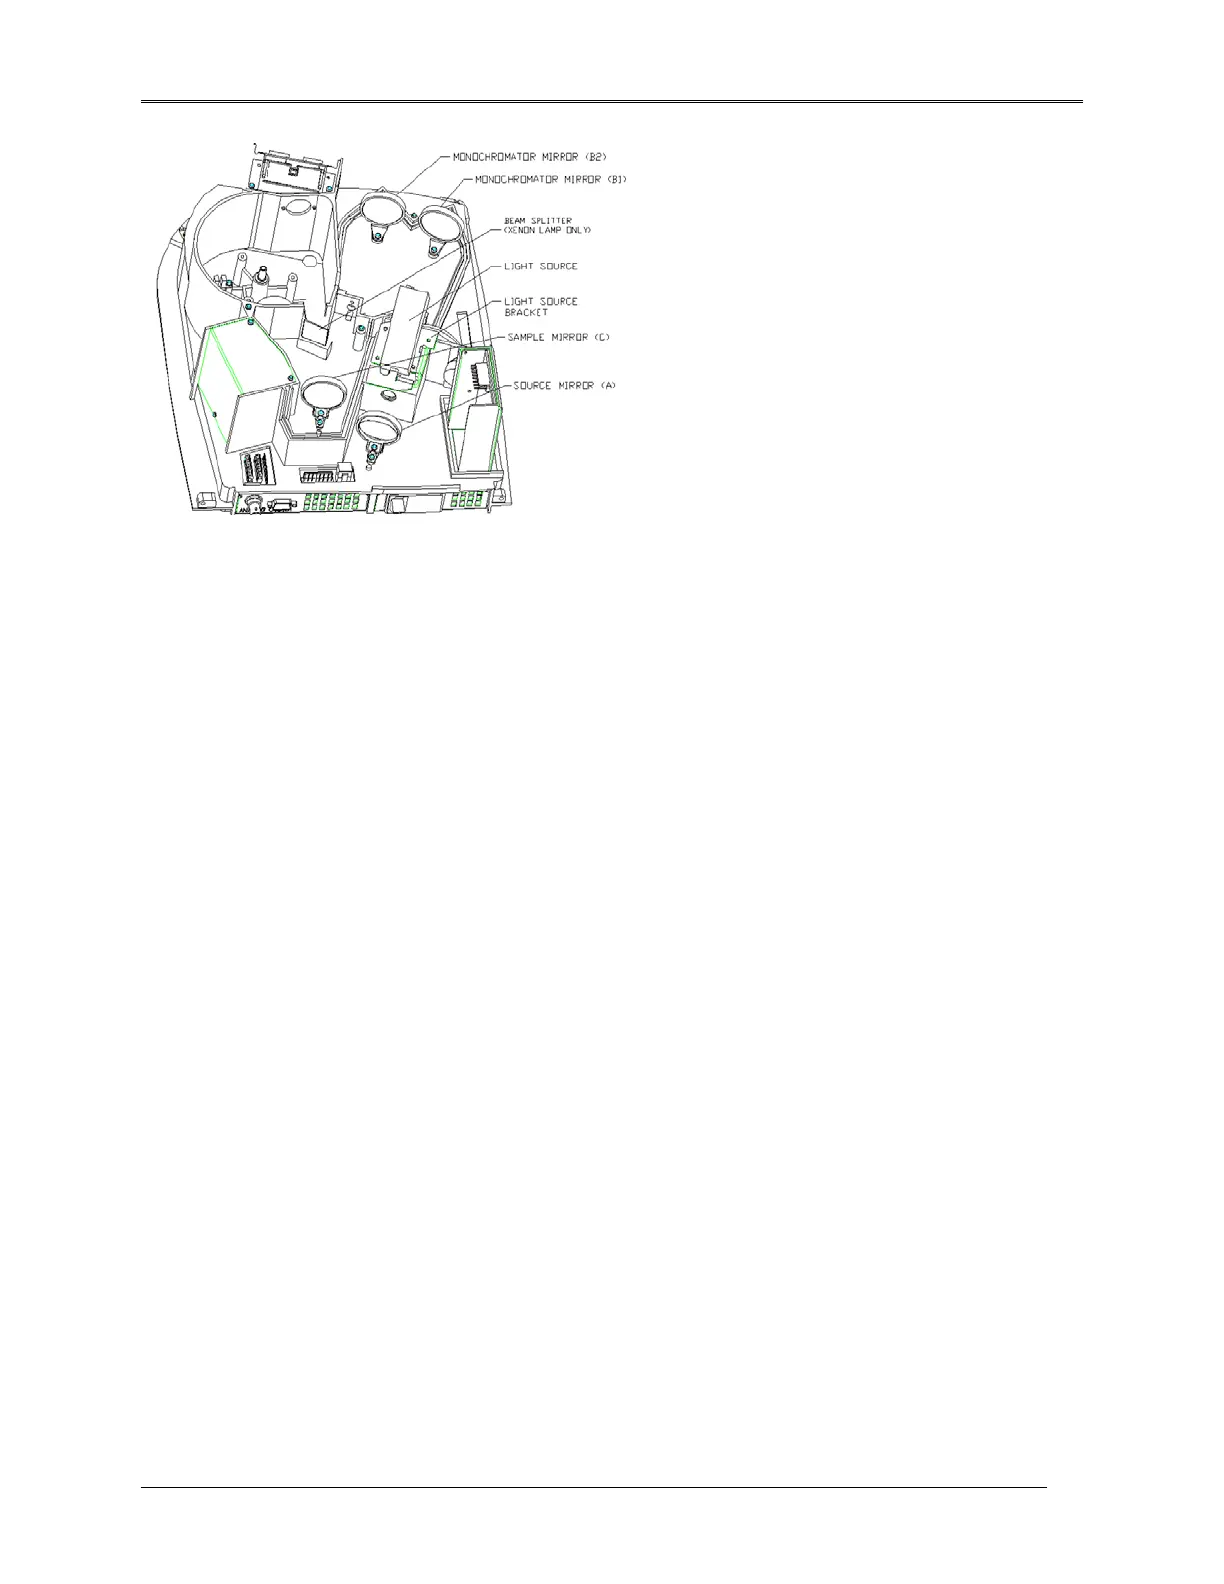
Figure 5 17 Light Source and Mirrors
Removal
1. Disconnect the light source wire connector from the lamp.
NOTE: The xenon light source bracket has two screws and two dowel pins.
2. Remove the screws, which secure the light source bracket to the base.
3. Lift the light source bracket off the dowels and set aside.
Replacement
1. Remove the xenon lamp from the bracket. Mount the new xenon lamp on the bracket.
2. Set the light source bracket in position on the dowel pins.
3. Insert and tighten the screws holding the light source bracket to the base.
4. Turn the unit over and attach the light source wire connector to the Main Circuit board.
Mirrors
CAUTION: DO NOT TOUCH THE MIRROR SURFACE.
NOTE: The four mirrors in the unit are different. Replace the A (335901-100S), B1
(335901-105S), B2 (335901-106S), or C (335901-115S) mirror only with the designated
part number mirror.
Removal
1. Remove the Beam Splitter and turret cover (refer to “Beam splitter and turret cover ").
2. Remove the Monochromator cover (refer to “Monochromator ").
5-18
 Loading...


