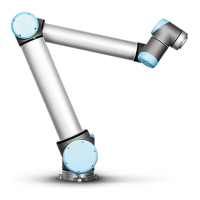
Feature Under Feature, you can define how to control the robot arm relative to View, Base or Tool
features. For the best feel for controlling the robot arm you can select the View feature, then
use Rotate arrows to change the viewing angle of the 3D image to match your view of the
real robot arm.
Active TCP In the Robot field, under Active TCP, the name of the current active Tool Center Point (TCP)
is displayed.
Home The Home button accesses the Move Robot into Position screen, where you can hold down
the Auto button to move robot into position previously defined under Installation. The Home
button’s default setting returns the Robo Arm to an upright position .
Freedrive The on-screen Freedrive button allows the Robot Arm to be pulled into desired
positions/poses.
Align The Align button allows the Z axis of the active TCP to align to a selected feature.
Tool Position The text boxes display the full coordinate values of the TCP relative to the selected feature.
You can configure several named TCPs. You can also tap Edit pose to access the Pose
Editor screen.
Joint
Position
The Joint Position field allows you to directly control individual joints. Each joint moves
along a default joint limit range from − 360
∘
to + 360
∘
, defined by a horizontal bar. Once the
limit is reached you cannot move a joint any further. You can configure joints with a position
range different from the default, this new range is indicated with red zone inside the
horizontal bar.
UR30 127 User Manual
Copyright © 2009–2024 by UniversalRobotsA/S. All rights reserved.
 Loading...


