4. Select > Calibrate > Yes and then either Analog output 1 adjustment or Analog
output 2 adjustment.
5. Follow the instructions in the Insight interface to carry out the adjustment.
6. Remove the multimeter, close the transmitter cover, and reattach the probe body.
10.4.2 Adjusting analog output level with local display interface
To adjust the output level of analog output channel 1 or 2 with the local display interface:
1. Detach the probe body and open the transmitter cover.
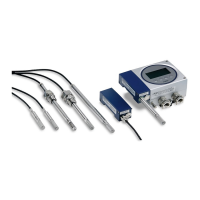
2. Connect a multimeter to the mA testing points located above the output screw terminals
on the transmitter component board (see Figure 59 (page 111)).
3. Select Menu > Calibration > Adjust outputs, and then select either Analog output 1 or
Analog output 2.
4. The display shows information about the analog output level adjustment. Select Next to
start sending the low level (4 mA) test output from the transmitter analog channel.
5. Verify that the output reading of the multimeter matches 4 mA. If the multimeter reading
diers from 4 mA, enter the required change to the transmitter output level with the Up
and Down buttons. Select Next after the correction.
6. The transmitter starts to send the high level (20 mA) test output. Verify that the output
reading of the multimeter matches 20 mA. If the multimeter reading diers from 20 mA,
enter the required change to the transmitter output level. Select Next after the correction.
7. In the next view, select Apply to take the adjustment into use. If you do not want to save
the adjustment, select Back.
8. Remove the multimeter, close the transmitter cover, and reattach the probe body.
Chapter 10 – Calibration and adjustment
125

 Loading...