4 – 20 mA
−
+
−
+
CH 1
4 – 20 mA
CH 2
12 – 28 V
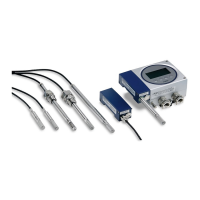
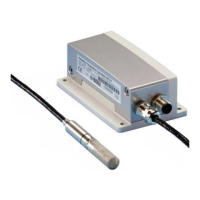
Figure 36 Wiring example using one cable
1. Prepare the cabling wires as required in your application (cabling either through 1 or 2
lead-throughs).
a. Strip the cable wires: it is recommended to attach ferrules to the contact ends of the
wires.
b. Open the cable gland and insert a suitable length of the cable inside the transmitter
through the cable gland.
c. Tighten the cable gland: refer to the instructions of the glands used in your
application for maximum tightness.
d. If your installation does not require using both lead-throughs, plug the unused lead-
through with an Ex compliant seal.
2. Connect the screw terminal wiring as required in your application. For protected
installation wiring diagrams, see Wiring with galvanic isolators (page 88) and Wiring
with Zener barriers (page 89).
a. Open the cable fastening clamps below the screw terminals and lead the cables to the
terminals through the clamps.
b. Connect the wires to the screw terminals: for an example, see Figure 36 (page 87).
Note that Channel 1 (CH1) must always be wired. The transmitter receives
power through the CH1 screw terminals, and does not power on if only
Channel 2 (CH2) is wired.
c. Adjust the length of the wires and close the cable fastening clamps so that they hold
the cables in place.
Chapter 5 – Installation
87