46. In VVSU, go to tab ACTUATOR.
47. Change the value of Pos Range to 90% of its value and press ENTER.
This is (((left-right)/2)*0.9) in [mm].
NOTICE
When performing the calculation round the result down to integers.
48. Click TRANSMIT to send the values to VVSX.
49. Click FILE > REFRESH PARAMETERS and check the values in the ACTUATOR
screen.
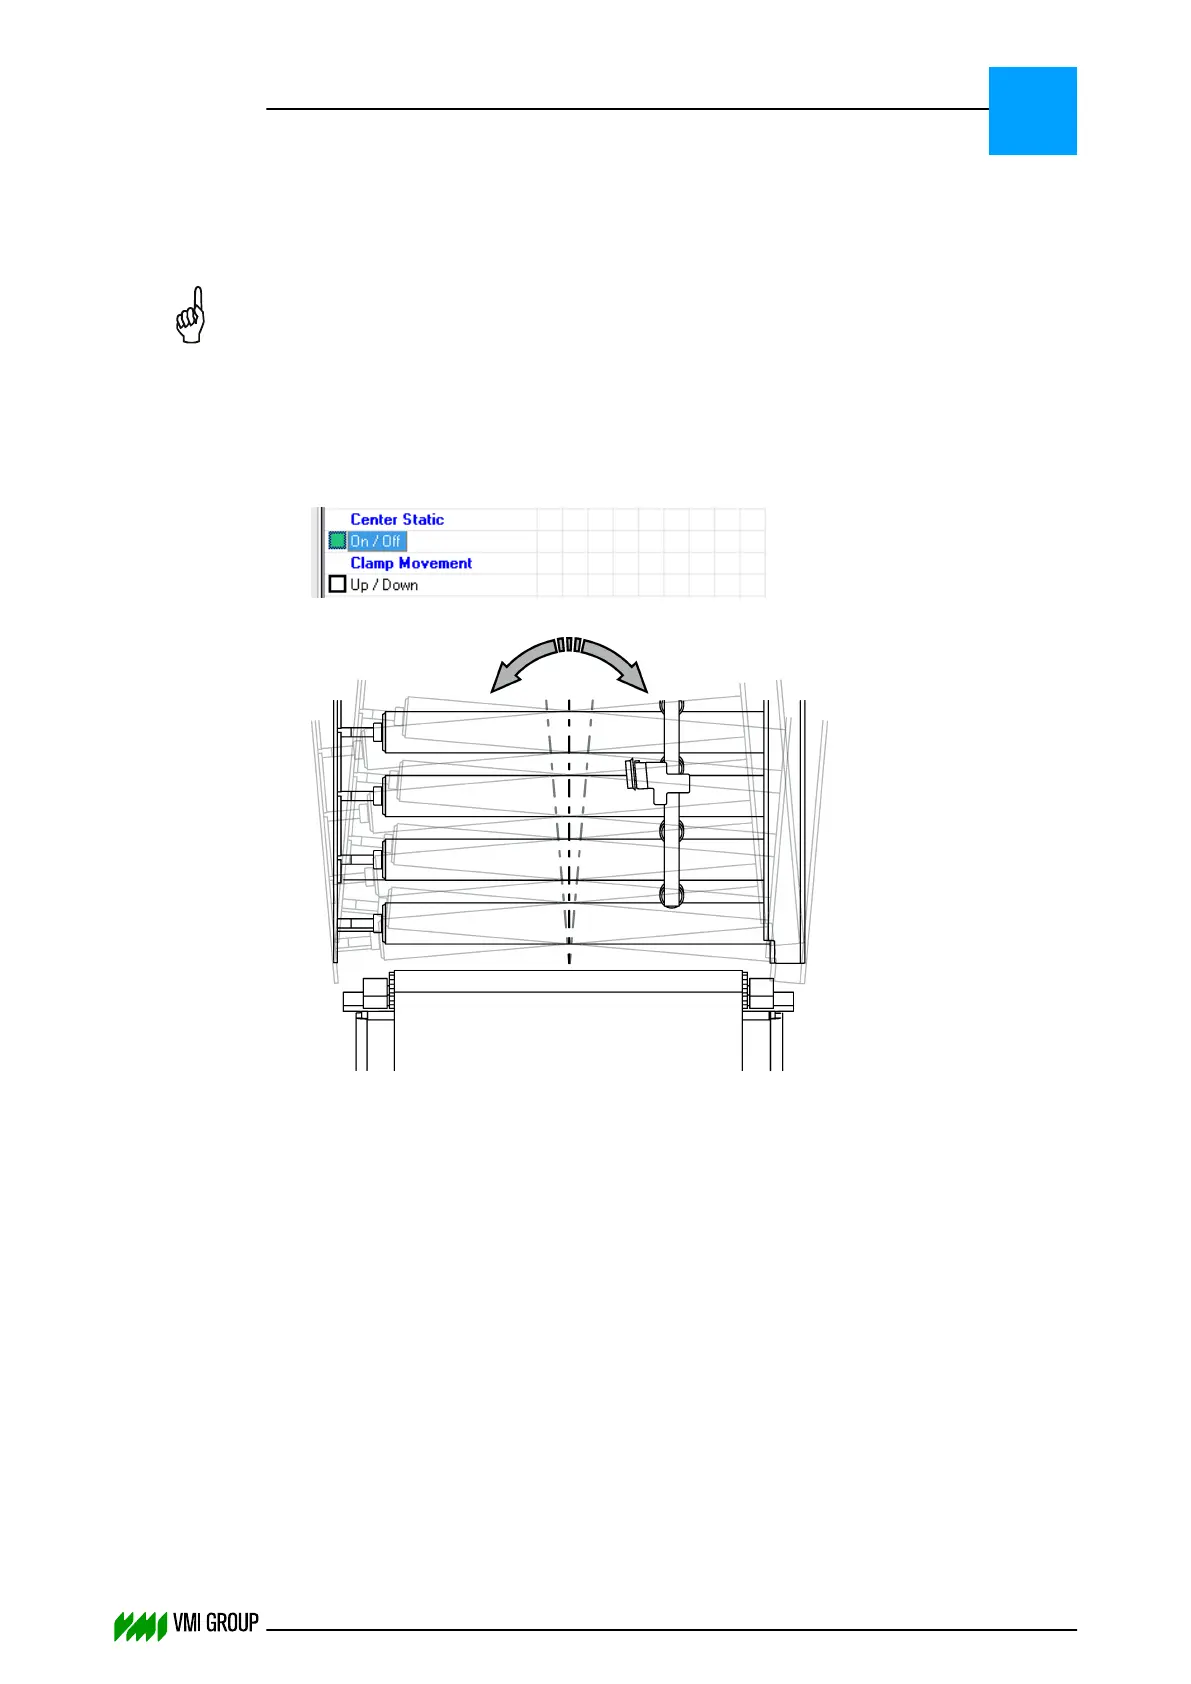
50. In VVSU, go to tab STATUS.
51.
Select the Center Static option.
52.
Move the material under the camera to one direction. As a result, the conveyor should
move in opposite direction.
If this is not the case, change the motor direction (0 or 1) as follows:
● In VVSU, go to tab ACTUATOR.
● Change the value of the Motor Direction (0 or 1) and press ENTER.
● Click TRANSMIT to send the values to VVSX.
53. Save the actuator settings:
● In VVSU, go to tab ACTUATOR.
● Change the value of Start Service to 1 and press ENTER.
● Click TRANSMIT to send the values to VVSX.
● Wait 30 seconds until the actuator is back online.
● Change the value of Start Service to 44 and press ENTER.
● Click TRANSMIT to send the values to VVSX.
● Wait 30 seconds until the actuator is back online.
54. Click FILE > REFRESH PARAMETERS and check the values in the ACTUATOR
screen.
ALIGNMENTS, ADJUSTMENTS AND CALIBRATIONS
VVS Breaker
5
THINKING FORWARD
VMI Vision System VVS (OL82) VVSX 13.0.12.0, VVSU 3.0.6 / 4 / 2016-07-11 / pd#175592
5-22