36. Click TRANSMIT to send the values to VVSX.
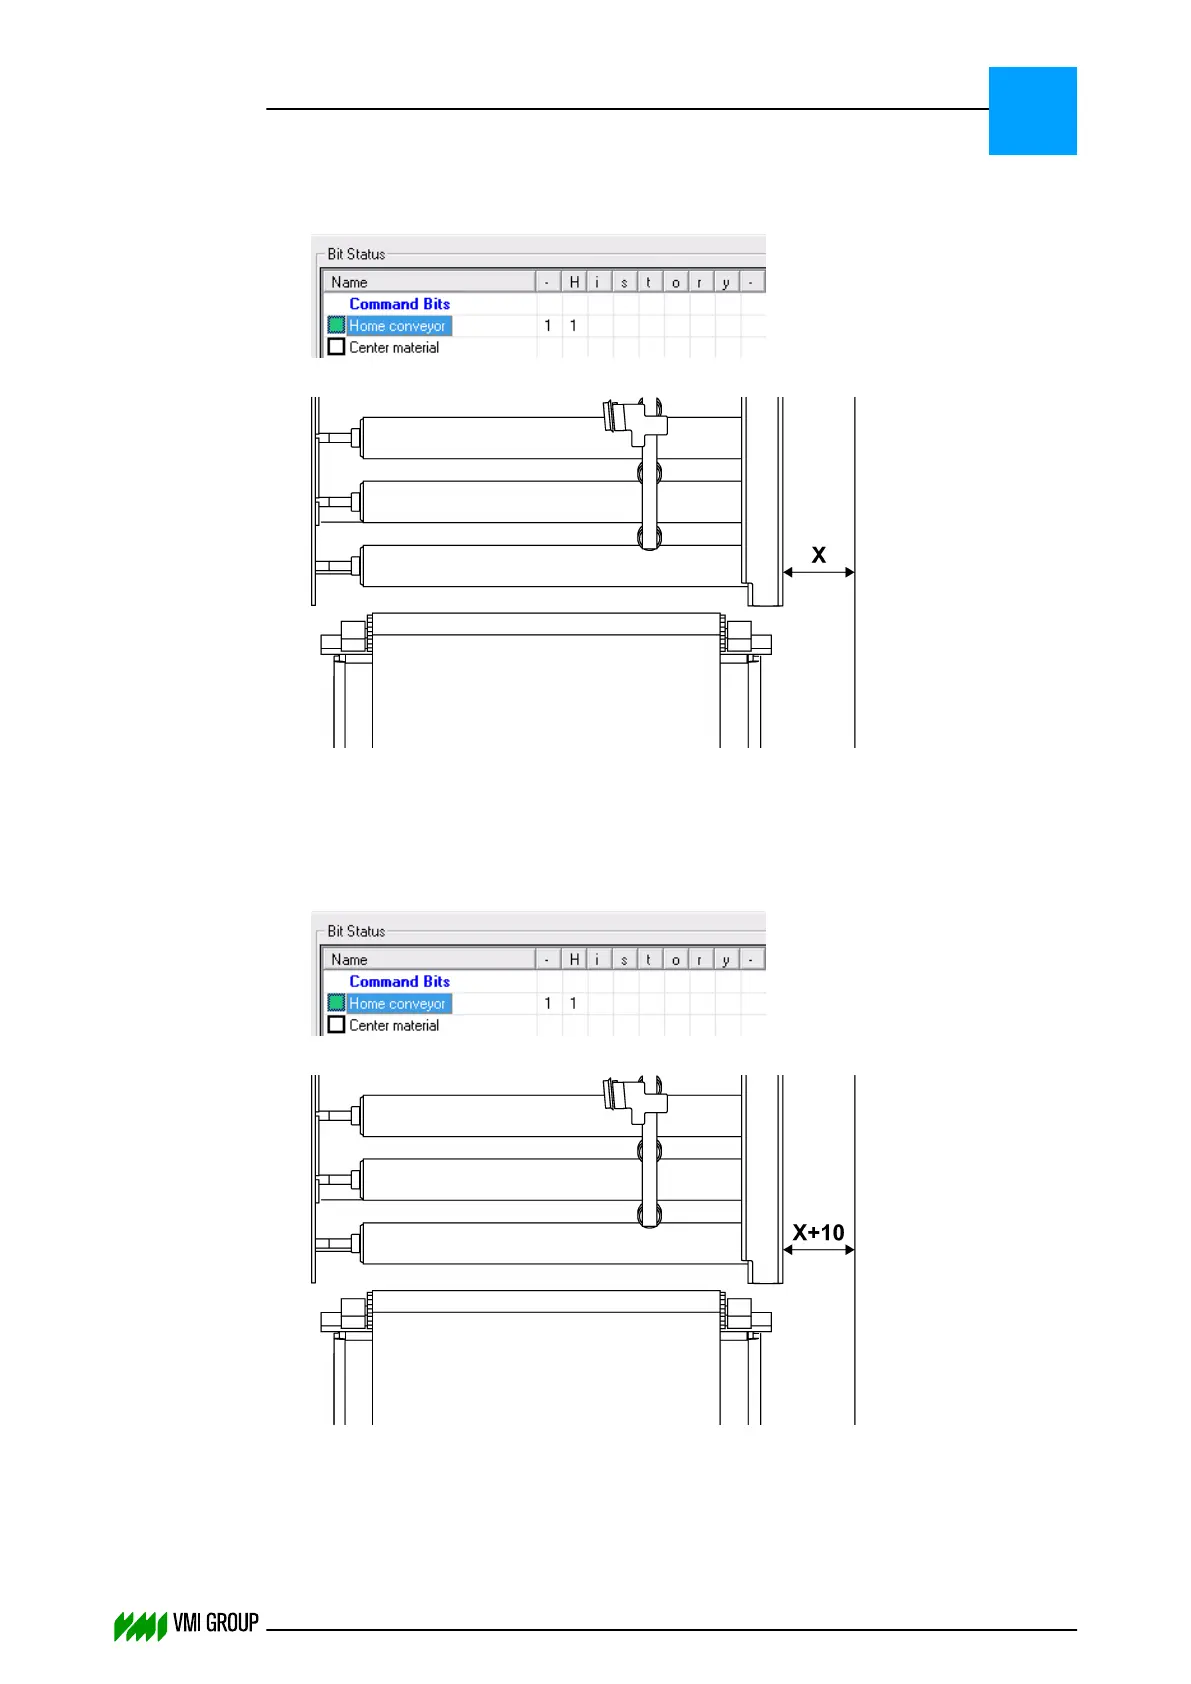
37. In VVSU, go to tab STATUS.
38.
Select Home Conveyor.
39.
Measure the the homing position [X].
40. In VVSU, go to tab ACTUATOR.
41. Change the value of Zero Offset to 10 and press ENTER.
42. Click TRANSMIT to send the values to VVSX.
43. In VVSU, go to tab STATUS.
44.
Select Home Conveyor.
45.
Measure the the homing position [X] again.
The measured homing position should be relatively 10 mm different from the previous
homing position [X+10].
If this is not the case, the Motion Range and Pos Range must be adjusted and the
calibration must be repeated, starting with adjusting the parameter settings.
ALIGNMENTS, ADJUSTMENTS AND CALIBRATIONS
VVS Breaker
5
THINKING FORWARD
VMI Vision System VVS (OL82) VVSX 13.0.12.0, VVSU 3.0.6 / 4 / 2016-07-11 / pd#175592
5-21