6F65G11
5-38
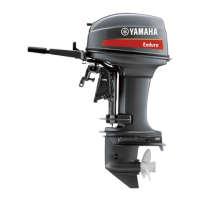
9
8
7
6
5
4
3
2
1
Crankcase
3. Apply sealant to the mating surface of the
crankcase.
NOTE:
Do not get any sealant on the crankshaft jour-
nals.
4. Install the crankcase onto the cylinder
block, and then tighten the crankcase
bolts to the specified torques in two
stages and in the sequence shown.
NOTE:
Apply engine oil to the crankcase bolts before
installation.
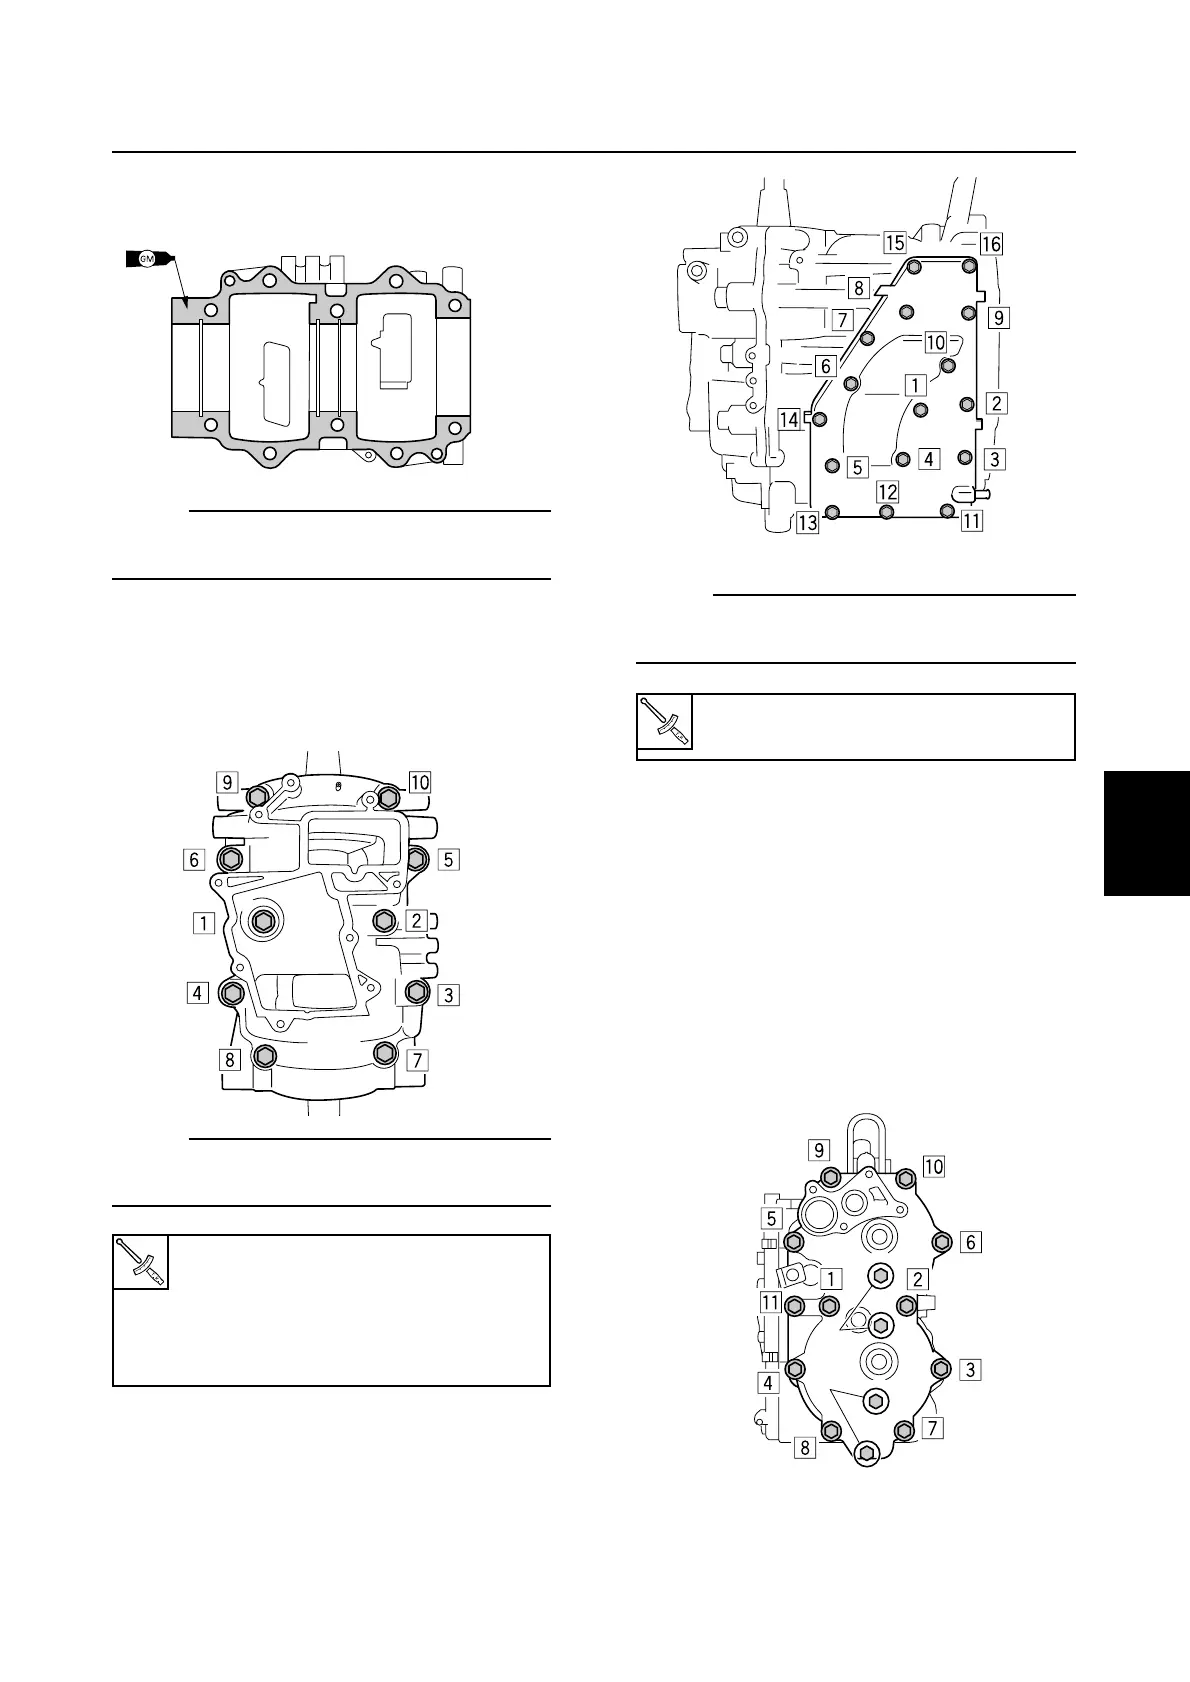
5. Install a new gasket and the exhaust
cover, and then tighten the bolts to the
specified torques in two stages and in the
sequence shown.
NOTE:
Apply LOCTITE 572 to the exhaust cover
bolts before installation.
6. Install a new cylinder head gasket, the
cylinder head, thermoswitch, a new cylin-
der head cover gasket, and cylinder head
cover, and then tighten the cylinder head
bolts to the specified torques in two
stages and in the sequence shown.
7. Install the cylinder head cover bolts 3,
and then tighten the bolts to the specified
torques in two stages.
Crankcase bolt:
1st:
20 N·m (2.0 kgf·m, 15 ft·lb)
2nd:
40 N·m (4.0 kgf·m, 29.5 ft·lb)
Exhaust outer cover bolt:
8 N·m (0.8 kgf·m, 5.8 ft·lb)