6F65G11
5-32
9
8
7
6
5
4
3
2
1
Crankcase
8. Using the bearing separator to slightly
move the inner race off the shaft, and
then remove the inner race.
NOTE:
Use care not to scratch the shaft.
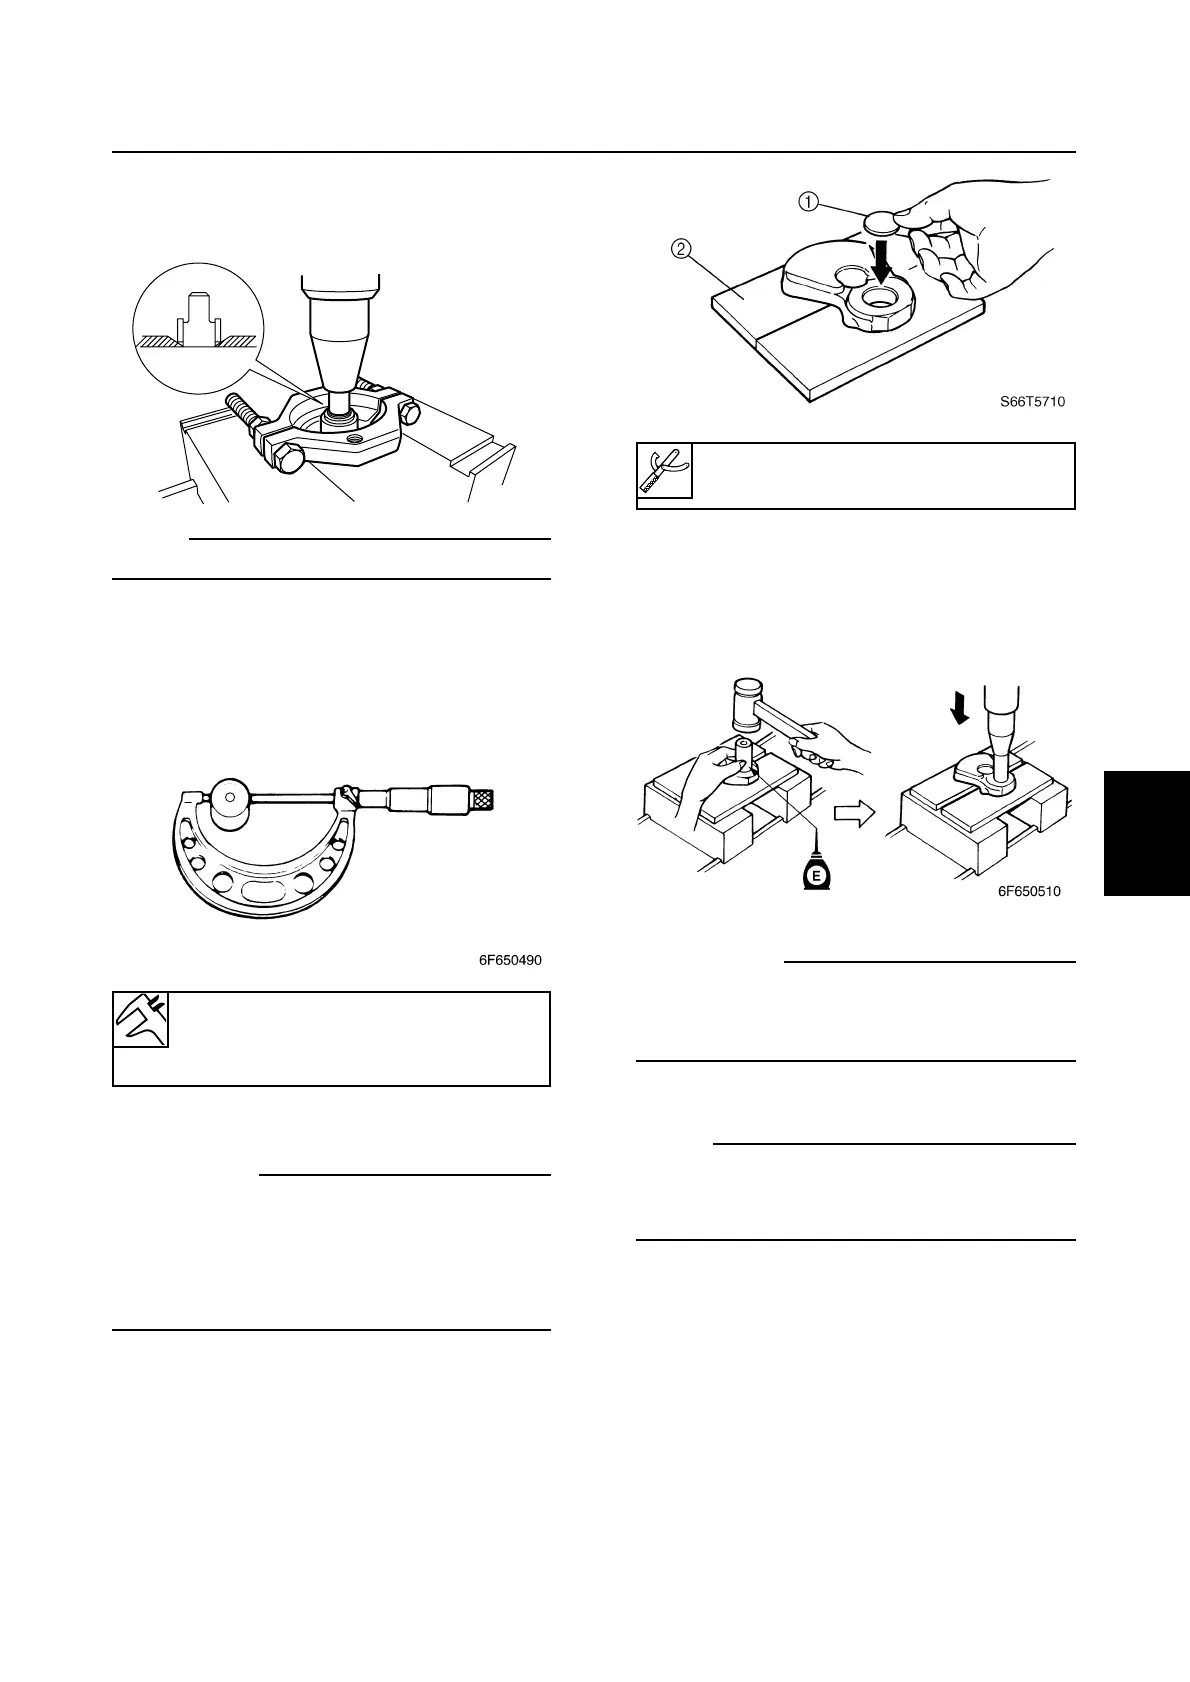
Checking the crankpin
1. Measure the crankpin diameter. Replace
if out of specification.
Assembling the crankshaft
cC
9 When reassembling the crankshaft,
wash all component parts in clean
kerosene (do not use gasoline).
9 Do not reuse bearings, always replace
them with new ones.
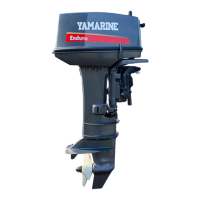
1. Insert spacer C 1 into the crankpin hole
of crank 2 (or crank 4).
2. Apply engine oil to the crankpin and
insert it into the crankpin hole by tapping
it with a copper hammer, and then install
the crankpin using a press.
cC
9 Take care so that the crank pin is set
squarely into the crank web.
9 Do not apply force in excess of 5 tons.
NOTE:
Follow the same procedure for both crank 2
and crank 4 to install the crankpins using a
press.