67
Genos2 Owner’s Manual
Playing with Styles—Operations While Performing
2
Fading In/Out
The Fade In/Out function produces smooth fade-ins and fade-outs when starting/stopping the
playback of a Style or Song. By default, this function can be used by pressing the ASSIGNABLE
[2] button.
• To start playback with a fade in:
When playback is stopped, press the button to which this function has been assigned. Then
press the [START/STOP] button for Style (or the [PLAY/PAUSE] button for MIDI Song).
• To stop playback with a fade out:
During playback, press the button to which this function has been assigned.
Changing pattern variations (Sections) during Style playback
Each Style features four dierent Main sections, four Fill-in sections and a Break section. By using
these sections eectively, you can easily make your performance sound more dynamic and
professional. The section can be freely changed while the Style is playing back.
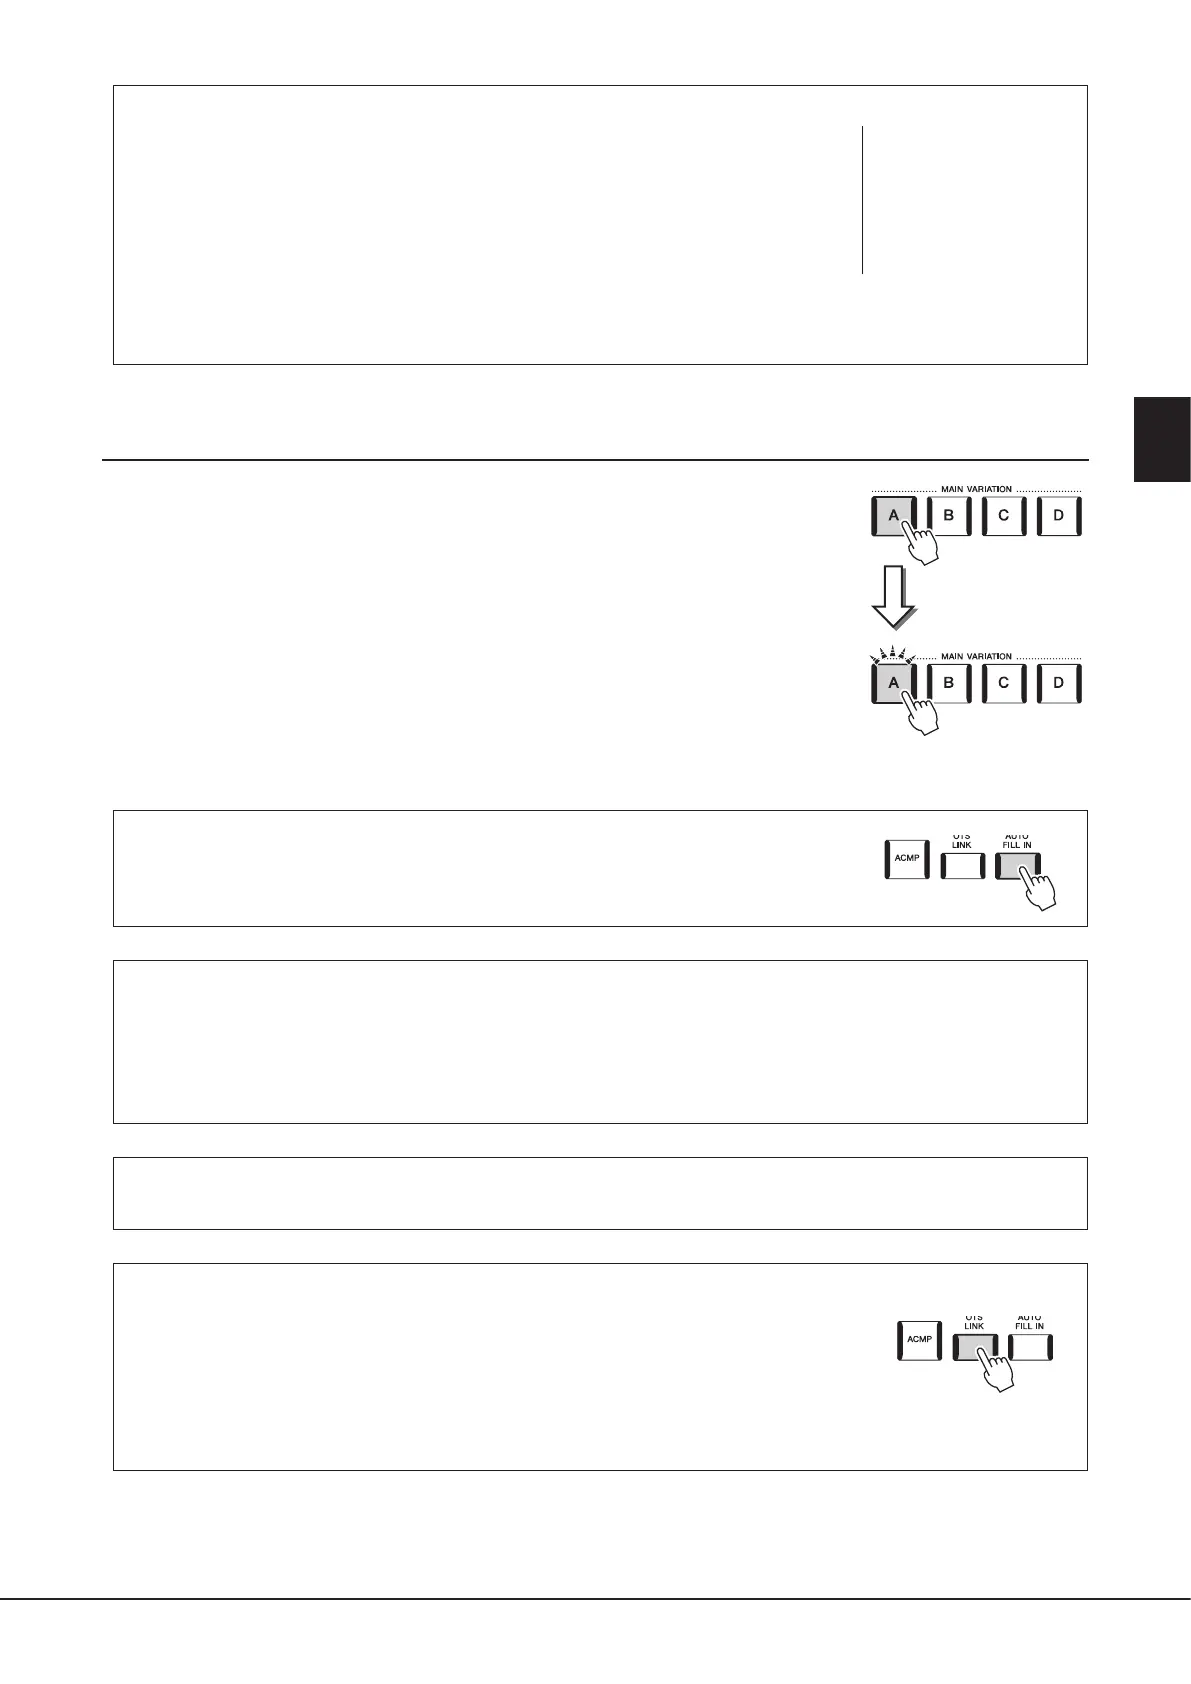
MAIN VARIATION [A]–[D] buttons
Press one of the MAIN VARIATION [A]–[D] buttons to select the desired Main section (the
button lights in red). Each is an accompaniment pattern of a few measures or more and it plays
indenitely. Pressing the selected MAIN VARIATION button again plays an appropriate ll-in
pattern to spice up the rhythm and break the repetition. After the ll-in nishes playing, it leads
smoothly into the Main section.
NOTE
For information on assigning
functions to each controller,
refer to “Setting up Assignable
Controllers” (page62)
and “Assigning functions or
shortcuts to the ASSIGNABLE
buttons” (page65).
Press the selected
Main section (lit in
red) again.
The ll-in of the
selected Main section
plays (ashes in red)
AUTO FILL IN function
When the [AUTO FILL IN] button is turned on, pressing any of the MAIN VARIATION [A]–[D]
buttons as you play automatically plays a ll-in section for a smooth, dynamic transition into the
next (or same) section.
Style Section Reset
During playback of a Style, you can rewind to the top of the section (“reset” the playback position, for stutter repeat eects) by
pressing the [TAP TEMPO] button (page18).
NOTE
You can set the behavior to change the tempo instead of “reset” of the section, even when tapping the button during playback of a Style. The setting
is made on the display called up via [MENU] à [Metronome] à [Tap Tempo]. For details, refer to the Reference Manual on the website.
Style Section Change Timing
You can choose behavior when Style sections are changed. For details, refer to the Reference Manual on the website.
Automatically changing One Touch Settings with the Main sections (OTS LINK)
The convenient OTS (One Touch Setting) Link function lets you automatically have One Touch
Settings change when you select a dierent Main section (A–D). The Main sections A, B, C and
D correspond to One Touch Settings 1, 2, 3 and 4 respectively. To use the OTS Link function,
turn the [OTS LINK] button on.
NOTE
You can change the timing in which the One Touch Settings change with the MAIN VARIATION [A]–[D] changes. To do this, call up the display via
[MENU] à [Style Setting] à [Setting], then set the OTS Link Timing parameter. For details, refer to the Reference Manual on the website (page10).